

Power Your Software Testing with AI Agents and Cloud
The Native AI-Agentic Cloud Platform to Supercharge Quality Engineering. Test Intelligently and Ship Faster.


- TestMu AI (Formerly LambdaTest)
- /
- Blog
- /
- Python WhatsApp Automation: Selenium, Playwright, pywhatkit
How to Automate WhatsApp Messages Using Python: Selenium, Playwright, and pywhatkit
With this tutorial, learn how to automate WhatsApp messages using Python libraries with some real-world scenarios.
Last Updated on:
To automate WhatsApp messages with Python, drive WhatsApp Web with Selenium or Playwright using a saved browser profile, send scheduled messages with the pywhatkit library, or call the official WhatsApp Business Platform Cloud API through Meta or a provider such as Twilio. Browser automation needs a one-time QR scan and suits personal alerts; the Cloud API is the only route WhatsApp permits for automated messaging at volume.
TL;DR
- Selenium automates WhatsApp messages in Python by opening web.whatsapp.com/send with the phone number and text in the URL, then clicking Send.
- A saved browser profile (Chrome user-data-dir or a Playwright persistent context) keeps the WhatsApp Web login, so the QR code is scanned only once.
- pywhatkit sends WhatsApp messages without an API key because it opens WhatsApp Web in the default browser and types the message for you.
- pywhatkit sends to a WhatsApp group using the invite-link code as the group ID, which is the part of an invite link that follows chat.whatsapp.com/.
- WhatsApp's Terms of Service prohibit bulk messaging and auto-messaging, so production messaging belongs on the official WhatsApp Business Platform Cloud API.
- Twilio's Python SDK sends WhatsApp messages through the Business Platform without a browser, which suits CI/CD test notifications.
Which Python Method Should You Use?
Four approaches cover almost every WhatsApp automation need in Python. They differ mainly in whether they need a browser session and whether WhatsApp allows them at scale:
| Method | How it sends | Needs QR login? | API key? | Best for |
|---|---|---|---|---|
| Selenium on WhatsApp Web | Drives the web app in Chrome, Edge, or Firefox | Once, then a saved profile | No | Personal alerts and learning browser automation |
| Playwright on WhatsApp Web | Drives the web app with a persistent browser context | Once, then a saved profile | No | The same jobs as Selenium, with built-in auto-waiting |
| pywhatkit | Opens WhatsApp Web in your default browser and types the message | Yes, a logged-in browser | No | Quick scheduled messages from a desktop |
| WhatsApp Cloud API or Twilio | HTTPS API calls to the WhatsApp Business Platform | No | Yes (Meta or Twilio credentials) | Production notifications, volume, and CI/CD |
The rest of this guide shows each method, then how a test suite on a cloud grid can post its results to WhatsApp.
Automating WhatsApp messages using Python and Selenium
This walkthrough automates WhatsApp messages with Python and Selenium on WhatsApp Web, on a local Windows 11 machine.
You will be guided through the easy sending of a message, demonstrating how Python and Selenium can interact with WhatsApp's web interface, making automation a breeze.
So, let's start!
Automate WhatsApp Web With Playwright in Python
Playwright does the same job with less waiting code, because its locators wait automatically. A persistent context stores the session in a folder, like a Chrome profile. To post to a group, open the group's invite link: pywhatkit's source uses the same web.whatsapp.com/accept?code= route, where the code is the part after chat.whatsapp.com/ in the invite link.
from playwright.sync_api import sync_playwright

INVITE_CODE = "AbCdEfGh123456"  # from https://chat.whatsapp.com/AbCdEfGh123456

with sync_playwright() as p:
    context = p.chromium.launch_persistent_context("whatsapp-profile-pw", headless=False)
    page = context.new_page()
    page.goto(f"https://web.whatsapp.com/accept?code={INVITE_CODE}")

    message_box = page.locator('footer div[contenteditable="true"]')
    message_box.wait_for(timeout=120_000)  # first run: scan the QR code
    message_box.fill("Nightly regression: 212 passed, 3 failed")
    page.keyboard.press("Enter")
    context.close()
Run it with headless=False the first time so you can scan the QR code. After that, the persistent context reuses the login, and the same script can run on a schedule.
Setup
To automate WhatsApp messages using Python, we need an active WhatsApp account before starting our code. To have this, you can follow the below steps:
- Active Phone Number - Ensure you possess a phone number capable of receiving SMS or calls. WhatsApp employs this for its initial verification process.
- Install WhatsApp - If it's not already on your mobile device, download and install the WhatsApp application from your respective app store (Google Play Store for Android, Apple App Store for iOS).
- Account Setup - Launch the app, follow the on-screen instructions to input your phone number, and verify it. Post-verification, configure your profile by appending a name and profile picture.
- WhatsApp Web - Acquaint yourself with WhatsApp Web - a functionality allowing you to use WhatsApp on a desktop browser. Some Python automation techniques might leverage this feature. To access it, simply access web.whatsapp.com.
With these prerequisites in place, you're set to automate WhatsApp messages using Python.
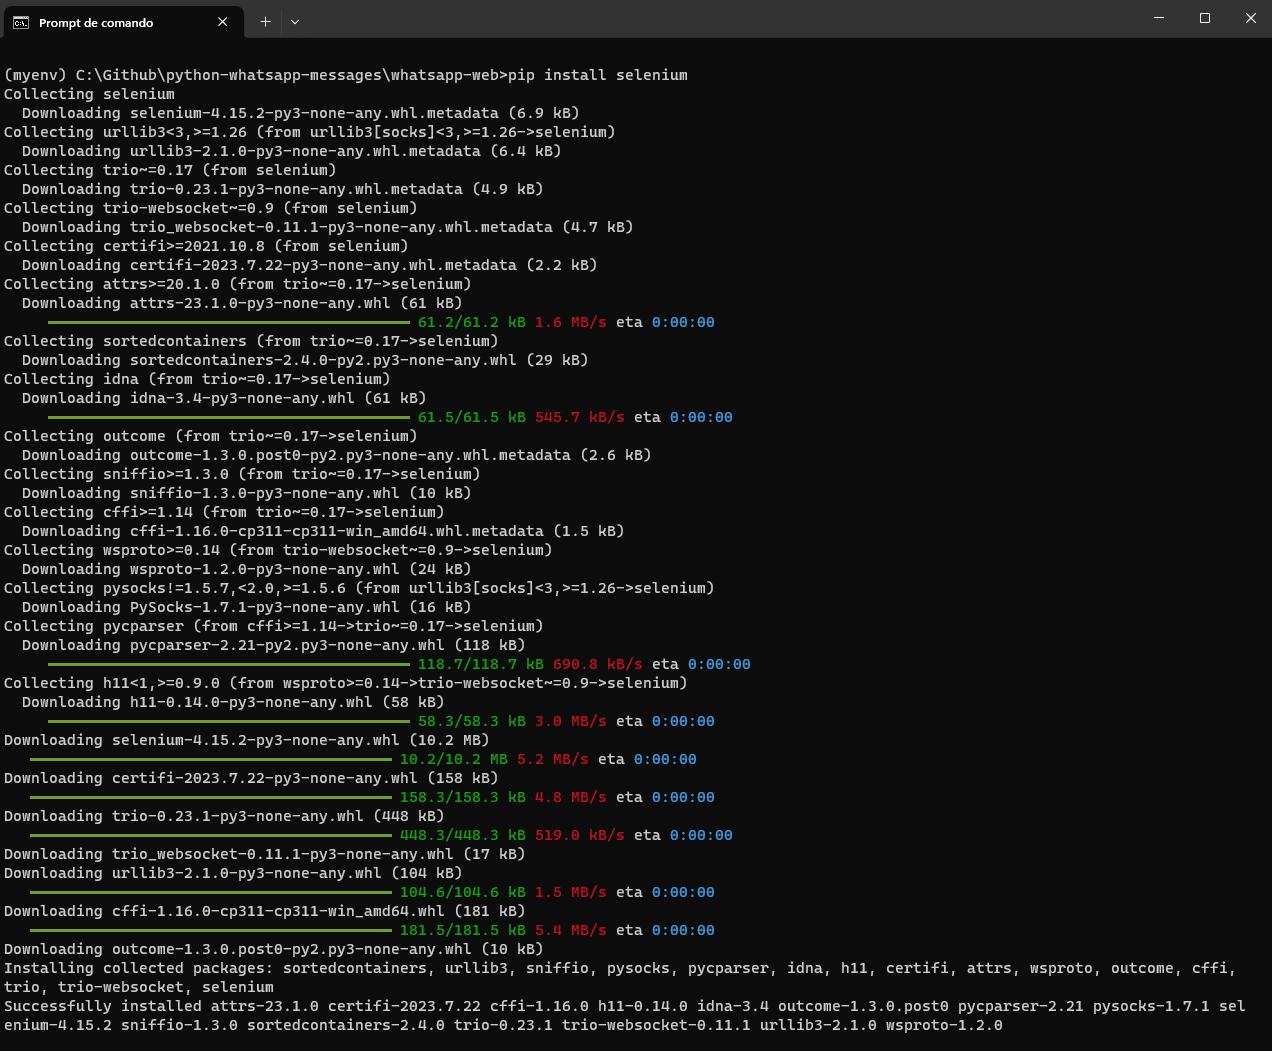
After an active WhatsApp account, you must install the Selenium library using the pip command.
pip install selenium
Implementation
This script opens a chat through WhatsApp's send link, which carries the phone number and the message text in the URL, waits for the Send button, and clicks it. It uses Selenium 4 and a dedicated Chrome profile folder so the login survives between runs:
import os
import urllib.parse
from selenium import webdriver
from selenium.webdriver.common.by import By
from selenium.webdriver.support.ui import WebDriverWait
from selenium.webdriver.support import expected_conditions as EC

PROFILE_DIR = os.path.abspath("whatsapp-profile")  # add this folder to .gitignore
PHONE = "15551234567"                             # country code + number, digits only
TEXT = "Build #142 failed: 3 tests red on Chrome 154"

options = webdriver.ChromeOptions()
options.add_argument(f"--user-data-dir={PROFILE_DIR}")
options.add_experimental_option("excludeSwitches", ["enable-automation"])
driver = webdriver.Chrome(options=options)

driver.get(f"https://web.whatsapp.com/send?phone={PHONE}&text={urllib.parse.quote(TEXT)}")

# First run: scan the QR code within 120 seconds. Later runs reuse the saved session.
send_button = WebDriverWait(driver, 120).until(
    EC.element_to_be_clickable((By.CSS_SELECTOR, 'footer button[aria-label="Send"]'))
)
send_button.click()
driver.quit()
- Send link -
web.whatsapp.com/send?phone=...&text=...opens the chat with the message already typed, so the script does not have to search for a contact. - Profile folder -
--user-data-dirstores the WhatsApp Web session. Scan the QR code on the first run only, and never commit the folder, because it holds your logged-in session. - Explicit wait -
WebDriverWaitreplaces fixed sleeps and gives you time to scan the QR code on the first run. - Automation switch - Excluding
enable-automationhides Chrome's automation banner, which in the author's runs reduced unexpected requests to rescan the QR code. - Stable selectors - WhatsApp Web regenerates its CSS class names, so older tutorials that locate the message box by class break. Prefer attributes such as
aria-label, and confirm them in DevTools after WhatsApp updates its web app.
What an automated browser sees before login - I opened the same send link on the TestMu AI cloud in three browsers without a saved profile. Each kept the phone number and message in the URL but stopped at the login screen, which offers the QR code and a "Link with phone number instead" option:
| Browser on Windows 11 | First screen | Time to QR code | Message box available |
|---|---|---|---|
| Chrome 154 | QR code login screen | 12.6 s | No |
| Edge 154 | QR code login screen | 9.3 s | No |
| Firefox 155 | QR code login screen | 12.6 s | No |
No browser reached the message box without a logged-in session, which is why a saved profile, and a one-time manual QR scan, are required for unattended runs.

Note: Automate Selenium Python tests on the cloud. Try TestMu AI Today!
Python libraries to automate WhatsApp messages
With its extensive libraries and modules, Python provides a robust framework for automating interactions on such platforms. Here are some essential Python libraries tailored to automate WhatsApp messages using Python.
Pywhatkit
Pywhatkit is a Python library designed to automate various tasks, including sending WhatsApp messages. Its simplicity and effectiveness have garnered popularity among developers.
Benefits:
- Easy to use with a straightforward API
- Allows scheduling of messages
- Versatile, with functionalities beyond WhatsApp automation
Limitations:
- Limited to basic WhatsApp features
- Just prepare the message; do not send it
Installation and Setup
pip install pywhatkit
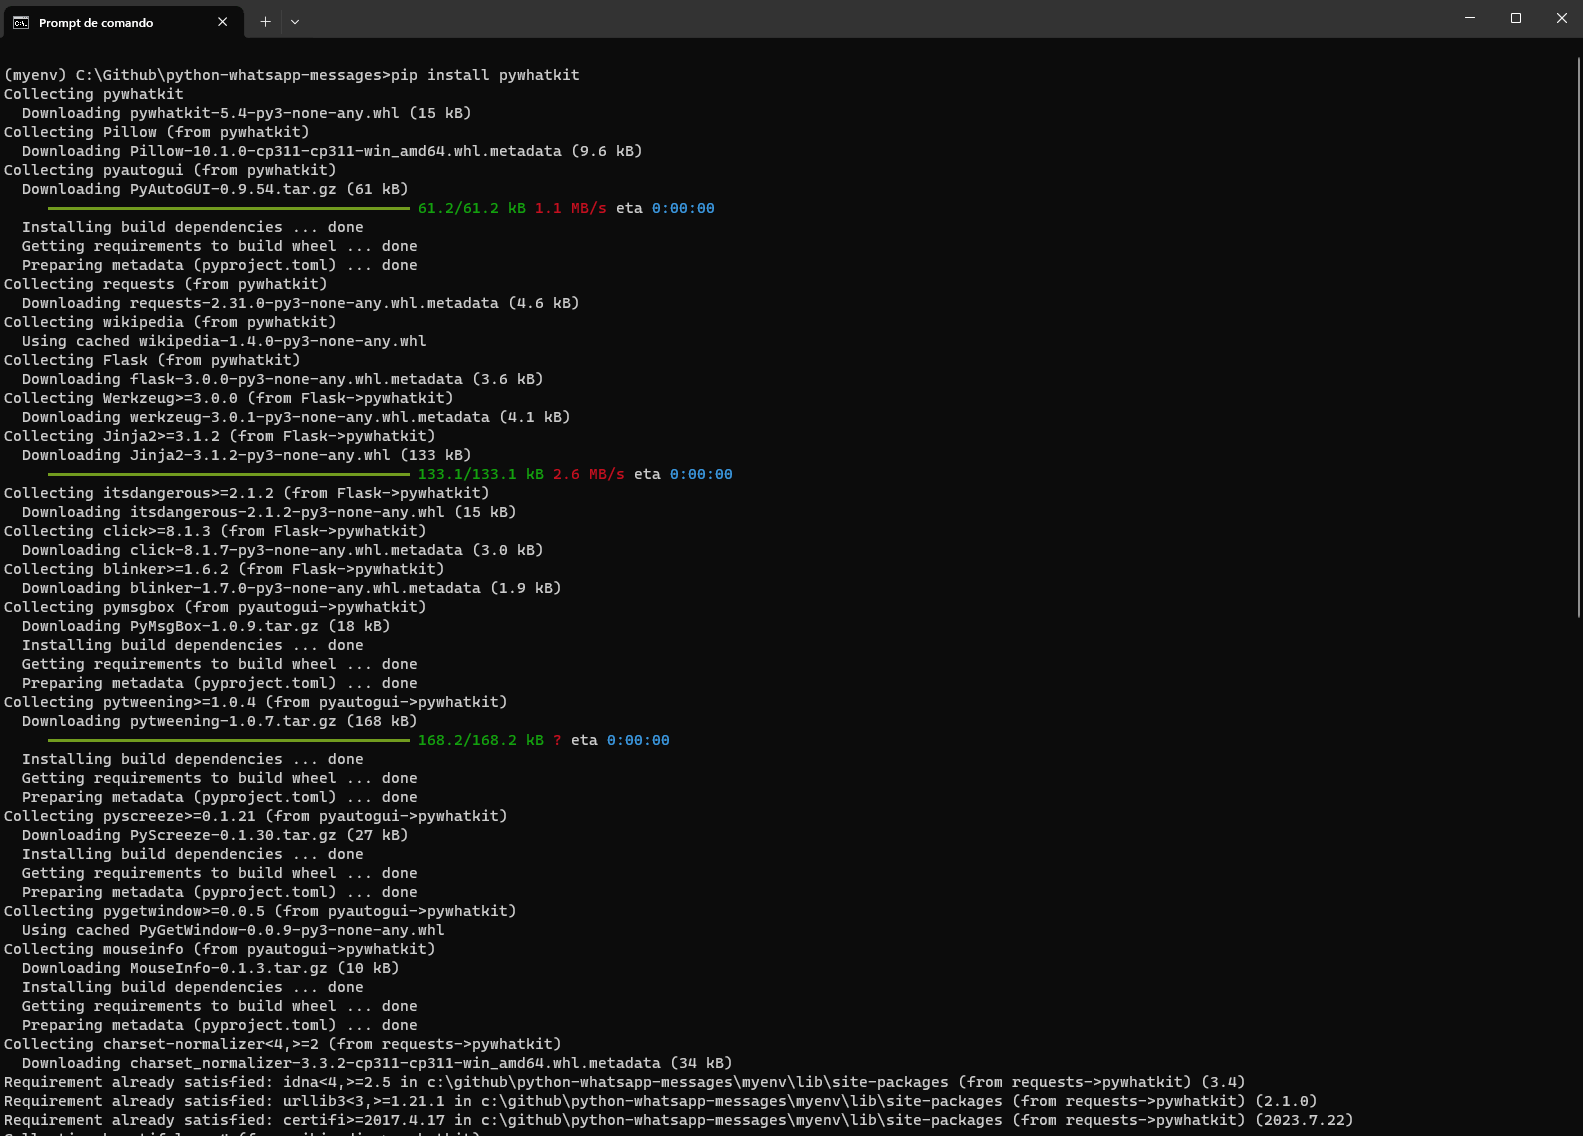
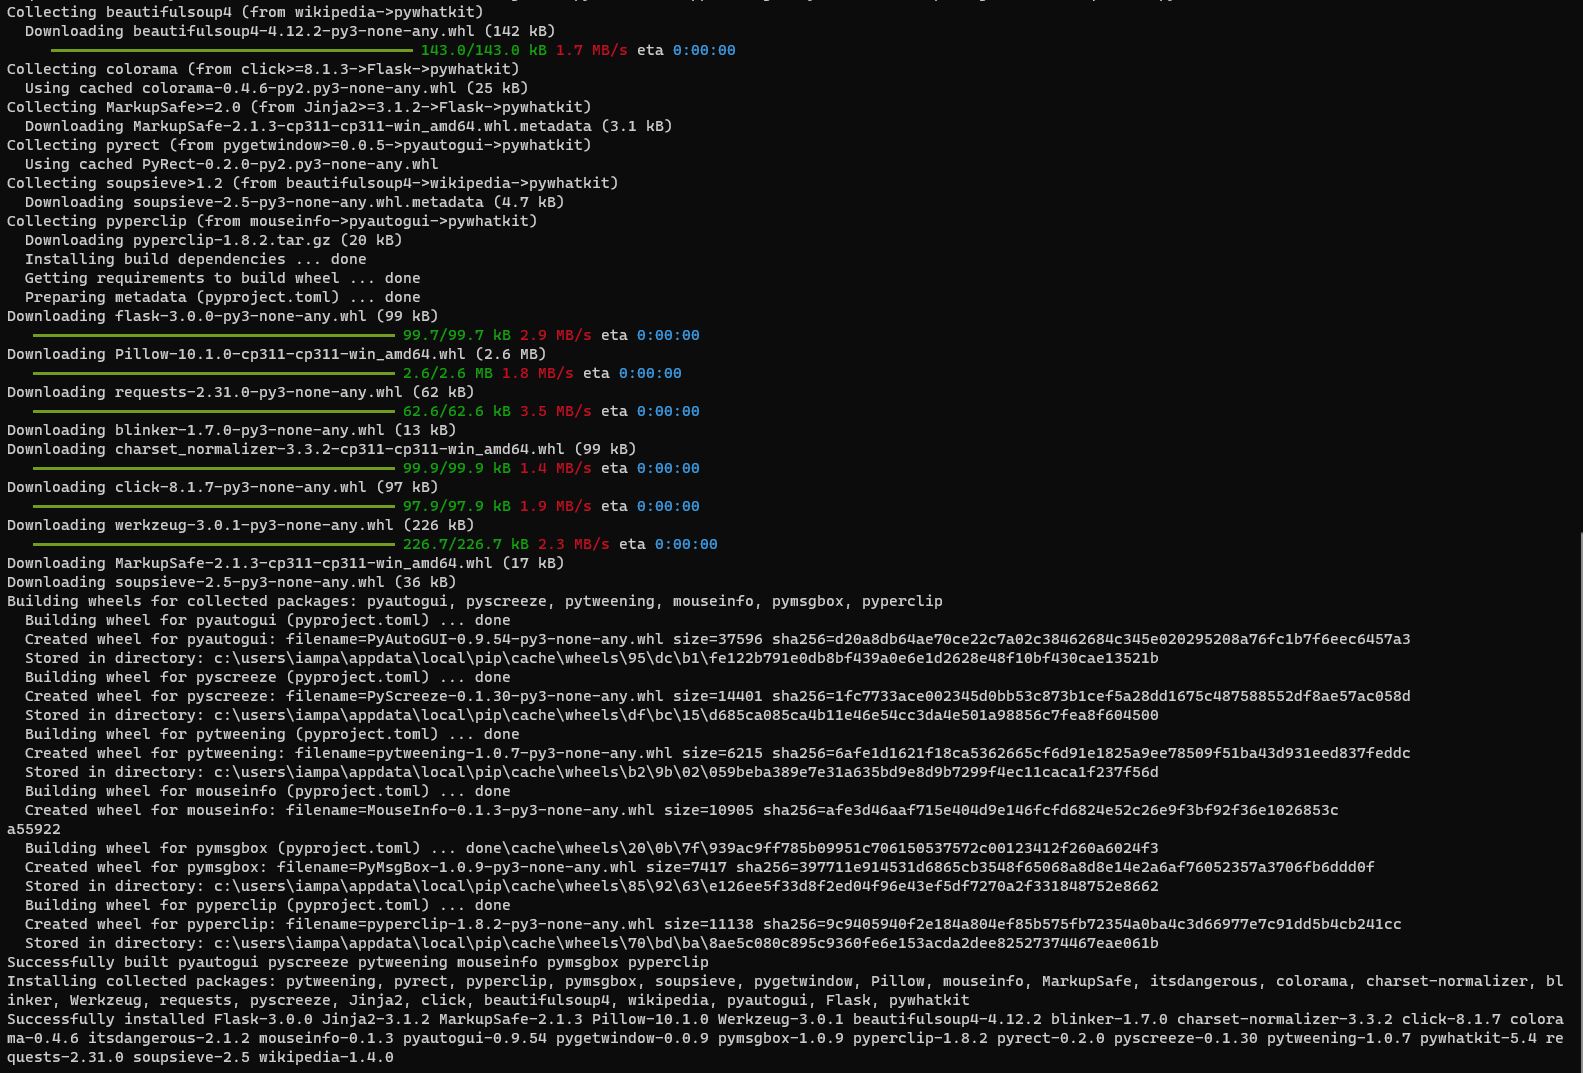
To use it, ensure you are logged into WhatsApp Web in your default browser. pywhatkit needs no API key: it opens WhatsApp Web and types the message for you. For groups, sendwhatmsg_to_group() takes the invite-link code as the group ID. Note that pywhatkit's latest release on PyPI is version 5.4 from June 2022, so test it against the current WhatsApp Web before depending on it.
Key Methods and Functionalities
- sendwhatmsg(): Send a WhatsApp message to a specific contact at a particular time
- sendwhats_image(): Send an image to a contact/group with a caption
- sendwhatmsg_to_group(): Send a WhatsApp message to a group at a particular time
- sendwhatmsg_to_group_instantly(): Send a WhatsApp message to a group instantly
Example: Sending a WhatsApp message using Pywhatkit
import pywhatkit


# Send a WhatsApp Message to a Contact at 10:50 AM
pywhatkit.sendwhatmsg("+1234567890", "Hello! This message is automated using Pywhatkit.", 10, 50)
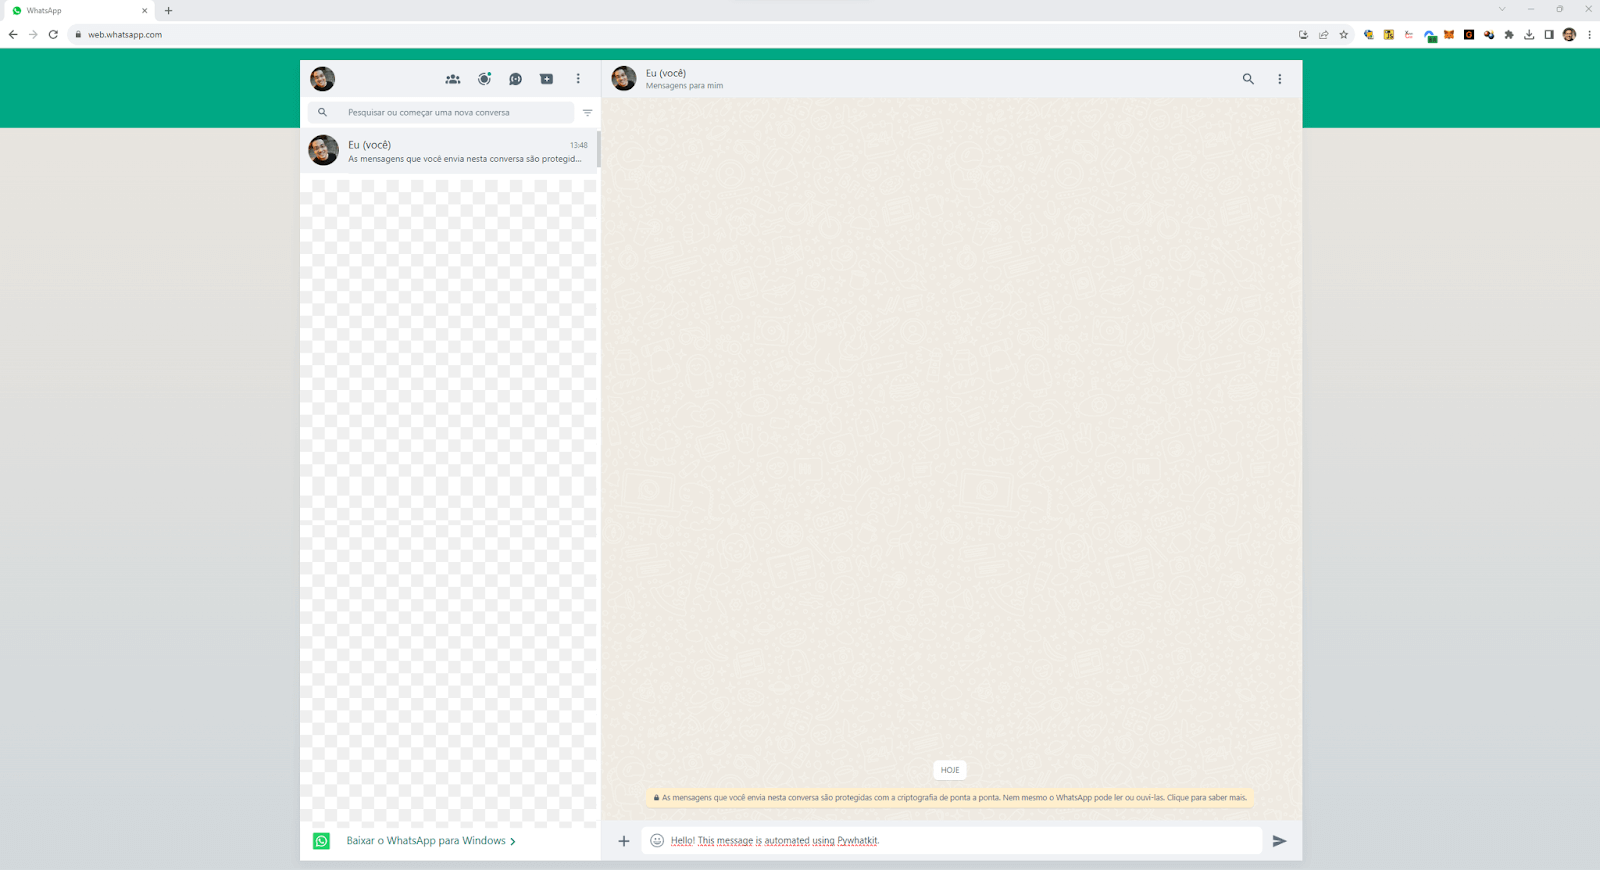
The above code will send a message, "Hello! This message is automated using Pywhatkit.", to contact the number "+1234567890", at 10:50 AM.
Make sure to replace +1234567890 with the recipient's number and adjust the time accordingly.
You can run this code using the command below:
python sample.py
In the terminal, a message is shown informing how often WhatsApp will open and the message will be sent.

After this time, WhatsApp web is opened, and the message is ready to be manually sent.
Twilio API for WhatsApp
Twilio, a renowned player in the cloud communications sphere, provides an API explicitly tailored for WhatsApp. This integration makes it easy to automate sending a WhatsApp message because it is more simple to communicate between your automation code and WhatsApp.
Benefits:
- Uniform and consistent API, regardless of the messaging platform.
- Comprehensive documentation, active community, and official support ensure smoother development cycles.
- Beyond simple messages, it supports media, webhooks, and rich messaging formats.
Limitations:
- Twilio is a paid service, potentially unsuitable for small-scale projects.
- Reliance on an intermediary between the application and WhatsApp could introduce latency and a point of failure.
Installation and Setup
Install the Twilio Python library:
pip install twilio
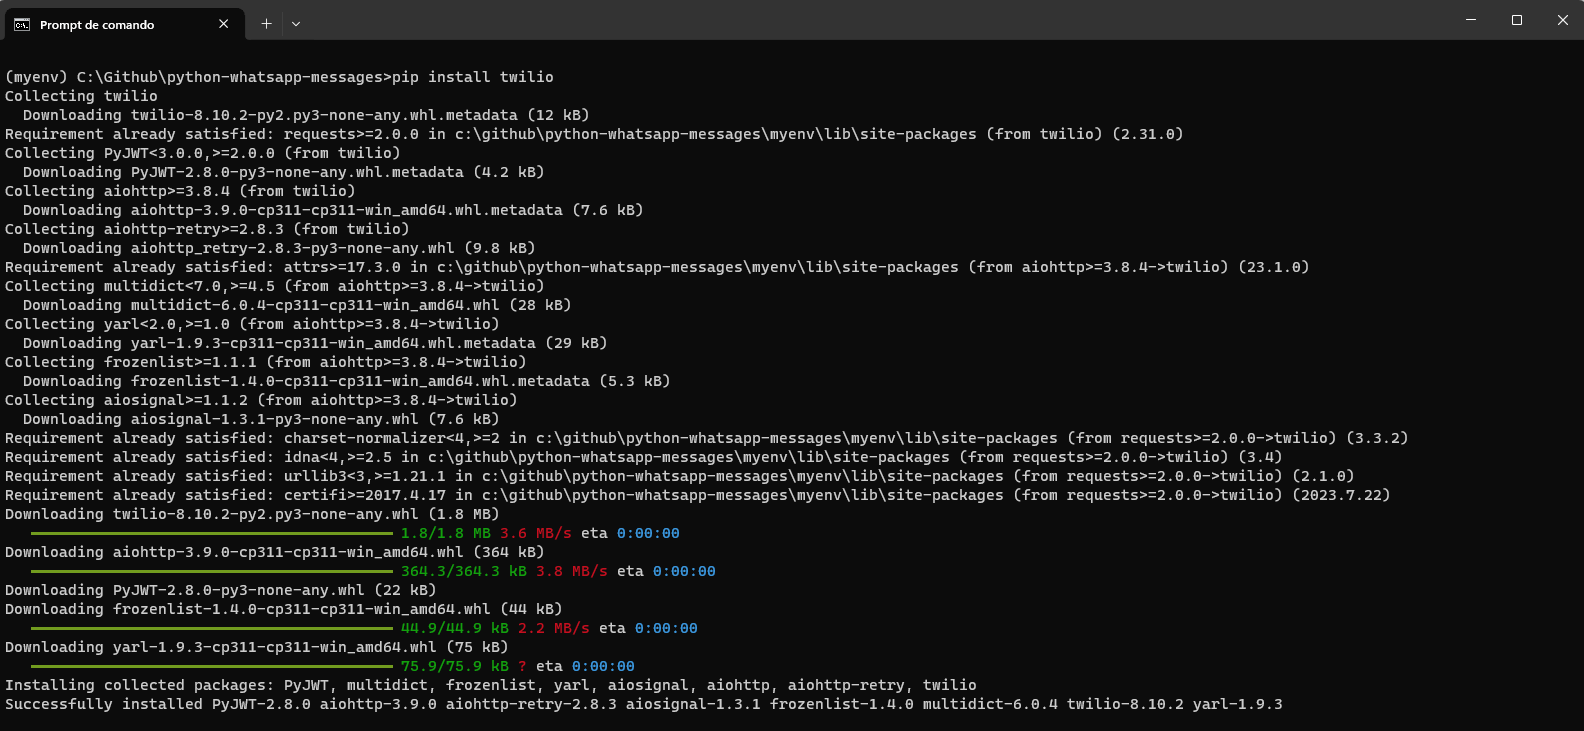
After installation, sign up on Twilio to obtain your account_sid, auth_token, and a Twilio-enabled phone number.
Key Methods and Functionalities
- messages.create(): Used to send text, media messages, or even documents.
- messages.fetch(): Retrieve specific message details using its SID.
- media.create(): Send media messages, including images, videos, etc.
- messages.list(): List all messages sent/received.
How does it differ from direct Python libraries?
While Python libraries interface directly with WhatsApp or its web version, the Twilio API introduces an abstraction layer. The communication occurs between the developer's application and Twilio, and Twilio subsequently communicates with WhatsApp. This level of abstraction brings along the benefits of standardization and added features but introduces an external dependency.
Example: Sending a WhatsApp message using Twilio API
from twilio.rest import Client


account_sid = 'your_account_sid'
auth_token = 'your_auth_token'
client = Client(account_sid, auth_token)


client.messages.create(
  from_='whatsapp:+19876543210',
  body='Hello! This message is automated using Twilio.',
  to='whatsapp:+1234567890'
)
Ensure the placeholders are replaced with actual values.
You can run this code using the command below:
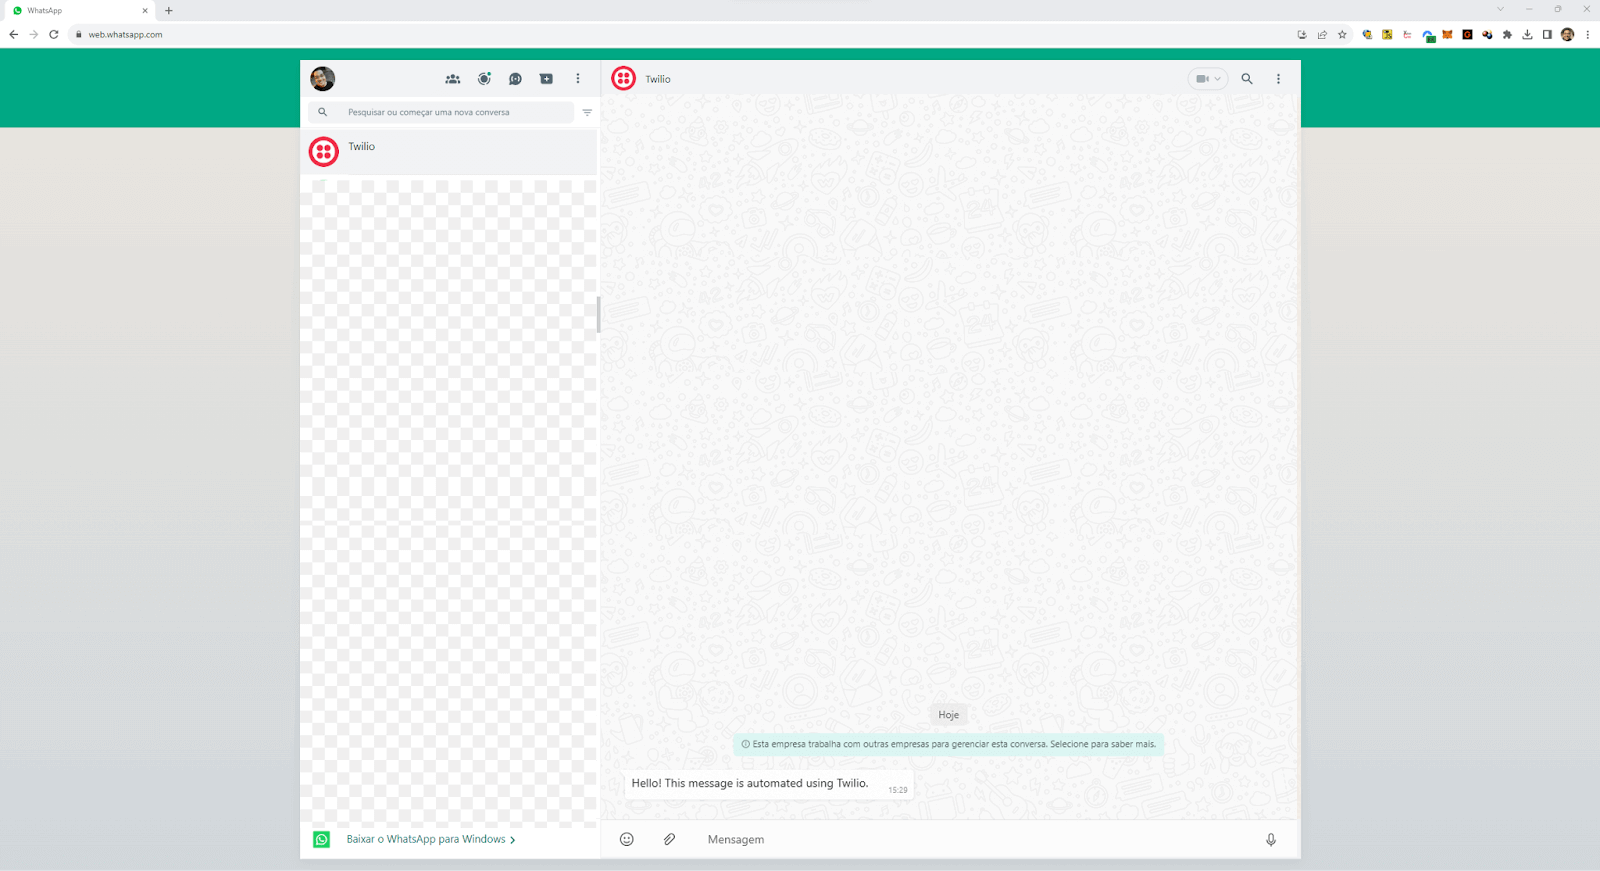
In the terminal, nothing is shown after sending the message.
Then, you can see that the message was automatically sent.
Other Python libraries
While mainstream libraries like Twilio and Pywhatkit garner a lot of attention due to their comprehensive features and wide adoption, other lesser-known Python libraries and tools to automate WhatsApp messages using Python might be worth exploring:
yowsup
This Python library acts as a CLI client, offering a robust interface for WhatsApp. It has been around for a while and provides functionalities similar to the core of WhatsApp's operations. Being Python-native, integration with other Python-based tools and scripts is straightforward.
WhatsAPIDriver
This is a Python client for the WhatsApp web API. It enables the automation of sending and receiving messages through the web version of WhatsApp. While not as feature-rich as other libraries, it offers a simple and direct interface to interact with WhatsApp messages.
WhatsAPI
This Python library facilitates the sending and receiving of WhatsApp messages. It also provides functionalities for group management and contact handling. It's an open-source project, so developers can contribute and customize according to their needs.
When considering these lesser-known tools, evaluating their community support, checking how actively they're maintained, and understanding the potential risks associated with third-party solutions are crucial. Given the proprietary nature of WhatsApp, libraries can sometimes become outdated if they're not actively updated to accommodate changes in WhatsApp's architecture and policies.
Guidelines for choosing the right tool
Selecting the perfect tool or library to automate WhatsApp messages using Python is crucial to achieving your desired outcomes. Here is how to approach this decision to ensure you get the most value and efficiency from your selected tool.
- Functionality & Scope - Some libraries offer comprehensive features, while others focus on specific functions.
- Flexibility & Integration - Consider how easily a tool can integrate into your existing system. While some have broad compatibility, niche libraries may present integration challenges.
- Scalability - Ensure your chosen tool can handle your operations' scale. Some are designed for vast message volumes daily.
- Cost - Cost can decide, especially for smaller projects or startups. Some services may lead to expenses based on usage.
In terms of test automation, stability is paramount. Not sending the expected message can lead to wrong interpretation. Furthermore, when it comes to updates and support, libraries with active communities are advantageous. They tend to have regular updates, bug fixes, and a support platform. Frequent official updates indicate active maintenance, reducing the risk of using outdated software. Extensive and clear documentation is a sign of a well-maintained tool.
Additionally, consider the risk of tools becoming deprecated due to newer alternatives or violations of WhatsApp's terms.
When choosing a tool to automate WhatsApp messages using Python, assess the technical specifications, features, and project requirements. Ensure scalability for future growth so your solution doesn't become a bottleneck. In this way, you can make a good choice.
Real-world scenarios in test automation
Let's examine real-world scenarios where automating WhatsApp messages using Python can enhance test automation processes.
Test notification via WhatsApp
Test automation scripts and suites run periodically or continuously in many software development environments. A notification system ensures that stakeholders are promptly informed about test results, whether successes or failures.
Benefits
Using WhatsApp for test automation brings several advantages to the table. First and foremost, it offers immediate feedback, ensuring that developers and testers are promptly notified as soon as a test is completed, enabling them to take swift action.
Additionally, WhatsApp messages tend to be more engaging than traditional emails, reducing the risk of critical information being overlooked in crowded inboxes.
Implementation
Implementing test notifications through WhatsApp involves a simple process. After completing your test script, add a condition to assess the test's outcome. Depending on whether the test passes or fails, craft an appropriate message indicating the success or failure.
Finally, send the tailored message to the designated recipient or group. This systematic approach ensures that test results are efficiently communicated via WhatsApp, simplifying the notification process in test automation workflows.
Integrating WhatsApp automation in CI/CD pipelines
CI/CD is a critical component in modern DevOps and Agile best practices. By integrating WhatsApp notifications within CI/CD pipelines, teams can be immediately notified about build statuses, deployment successes, or critical failures.
Benefits
Adding WhatsApp notifications in CI/CD pipelines provides several advantages. It enables real-time monitoring of pipeline activities, eliminating the need for constant dashboard checks. Additionally, these instant notifications facilitate collaboration, prompting quick responses such as debugging failed builds and expediting issue resolution. Beyond build statuses,
WhatsApp can also alert teams about critical events, including system warnings and completed deployments, showcasing its versatility as a communication tool in the CI/CD environment.
Implementation
Integrating WhatsApp into your CI/CD pipeline involves several steps. First, identify key stages where real-time notifications would provide value. Next, integrate WhatsApp automation tools with your CI/CD platforms like Jenkins or GitLab CI.
Finally, establish conditions and triggers to determine when WhatsApp messages should be sent. For instance, you can set up notifications to alert the developer team immediately in case of a deployment failure in the staging environment due to test failures. This implementation allows efficient and timely communication within your CI/CD process.
Demo: Automating WhatsApp messages using Python
This demo implements an automatic way to send test notifications using WhatsApp messages using Twilio and TestMu AI Capabilities.
TestMu AI is an AI-powered test execution and orchestration platform that empowers developers and testers to perform Python automation testing on over 3000+ real browsers and operating system combinations.

To perform Selenium Python testing on the TestMu AI cloud grid, you should use the capabilities to configure the environment where the test will run. In this blog, we will run the tests in Windows 11 and Chrome.
Test Scenarios
We will automate the below test scenarios:
Test Scenario 1 - Test Passed
Steps:
|
|---|
- Open the Simple Form Demo page in the TestMu AI Playground.
- Fill in the first field with the message "Message1".
- Click the Get Checked Value button.
- Check that "Message1" is shown to the user on the right side.
- Send a test notification by WhatsApp with the test result.
Test Scenario 2 - Test Failed
Steps:
|
|---|
- Open the Simple Form Demo page in the TestMu AI Playground.
- Fill in the first field with the message "Message1".
- Click the Get Checked Value button.
- Fill in the first field with the message "Message2".
- Click the Get Checked Value button.
- Check that "Message1" is shown to the user on the right side.
- Send a test notification by WhatsApp with the test result.
Setting Up the Environment
Step 1: Install Selenium, pytest, and other necessary libraries
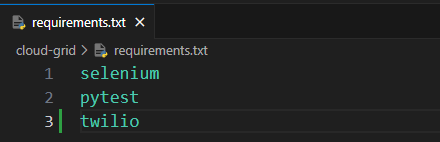
Once Python is installed, use the Python package manager, pip, to install Selenium, pytest, and Twilio just running the following command:
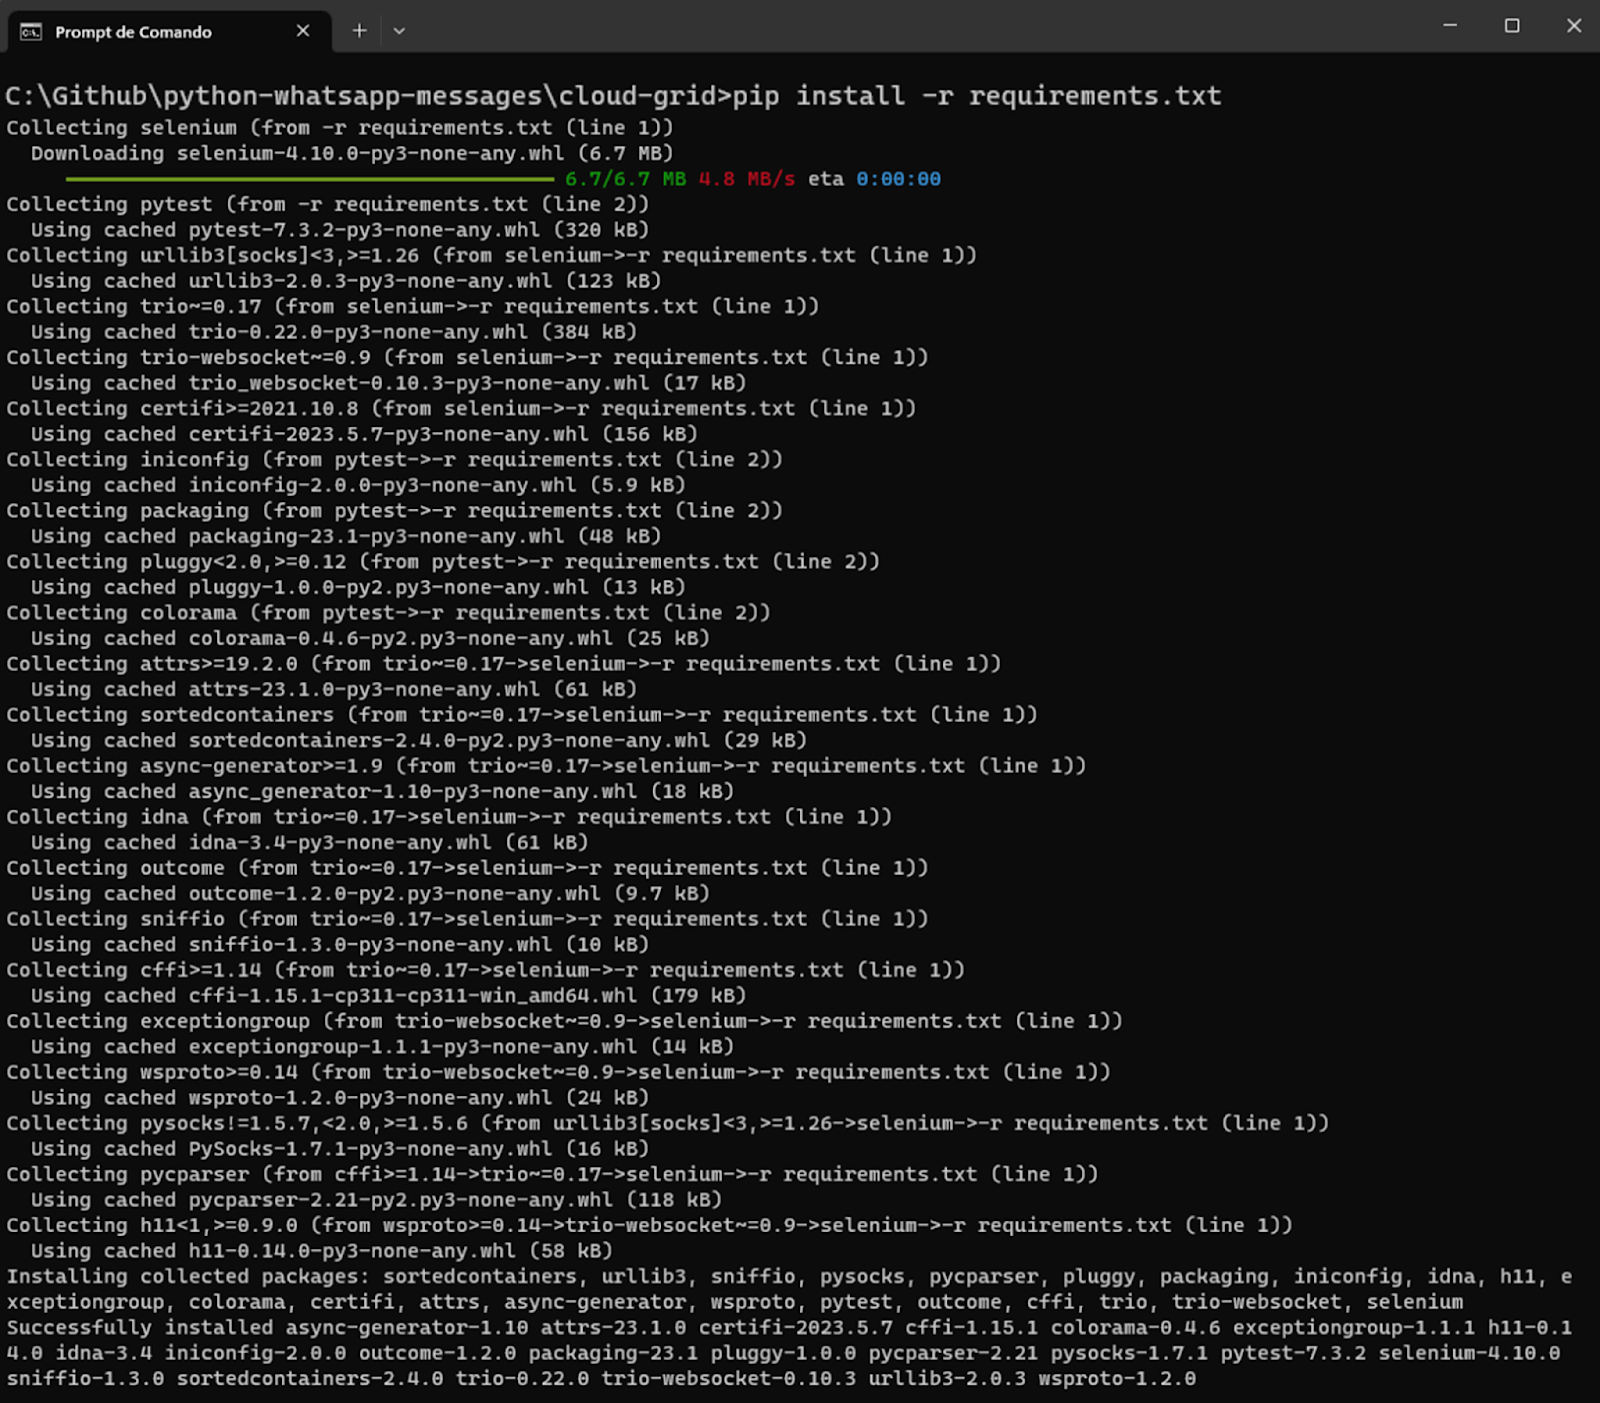
pip install -r requirements.txt
Requirements.txt contains the dependencies that we want to install.
After running, you can see the below output:
Step 2: Download and Install Visual Studio Code or your preferred IDE
Step 3: Configure pytest in Visual Studio Code
To finish the configuration, we need to say to Visual Studio Code that pytest will be our test runner, so you can do this following the below instructions:
- Create a folder for your project (in our example, python-screenshots).
- Open the project folder in Visual Studio Code.
- Open the command palette (menu View > Command Palette), and type "Configure Tests".
- Select pytest as the test framework.
- Select the root directory option.
You must also prepare the TestMu AI capabilities code to be inserted in our test script.
You can generate the capabilities code from the TestMu AI Capabilities Generator.
Then, you should get the "Username" and "Access Token" from the TestMu AI Password & Security section and set them as environment variables.

Demonstration
First of all, let's create the project structure:
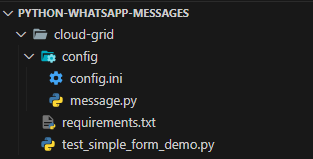
Implementation
[WEBSITE]
url = https://www.testmuai.com/selenium-playground/simple-form-demo/


[LOGIN]
username = your-lambdatest-username
access_key = your-lambdatest-access-key


[CLOUDGRID]
grid_url = hub.lambdatest.com/wd/hub
build_name = Python WhatsApp Message Build
test_name = Test Case X
w3c = True
browser_version = latest
selenium_version = 4.13.0


[ENV]
platform = Windows 11
browser_name = Chrome


[WHATSAPP]
account_sid = your-twilio-account-sid
auth_token = your-twilio-auth-token
my_twilio_phone_number = your-twilio-phone-number
notification_phone_number = phone-number-to-send-message
from twilio.rest import Client
import configparser


# Load the configuration file
config = configparser.ConfigParser()
config.read('config/config.ini')


def send_whatsapp_message(test_name, result):
    account_sid = config.get('WHATSAPP', 'account_sid')
    auth_token = config.get('WHATSAPP', 'auth_token')
    notification_phone_number = config.get('WHATSAPP', 'notification_phone_number')
    my_twilio_phone_number = config.get('WHATSAPP', 'my_twilio_phone_number')


    client = Client(account_sid, auth_token)


    if result == False:
        content = f'{test_name} - FAILED'
    else:
        content = f'{test_name} - PASSED'


    client.messages.create(
        from_='whatsapp:' + my_twilio_phone_number,
        body=content,
        to='whatsapp:' + notification_phone_number
    )
from selenium import webdriver
from selenium.webdriver.common.by import By
import pytest
import os
import configparser
from config import message


# Load the configuration file
config = configparser.ConfigParser()
config.read('config/config.ini')


@pytest.fixture()
def driver(request):
    username = os.getenv("LT_USERNAME")
    accessKey = os.getenv("LT_ACCESS_KEY")


    gridUrl = config.get('CLOUDGRID', 'grid_url')


    web_driver = webdriver.ChromeOptions()
    platform = config.get('ENV', 'platform')
    browser_name = config.get('ENV', 'browser_name')


    lt_options = {
        "user": config.get('LOGIN', 'username'),
        "accessKey": config.get('LOGIN', 'access_key'),
        "build": config.get('CLOUDGRID', 'build_name'),
        "name": config.get('CLOUDGRID', 'test_name'),
        "platformName": platform,
        "w3c": config.get('CLOUDGRID', 'w3c'),
        "browserName": browser_name,
        "browserVersion": config.get('CLOUDGRID', 'browser_version'),
        "selenium_version": config.get('CLOUDGRID', 'selenium_version'),
        "visual": True
    }


    options = web_driver
    options.set_capability('LT:Options', lt_options)


    url = f"https://{username}:{accessKey}@{gridUrl}"

    driver = webdriver.Remote(
        command_executor=url,
        options=options
    )


    yield driver

    driver.quit


def test_1(driver):
    driver.get(config.get('WEBSITE', 'url'))

    # Find an input element by its ID and enter text
    input_element = driver.find_element(By.ID, "user-message")
    input_element.send_keys("Message1")


    # Find an element by its ID and click on it
    element = driver.find_element(By.ID, "showInput")
    element.click()


    # Find an element by its ID and extract its text
    element = driver.find_element(By.ID, "message")


    result = element.text == "Message1"

    message.send_whatsapp_message("test_1", result)


def test_2(driver):
    driver.get(config.get('WEBSITE', 'url'))

    # Find an input element by its ID and enter text
    input_element = driver.find_element(By.ID, "user-message")
    input_element.send_keys("Message1")


    # Find an element by its ID and click on it
    element = driver.find_element(By.ID, "showInput")
    element.click()


    # Enter new text
    input_element.send_keys("Message2")


    # Click on the button again
    element.click()


    # Find an element by its ID and extract its text
    element = driver.find_element(By.ID, "message")


    result = element.text == "Message1"


    message.send_whatsapp_message("test_2", result)

Code Walkthrough
config.ini
This configuration file contains various sections, each with specific parameters.
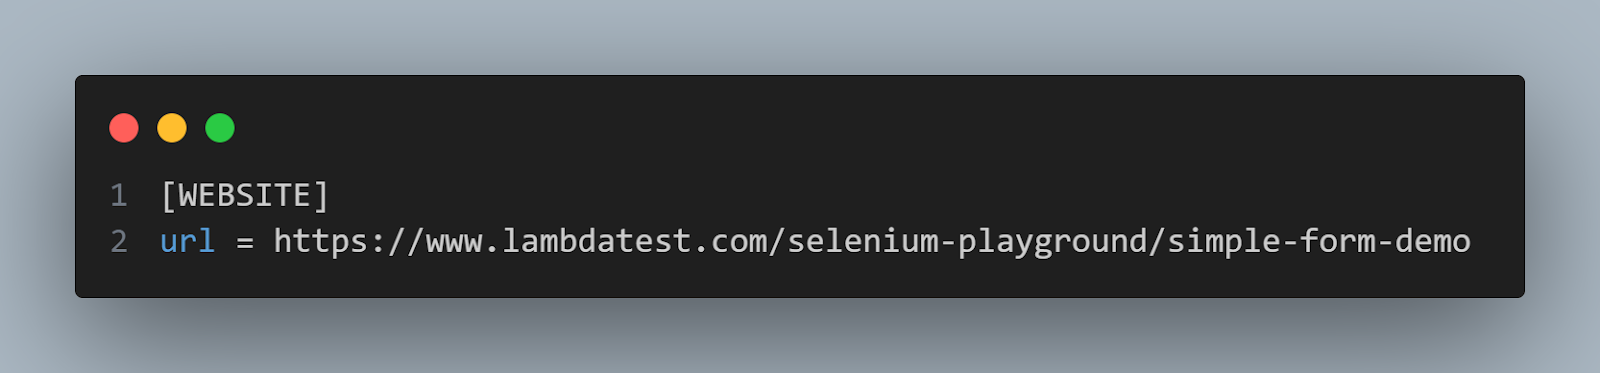
[WEBSITE]: This section defines the URL where the Selenium tests will be conducted. In this case, it's set to a demo page on TestMu AI (https://www.testmuai.com/selenium-playground/simple-form-demo/).
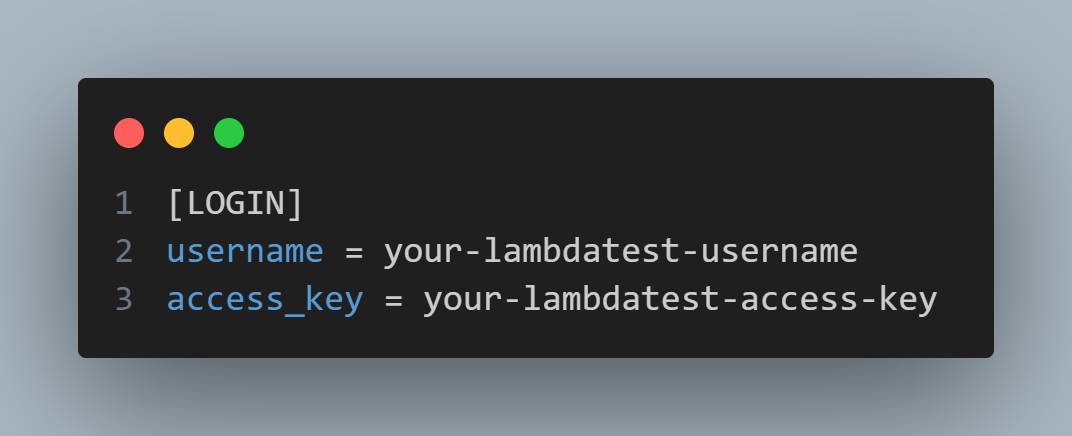
[LOGIN]: Here, the username and access_key are specified for personalized access to TestMu AI features. These credentials act as the platform's gatekeeper.
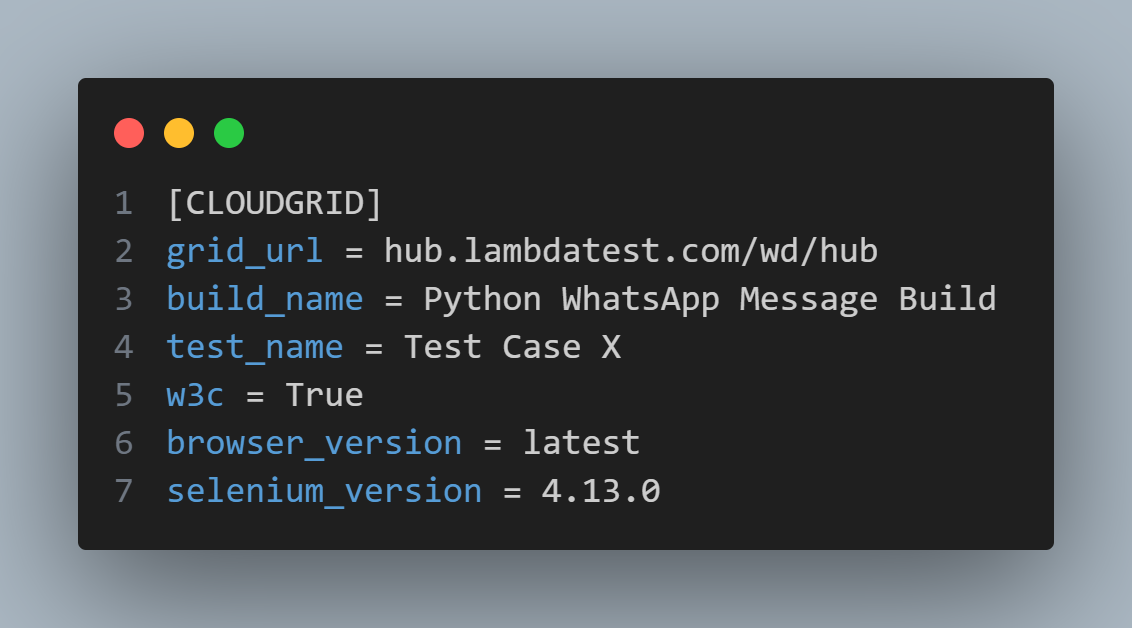
[CLOUDGRID]: This section contains parameters related to parallel testing using the TestMu AI cloud grid. It includes the grid_url for the hub, build_name for organizing tests, test_name for identifying the specific test case, and versions of browser_version and selenium_version for compatibility. The w3c parameter adheres to global WebDriver standards.
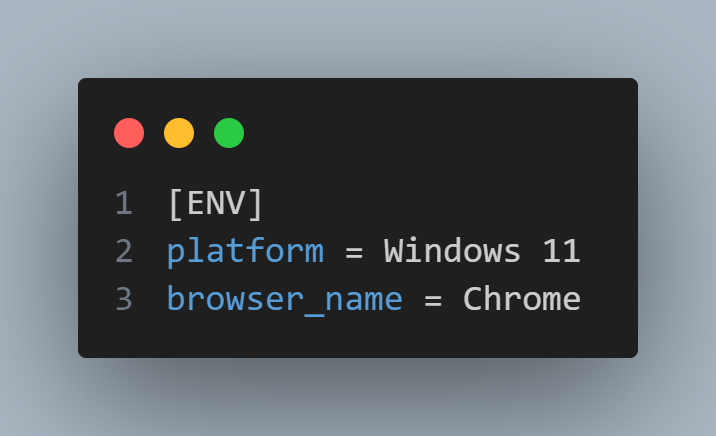
[ENV]: This section defines the test environment, specifying the platform (Windows 11) and browser_name (Chrome) to mimic potential end-user conditions.
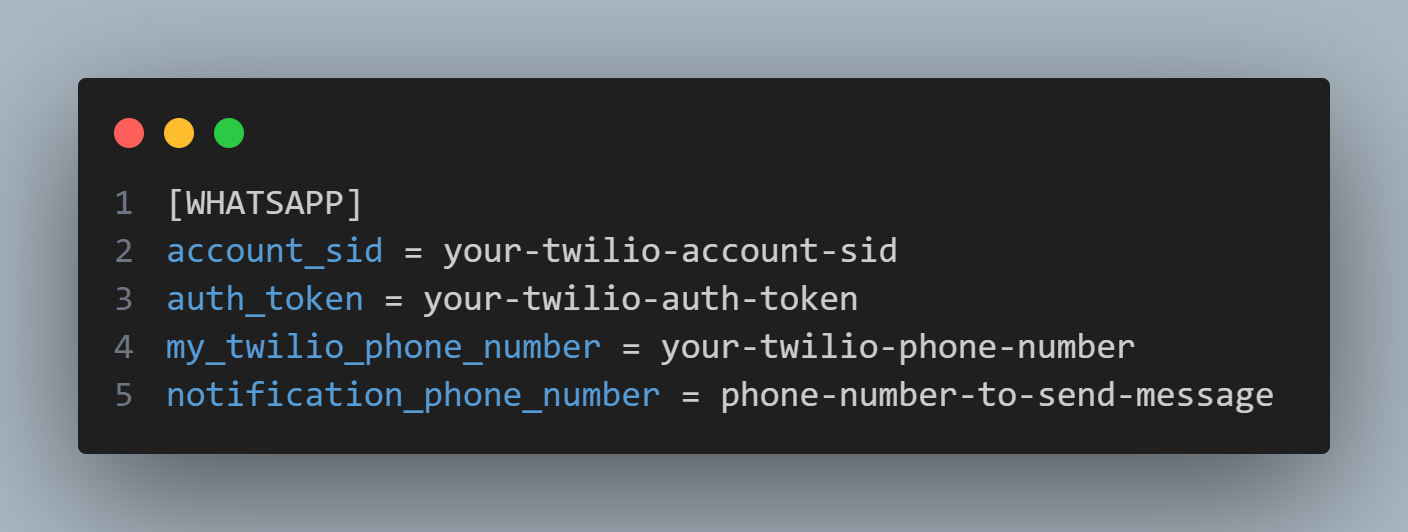
[WHATSAPP]: Contains Twilio account details, including account_sid, auth_token, my_twilio_phone_number, and notification_phone_number. These are used for sending automated WhatsApp messages using Python.
message.py
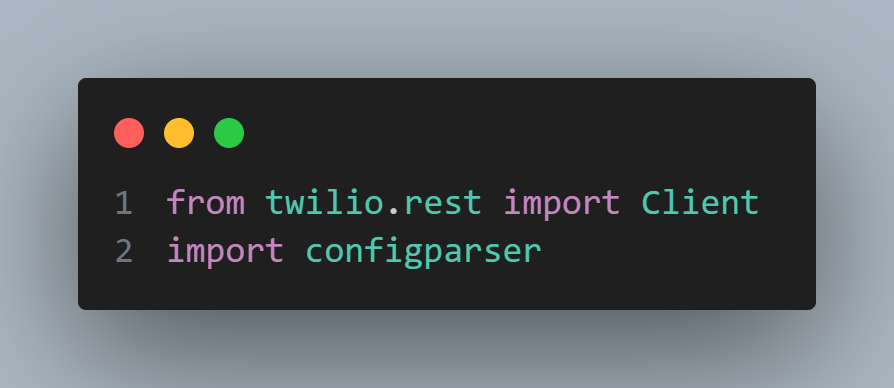
This script sends automated WhatsApp messages using Python based on test results.
The Twilio client is imported using twilio.rest import Client. The configparser module is used to read the configuration file (config.ini).
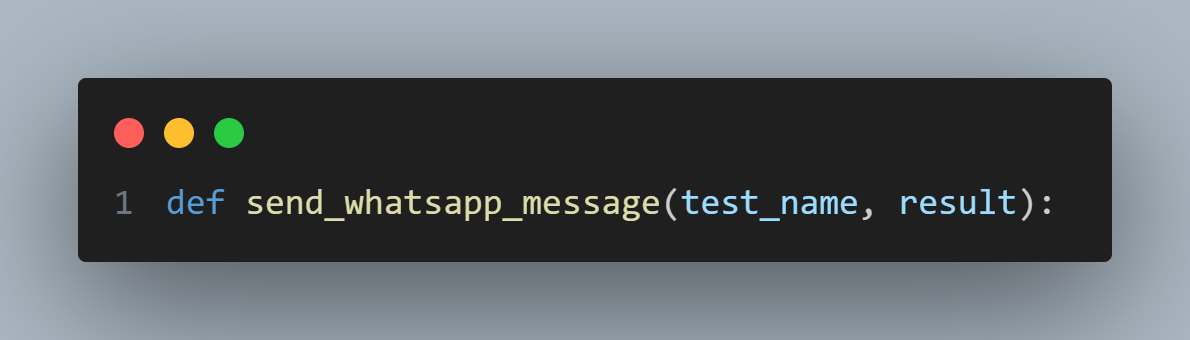
A function send_whatsapp_message is defined. This function takes test_name and result as arguments. test_name represents the name of the test case, and the result indicates whether the test passed or failed.
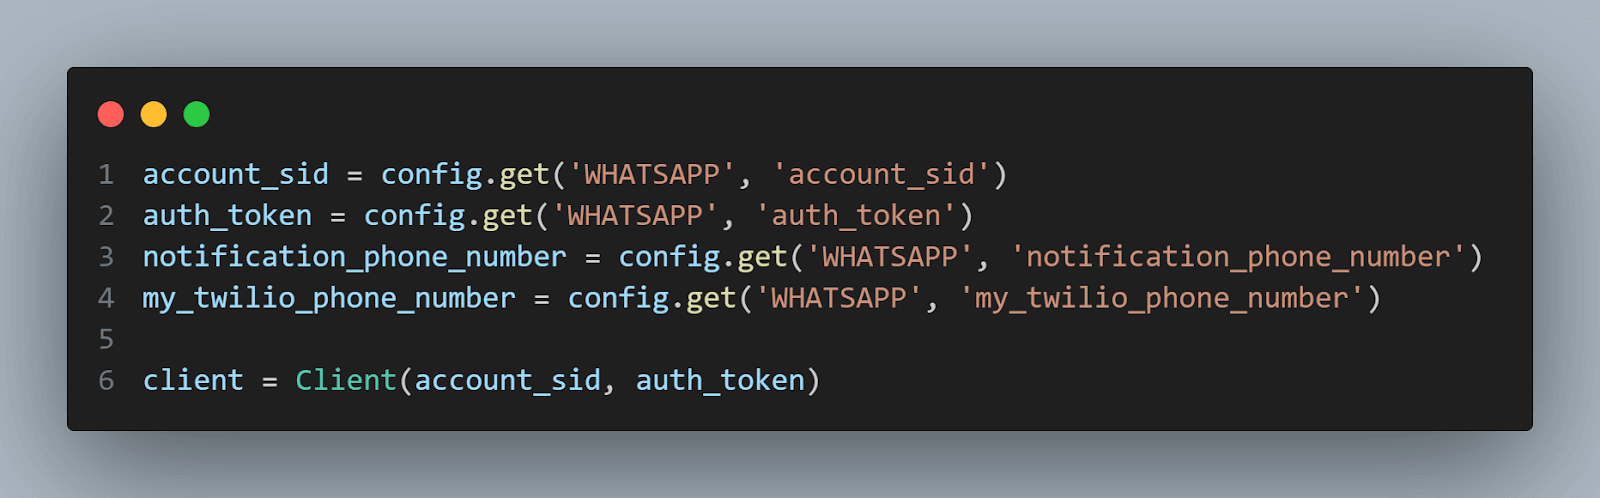
Inside the function, Twilio account details (account SID, authentication token, and phone numbers) are retrieved from the configuration file. Also, the Twilio client is instantiated using the account SID and authentication token.
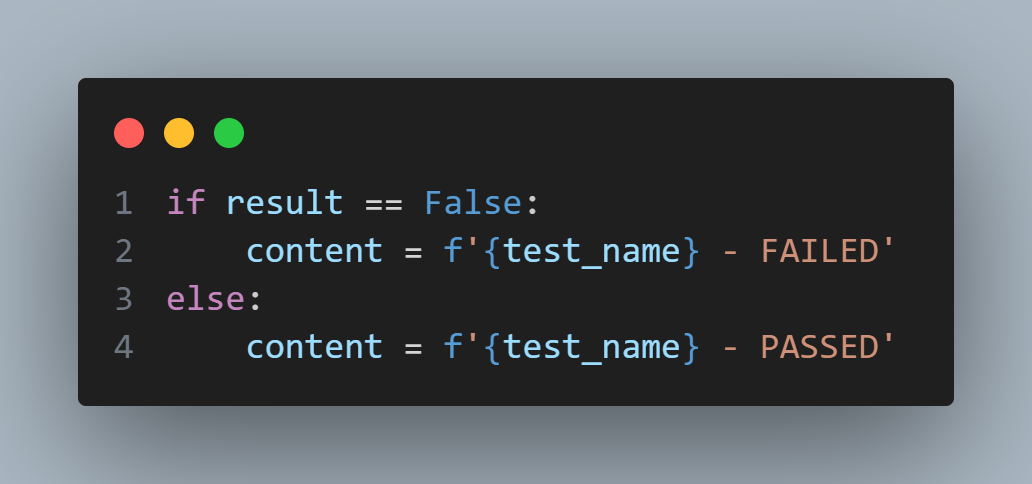
Message content is defined depending on the test result (indicating whether the test passed or failed).
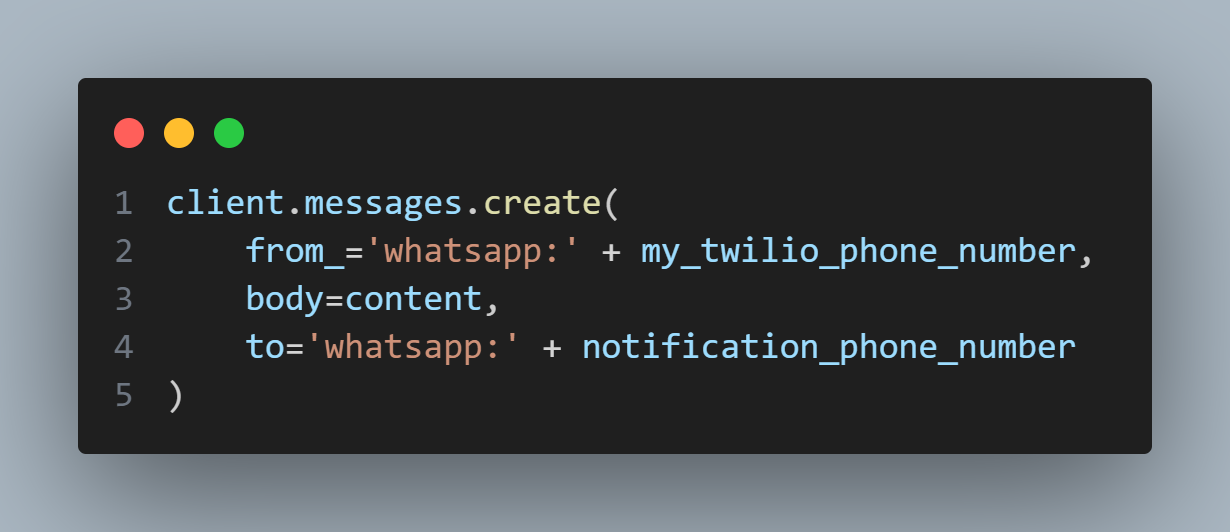
Finally, a WhatsApp message is sent using the Twilio client, specifying the sender's number (my_twilio_phone_number), the content, and the recipient's number (notification_phone_number).
test_simple_form_demo.py
This script contains the Selenium test cases.
The script begins by importing the necessary modules.
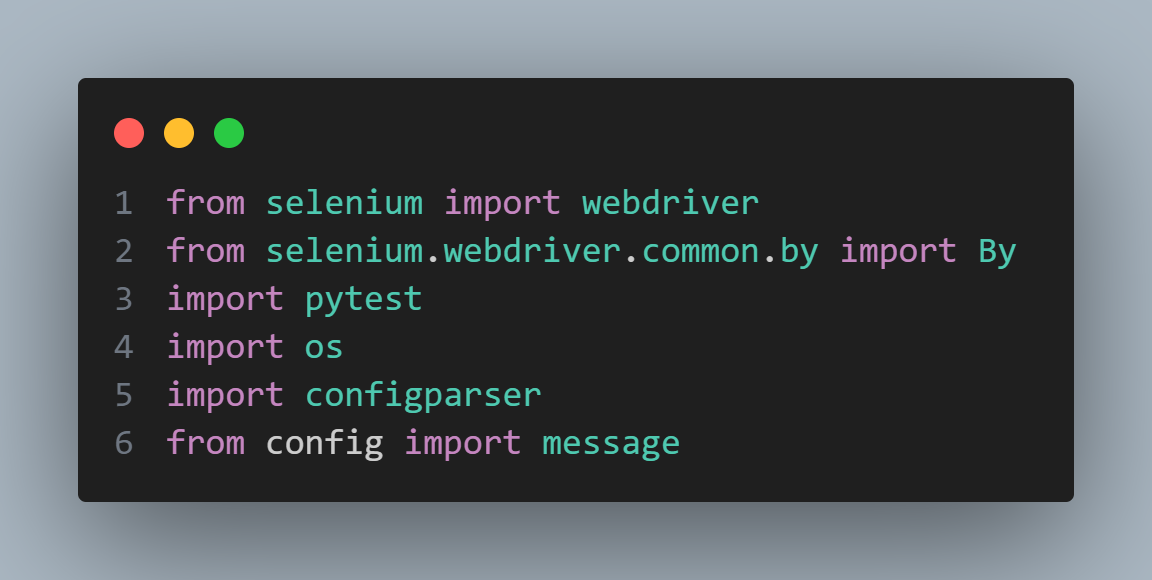
Similar to message.py, the configparser module is used to read the configuration file (config.ini).
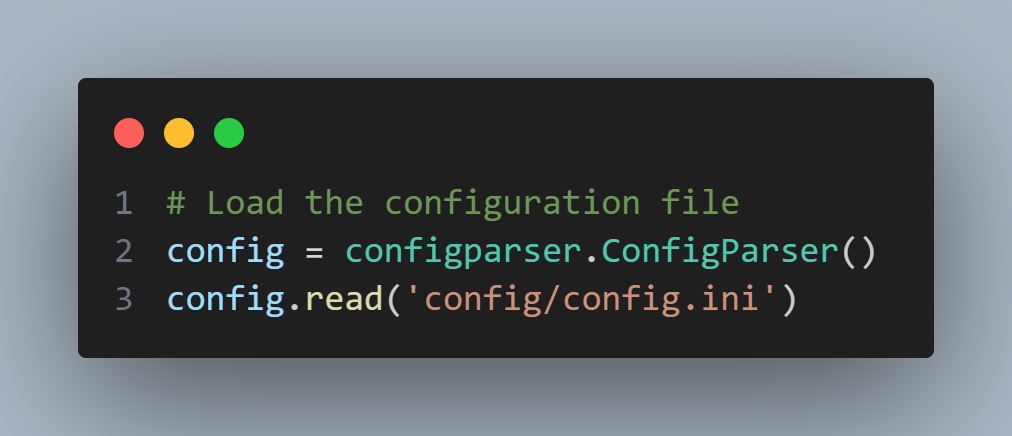
A fixture driver is defined using pytest.fixture(). This pytest fixture sets up the Selenium WebDriver.
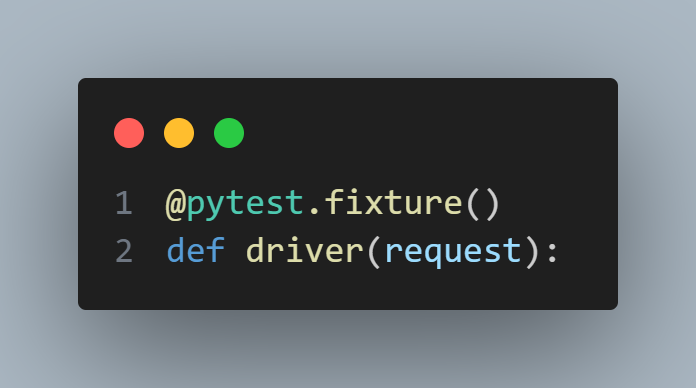
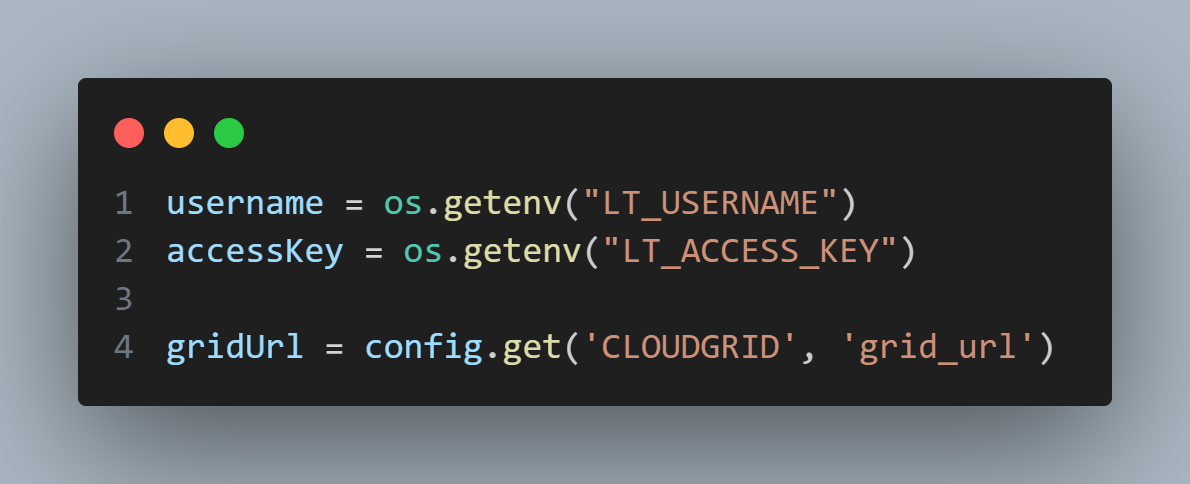
Initially, it fetches username and access key values from environment variables. These credentials are used for personalized access to TestMu AI. Also, the URL for the cloud grid where testing will occur (gridUrl) is retrieved.
You can learn more about the pytest fixtures from the video below:

Subscribe to the TestMu AI YouTube Channel and stay updated with the latest tutorials around Playwright, Cypress, and Selenium testing.
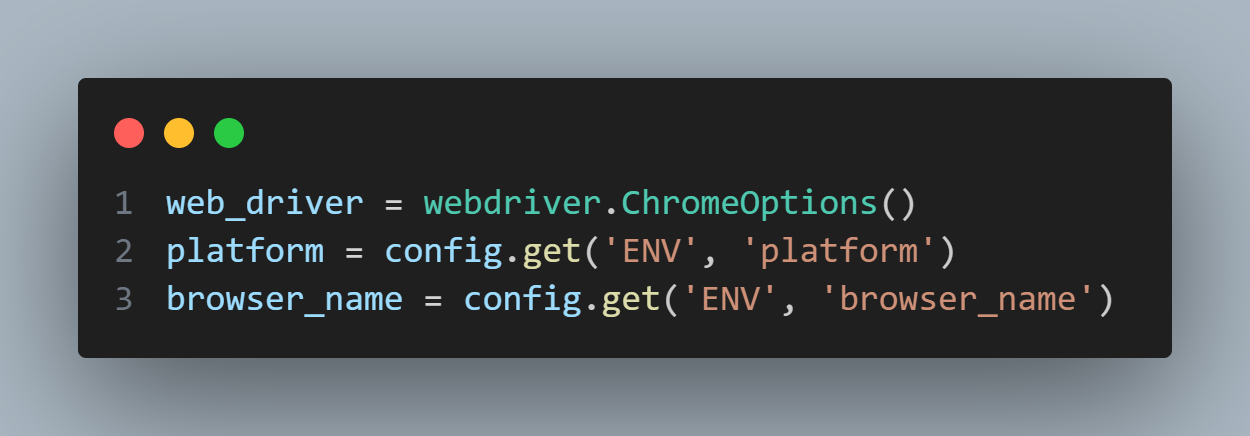
A Chrome WebDriver is then instantiated with ChromeOptions (web_driver). Also, platform and browser_name information is obtained from the config.ini file.
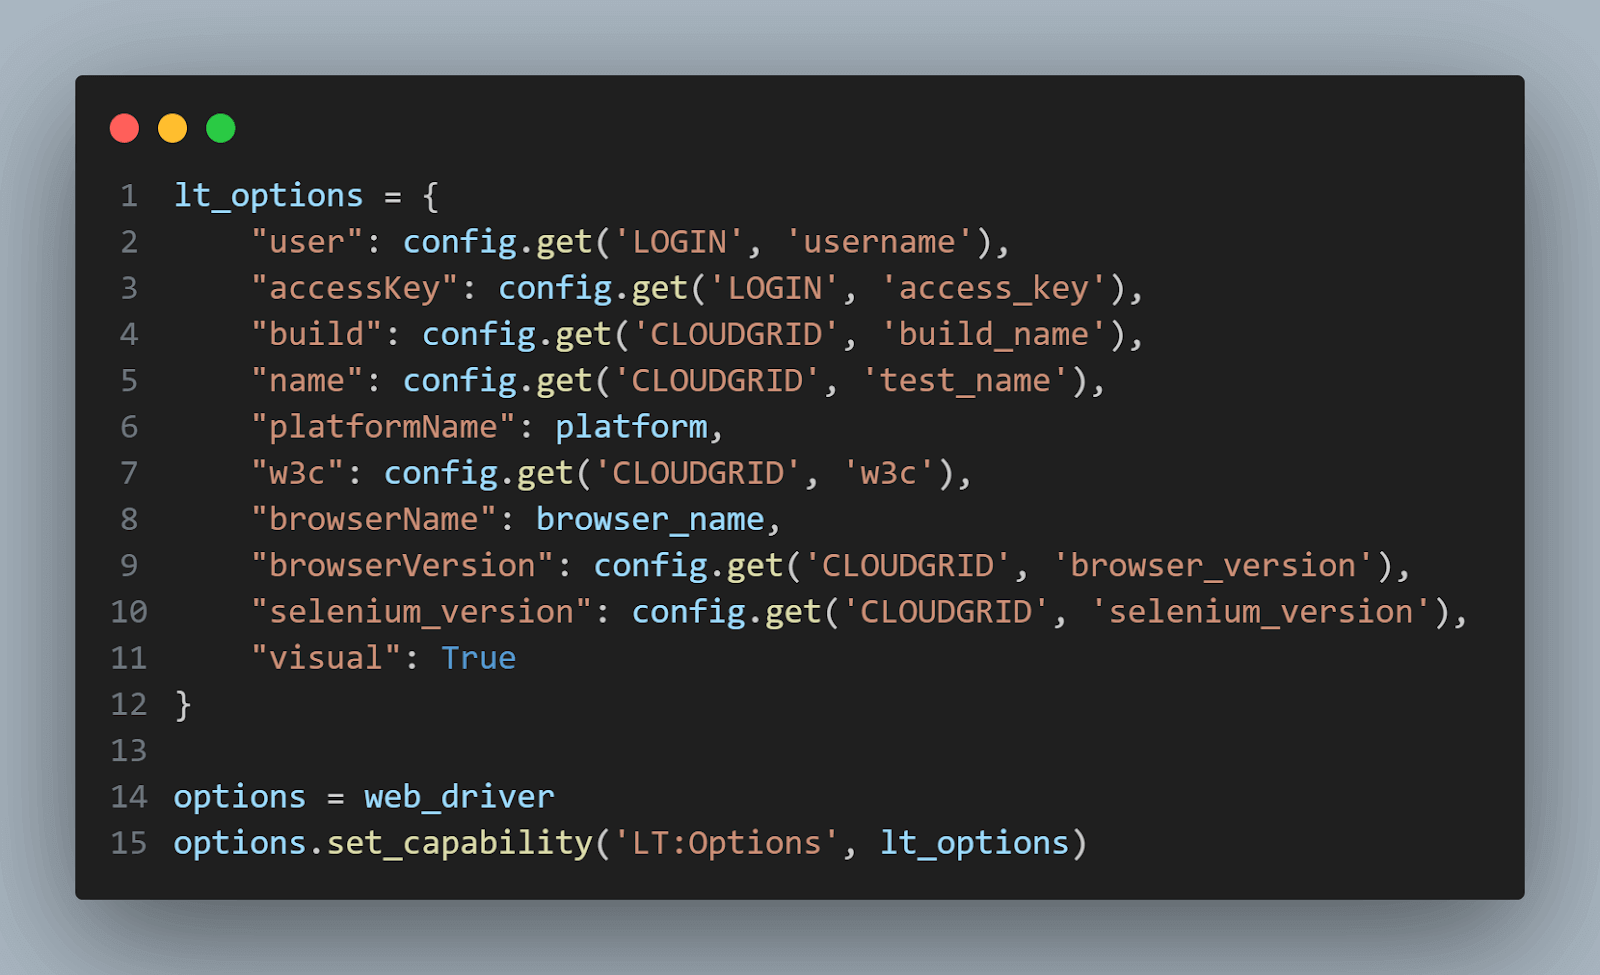
A dictionary lt_options is populated with all these test settings, including login credentials, build and test names, platform information, and browser details; most came from the configuration file. Finally, these options are set as capabilities for the WebDriver instance using the set_capability method. This ensures that the WebDriver is fully configured according to the parameters defined in the config file and the environment variables.
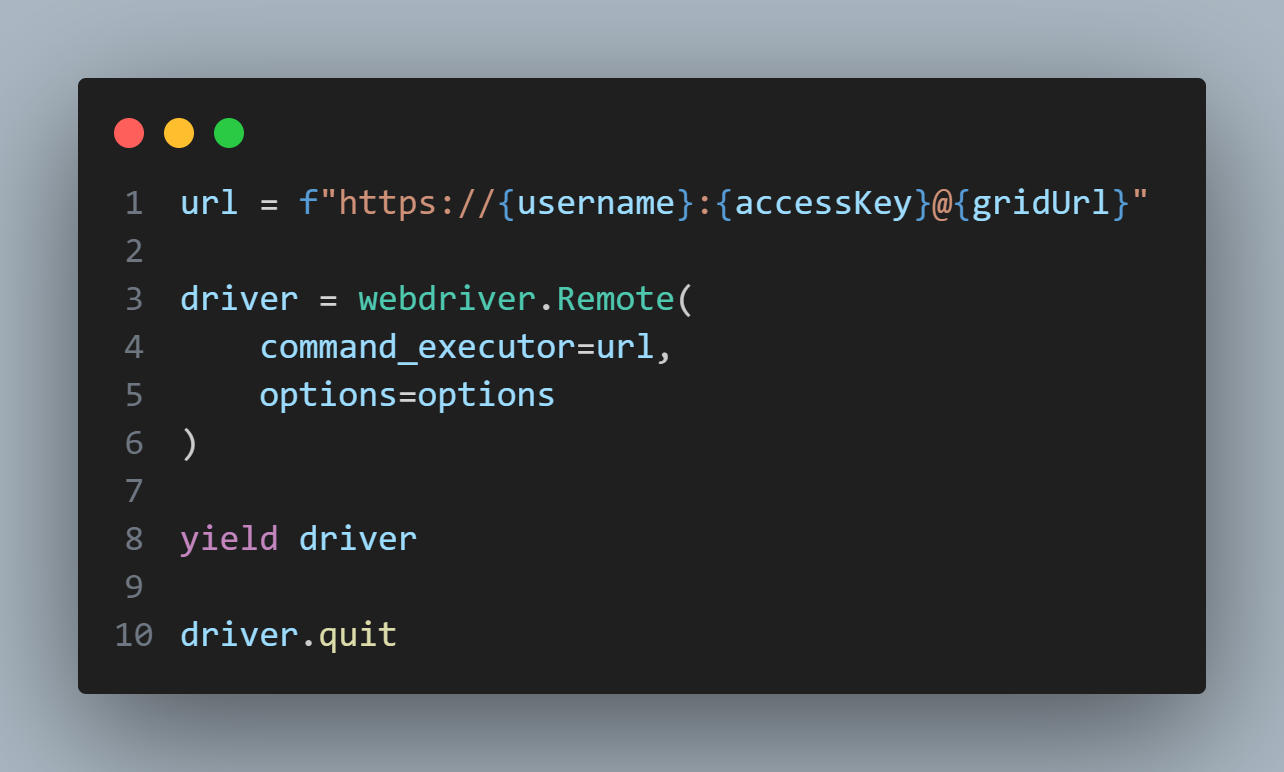
With the WebDriver set up, the fixture connects to the TestMu AI Selenium Grid, which allows running tests on cloud-hosted browsers. It then yields the driver, making it available to the test function, and closes it once the test is done.
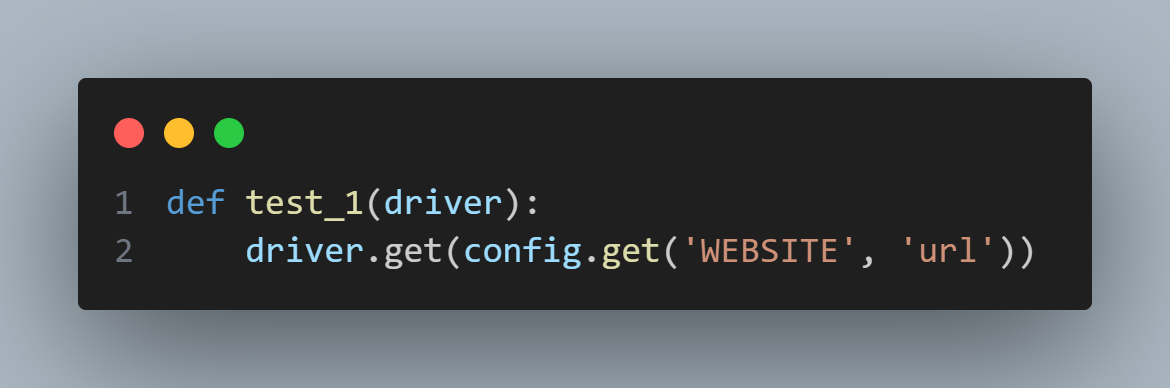
The test cases (test_1 and test_2) use the Selenium WebDriver to interact with a sample form on the TestMu AI demo page.
Firstly, it navigates the Selenium WebDriver to a specific URL, in this case, the TestMu AI demo page.
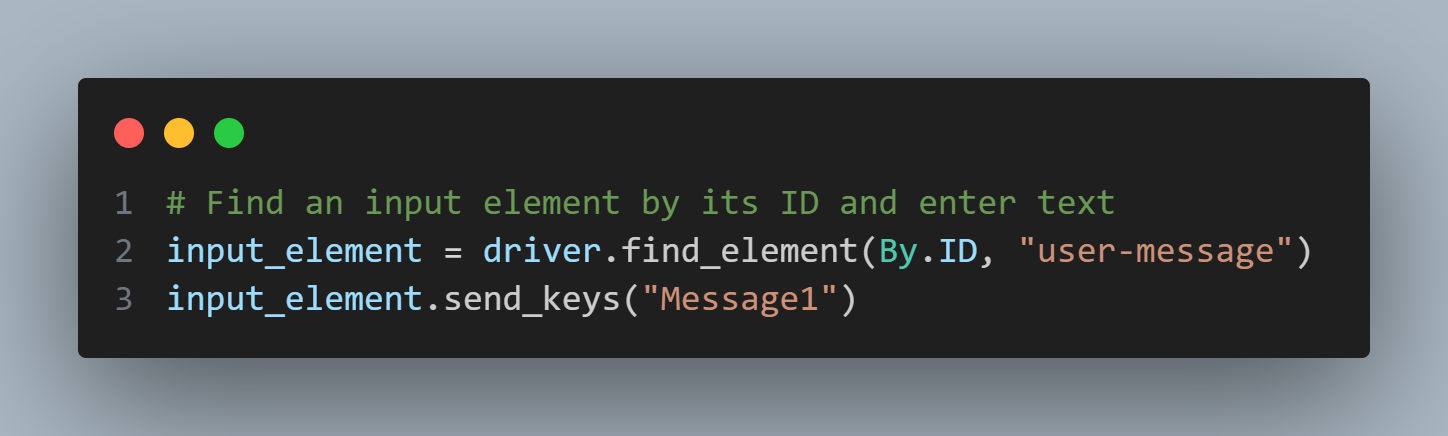
Then, it locates an input field on the page and enters the text "Message1".
Following that, it finds and clicks a button or trigger element.
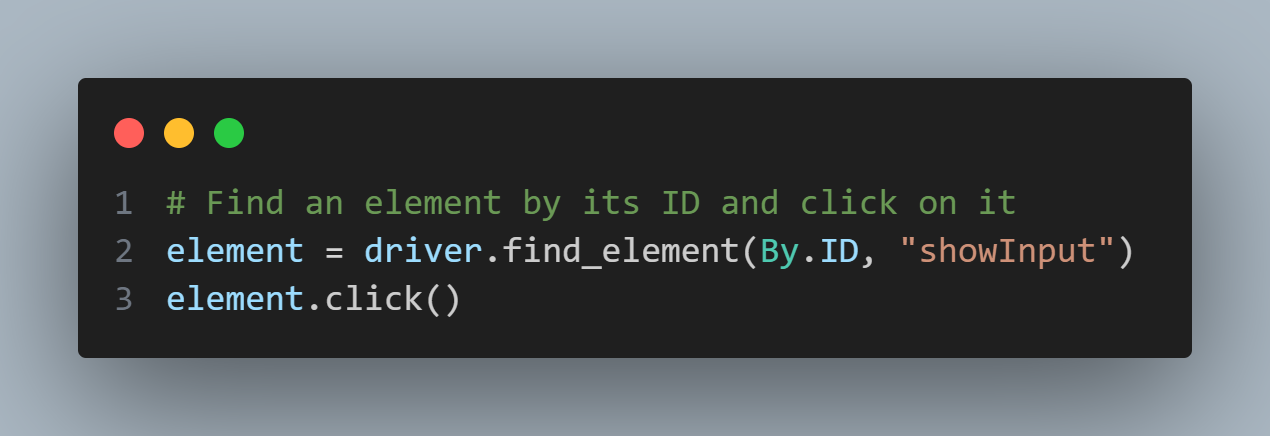
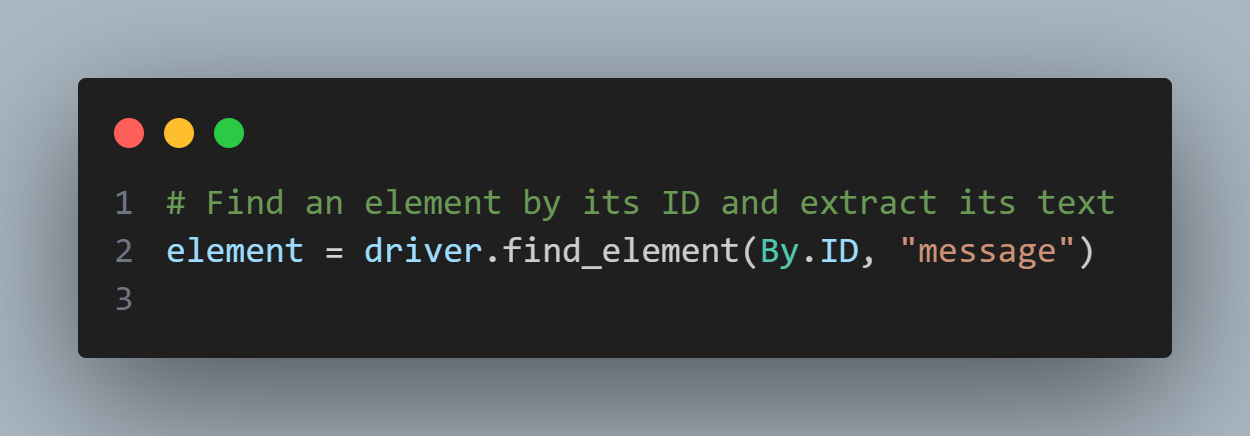
After this interaction, it locates another element which likely contains the message sent as an output.
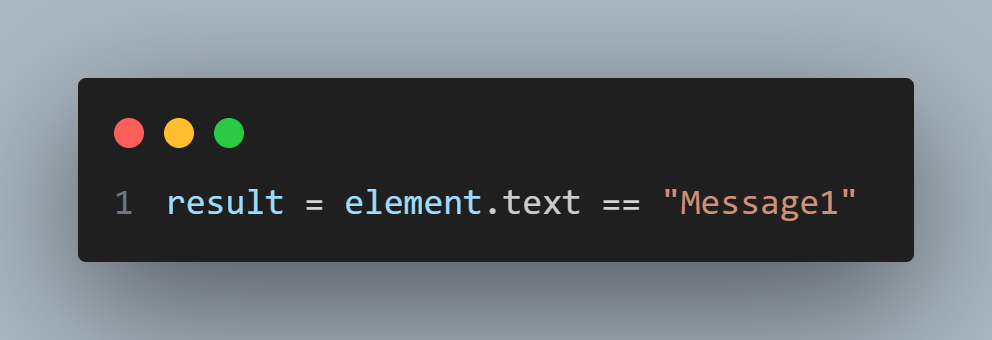
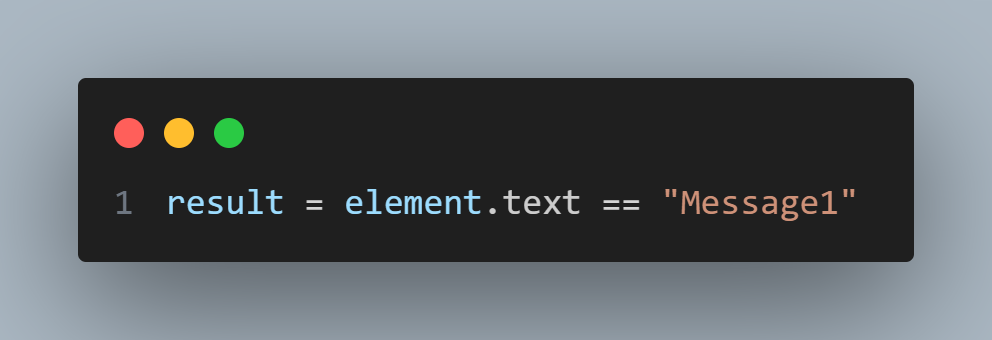
The test then compares the text content of this element with the expected value, "Message1". The result of this comparison (True or False) is stored.
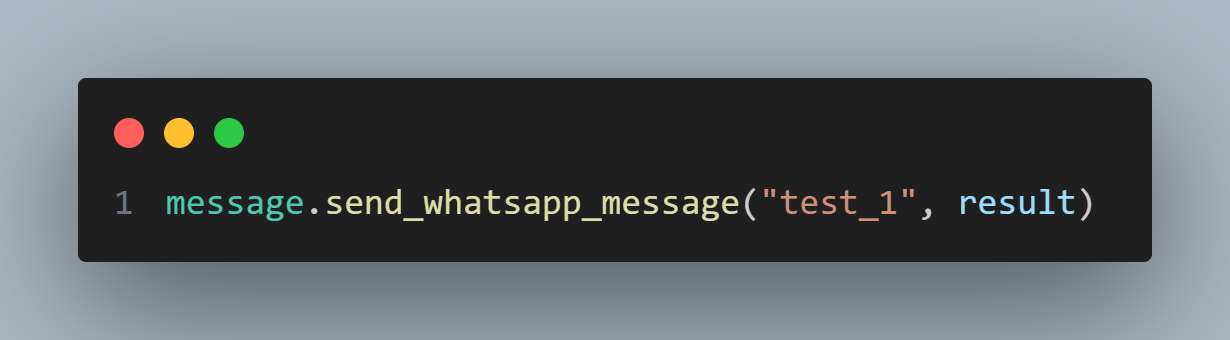
Finally, the test outcome is communicated through a WhatsApp message; the send_whatsapp_message function from message.py is called to send the WhatsApp message reporting whether the test passed or failed.
Test test_2 has almost the same content as test_1. However, there is a slight difference: after sending "Message1," it sends "Message2" again.
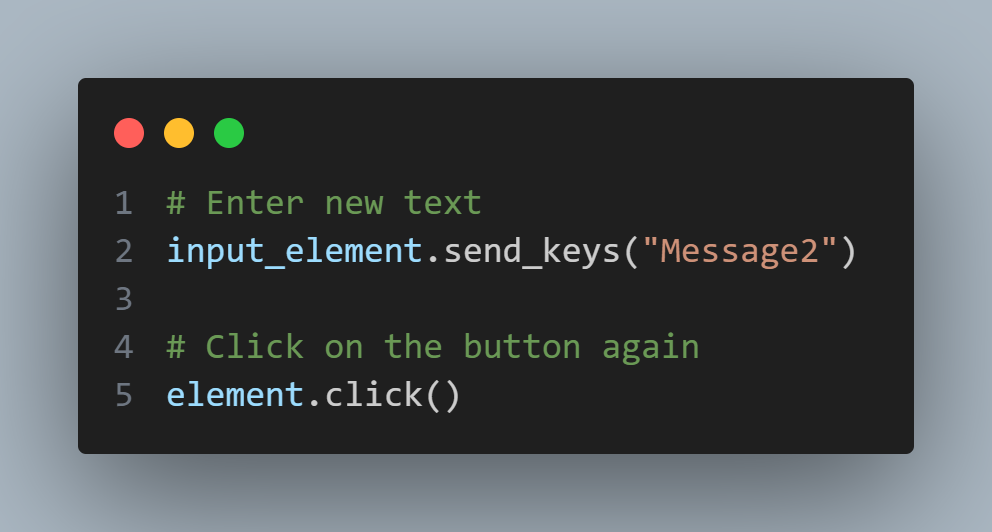
Also, another change is in the comparison; the element.text is not compared to the correct message "Message2" but with "Message1". The code is like this just to intentionally provoke a failure.
You can run the tests just with the below command.
pytest
After running the test, you will get the following result in the terminal:
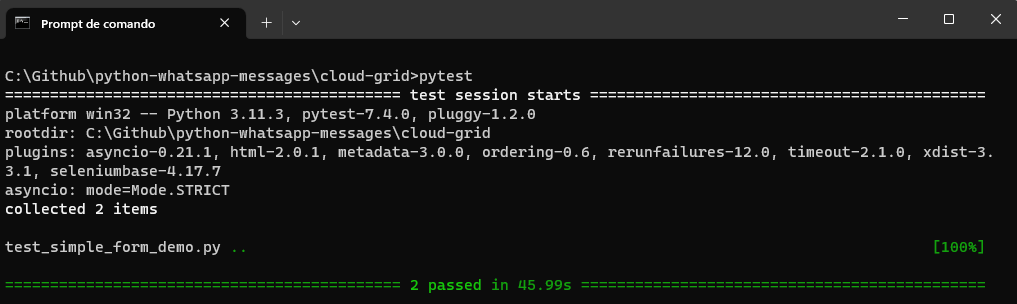
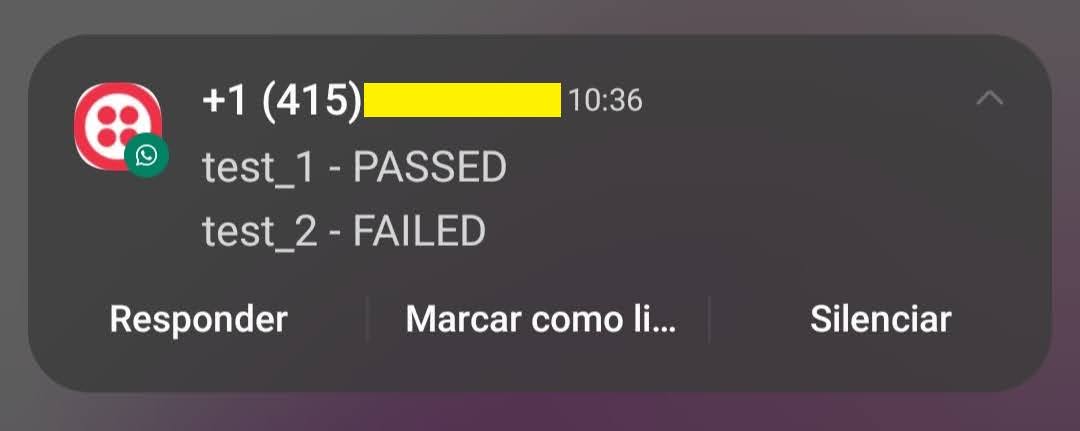
To pytest, the tests passed because we don't have any assertions inside the tests. However, the correct test results are sent by the WhatsApp messages.
Best practices for automating WhatsApp messages
When harnessed correctly, automation can yield tremendous efficiencies, and automating WhatsApp messages is no exception. But like all powers, it comes with its responsibilities.
Below, we'll examine the best practices one should uphold to ensure the smooth and ethical deployment of automated WhatsApp messaging.
Being Aware of WhatsApp's Terms and Conditions
WhatsApp's Terms of Service prohibit using the service to send "bulk messaging, auto-messaging, auto-dialing, and the like". Browser automation of a personal account is therefore suitable only for low-volume messages you would otherwise send yourself, such as alerts to your own team. For customer messaging or any volume, use the WhatsApp Business Platform Cloud API, which Meta hosts and which sends messages through its Graph API, or a provider built on it such as Twilio.
Ensuring User Privacy and Data Security
WhatsApp conversations often contain sensitive and private information. Data protection is an ethical obligation and, in many regions, a legal requirement in many regions. Trust and legal compliance are crucial, so always seek explicit consent before automating any message and limit data storage. Moreover, ensure that messages remain encrypted and conduct periodic security audits.
Handling Errors and Exceptions
In the world of automation, things don't always go as planned. Exception handling in Selenium Python ensures your automation runs reliably without manual intervention. It also contributes to providing the right message to users, preventing confusion or misinformation. Anticipate common errors, maintain detailed logs, establish a feedback loop, and implement fallback mechanisms for critical notifications.
Scheduling and Avoiding Spam Behavior
Automated doesn't mean incessant. Properly timed messages are more engaging and prevent fatigue or annoyance. Effective scheduling involves understanding your audience's preferences and time zones. Avoid sending messages late at night or too early in the morning, implement rate limiting, and allow users an easy way to opt out of notifications.
Rate Limits and Potential Bans
The very nature of automation means tasks can be executed rapidly, potentially triggering rate limits or bans from platforms like WhatsApp. Gradually increase message frequency, monitor feedback to avoid spam reports, and ensure your content remains relevant.
Evolving Nature of WhatsApp's Policies
WhatsApp frequently updates its policies, especially those related to automation and business use. Stay informed about policy changes and adjust your automation strategy to prevent penalties.
Maintenance and Updating of Libraries
When using third-party Python libraries to automate WhatsApp messages using Python, ensure they are regularly updated to support new features, fix bugs, and comply with WhatsApp's policies. Set up alerts or regularly check for library updates, have a backup plan, and consider contributing to open-source libraries for community support.
While automating WhatsApp messages using Python holds tremendous potential, one must tread carefully. Respect for the platform's guidelines, user privacy, and a genuine intent to provide value rather than spam is foundational to successful and ethical automation. By following these best practices, you protect your users and reputation and ensure the longevity and efficacy of your automation endeavors.

Conclusion
For alerts to your own team, start with the Selenium or Playwright script above and a saved profile; for anything customer-facing or high volume, use the WhatsApp Cloud API or Twilio. To run the test suite that triggers those alerts across real browsers, TestMu AI Automation Cloud runs Selenium and Playwright tests on 3,000+ browser and OS combinations in parallel and records video, console, and network logs for each run, and the Selenium Python documentation covers the first run.
Author

Paulo Oliveira
Blogs: 16


Paulo is a Quality Assurance Engineer with more than 15 years of experience in Software Testing. He loves to automate tests for all kind of applications (both backend and frontend) in order to improve the team’s workflow, product quality, and customer satisfaction. Even though his main roles were hands-on testing applications, he also worked as QA Lead, planning and coordinating activities, as well as coaching and contributing to team member’s development. Sharing knowledge and mentoring people to achieve their goals make his eyes shine.
Reviewer

Srinivasan Sekar
Reviewer
Srinivasan Sekar is Director of Engineering at TestMu AI (formerly LambdaTest), where he leads engineering and open-source initiatives behind the Selenium and Appium automation grid and owns TestMu AI's MCP Server. A committer to Appium and a contributor to Selenium, WebdriverIO, Taiko, and AppiumTestDistribution, he brings over 15 years of experience in quality engineering and open-source technologies. He is the author of the Apress book 'The MCP Standard: A Developer's Guide to Building Universal AI Tools with the Model Context Protocol,' a Certified Kubernetes and Cloud Native Associate, and an international conference speaker. Before TestMu AI he spent over eight years at Thoughtworks as a Principal Consultant and Quality Architect. Srinivasan holds a B.Tech in Information Technology from Anna University.


WhatsApp Automation With Python FAQs
Did you find this page helpful?
More Related Blogs
TestMu AI forEnterprise
Get access to solutions built on Enterprise
grade security, privacy, & compliance
- Advanced access controls
- Advanced data retention rules
- Advanced Local Testing
- Premium Support options
- Early access to beta features
- Private Slack Channel
- Unlimited Manual Accessibility DevTools Tests