Azure AD Scim User Provisioning
Prerequisites
Integrate SCIM With TestMu AI:
- You will need an Enterprise plan with TestMu AI.
- SSO must be already integrated. Please complete TestMu AI SSO & Azure AD Integration
Integrating SCIM with Azure AD
Step 1: Sign in to your TestMu AI account. Don't have an account, register for free.
Step 2: Head to Settings and select Organization Settings from the dropdown.
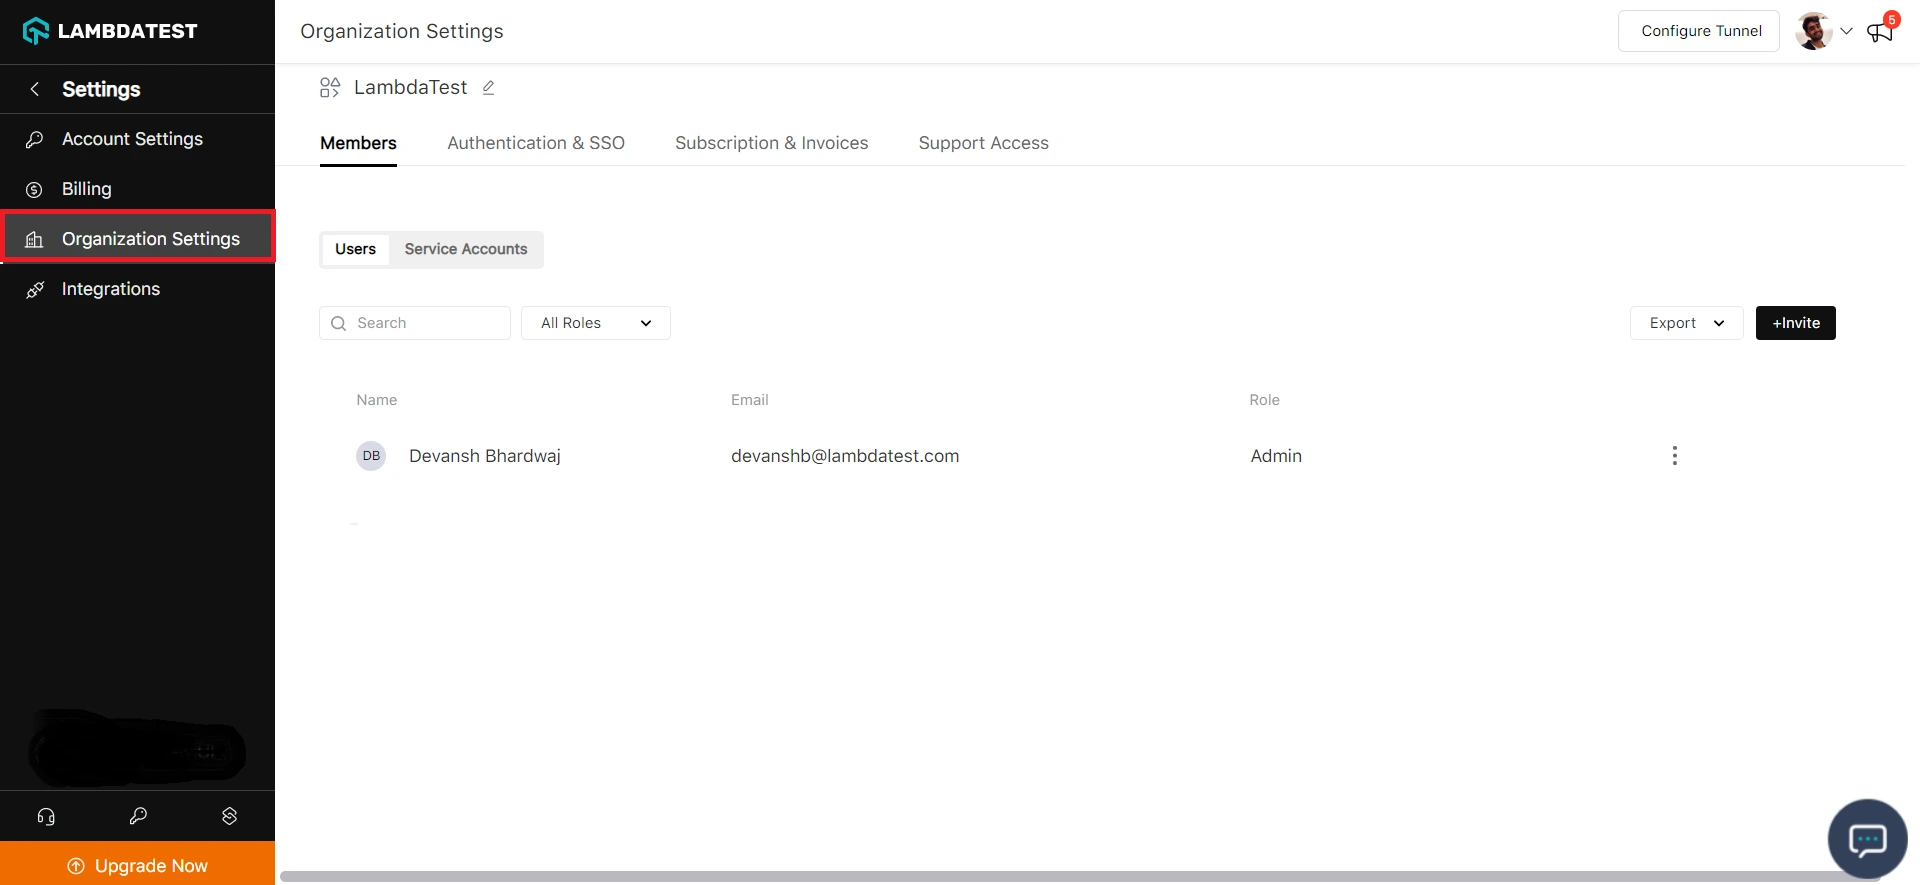
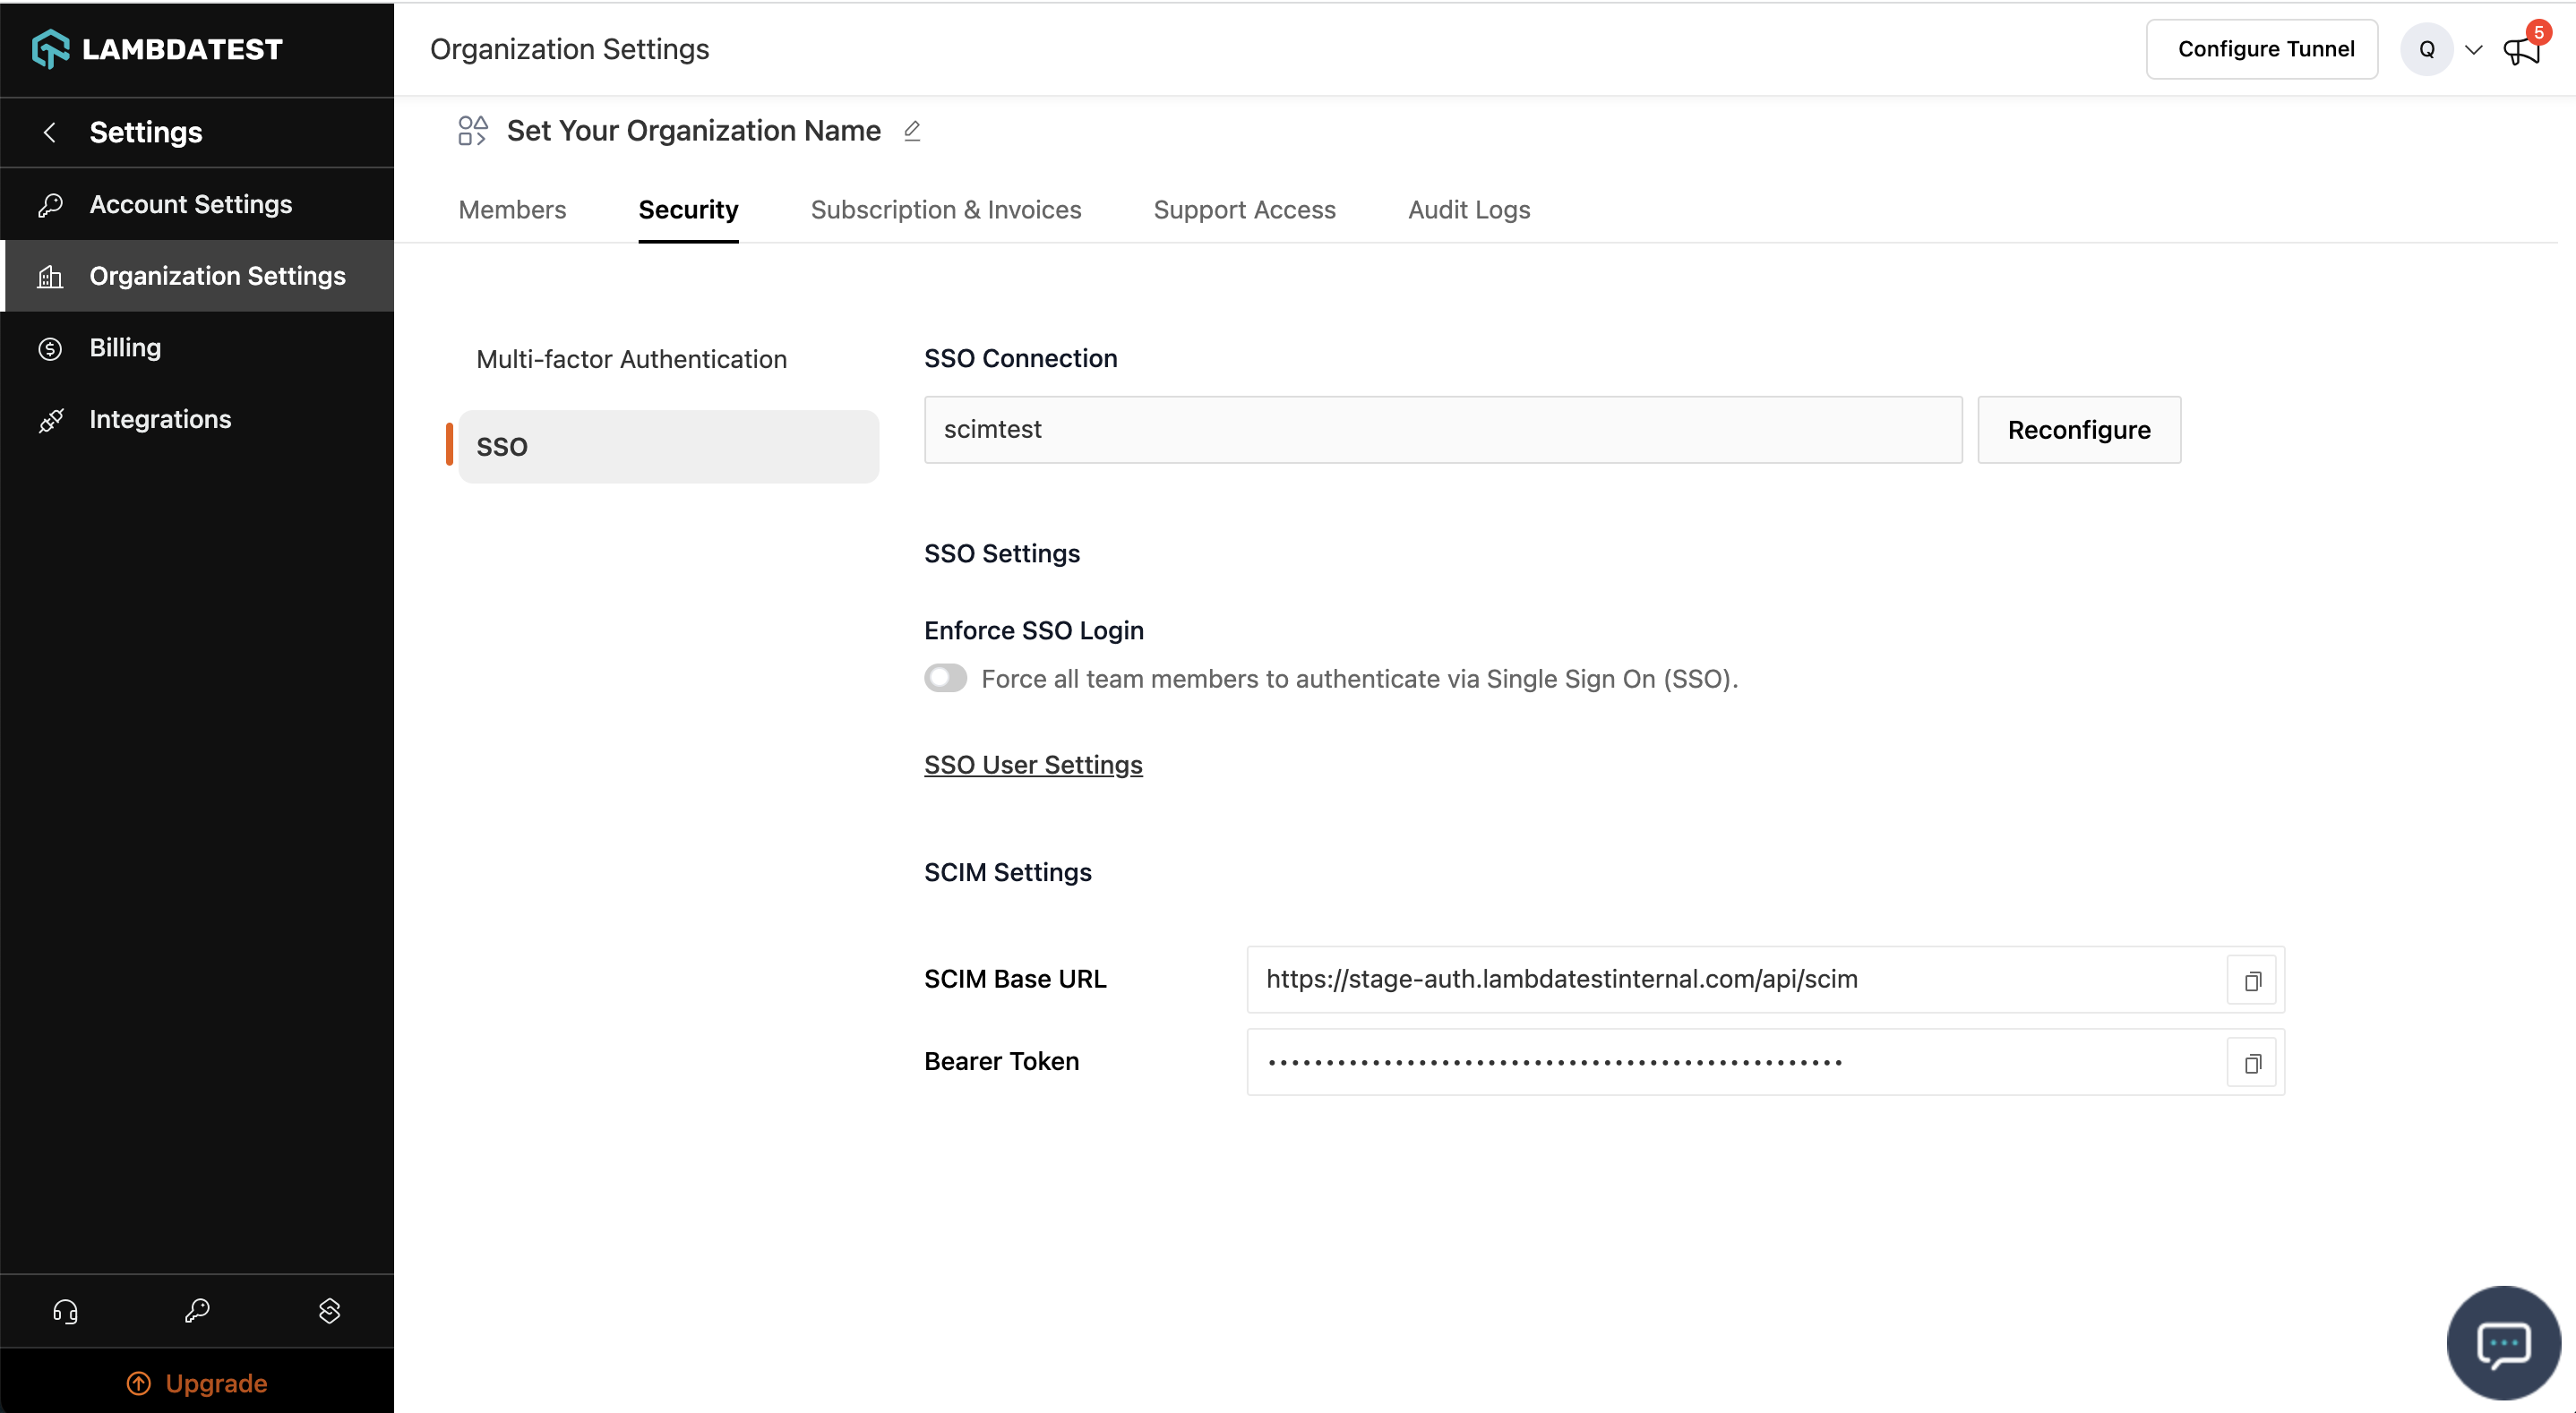
Step 3: Head to the Authentication and SSO tab and click and copy the SCIM Base URL and Bearer Token option.
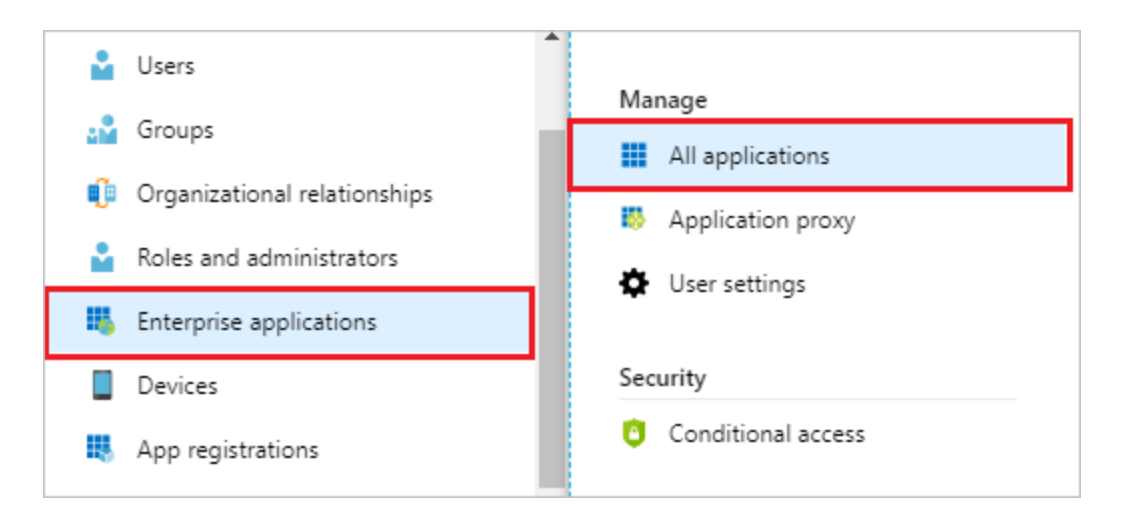
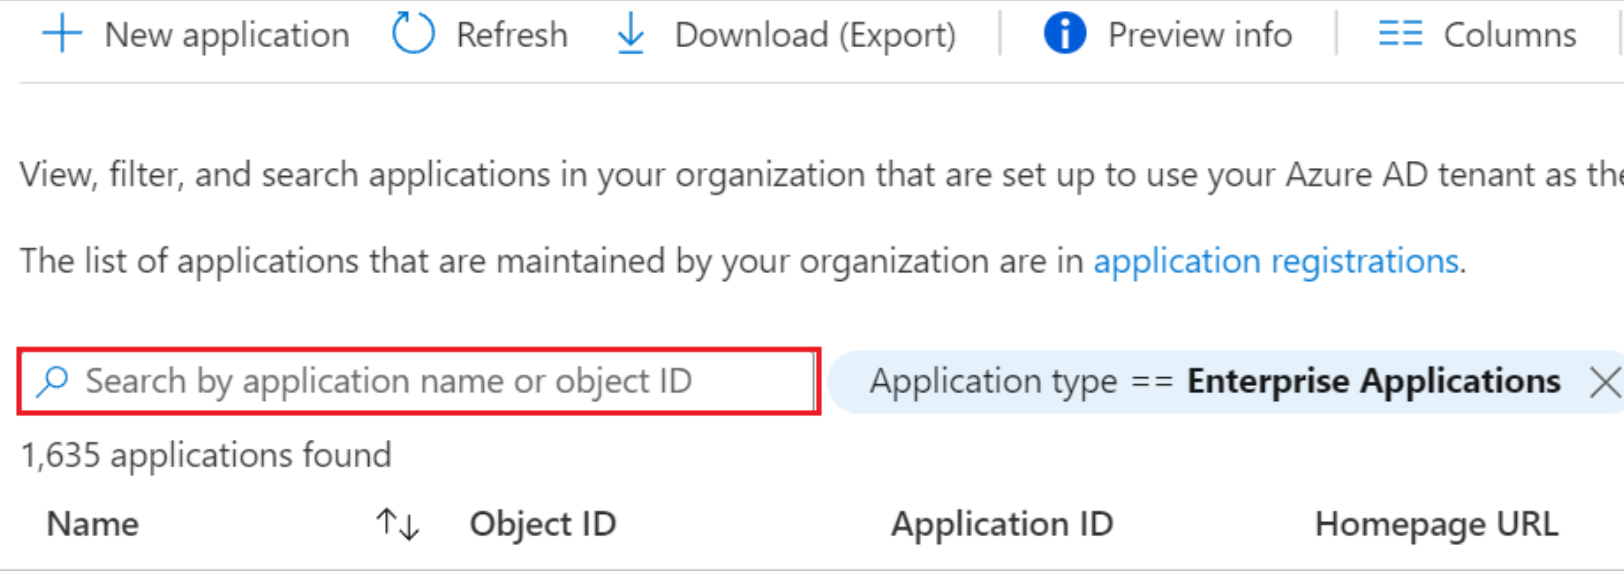
Step 4: Sign in to the Azure portal. Select Enterprise Applications, then select All applications.
Step 5: In the applications list, select application used for TestMu AI SSO setup
Step 6: Select the Provisioning tab.

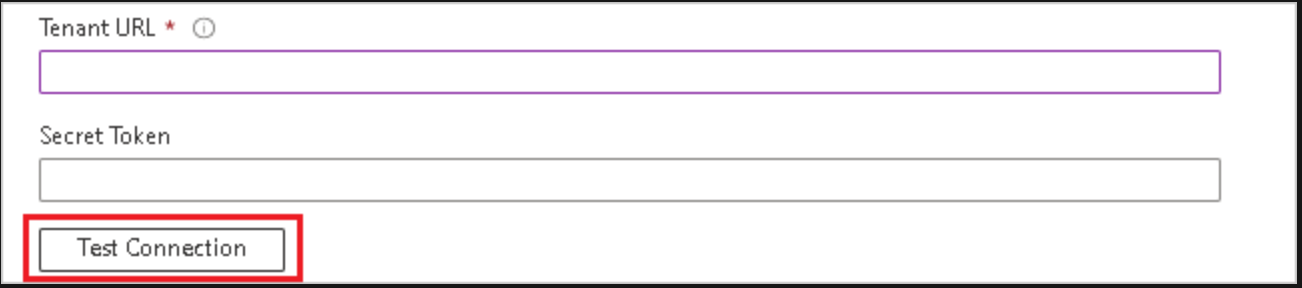
Step 7: Under the Admin Credentials section, input your TestMu AI SCIM Base URL https://auth.lambdatest.com/api/scim?aadOptscim062020 and Bearer Token retrieved earlier in Step 3. Click Test Connection to ensure Azure AD can connect to TestMu AI. If the connection fails, ensure your TestMu AI account has Admin permissions and try again.
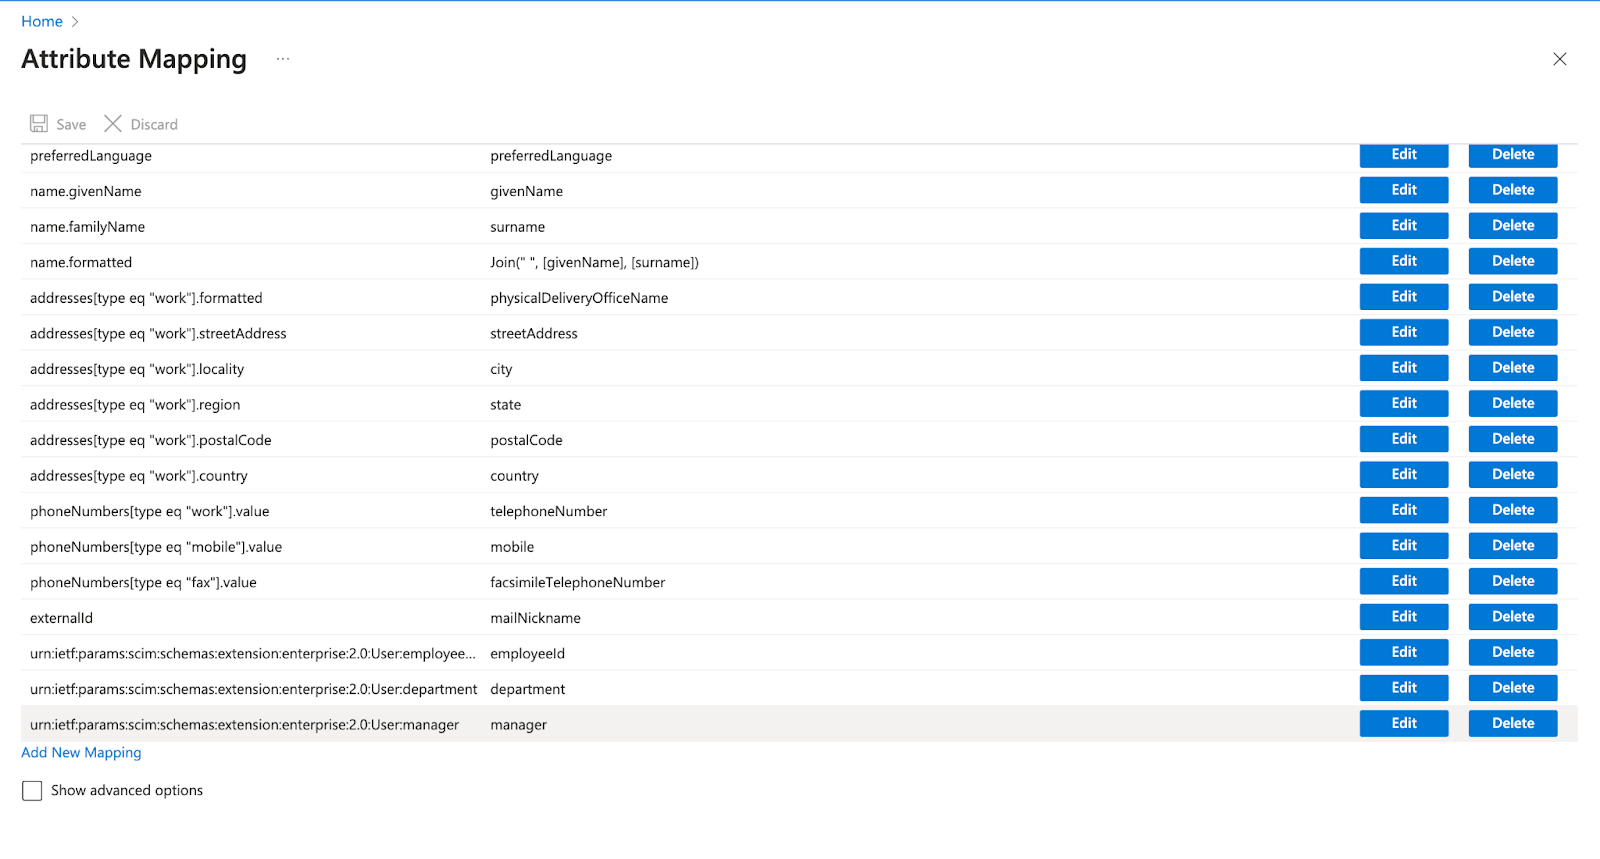
Step 8: Under the Mappings section, select Synchronize Azure Active Directory Users.
Step 9: Creating Custom Attributes
- Show advanced options > Edit attribute list for customappsso > Add attributes
- userName, Active, name.givenName, name.familyName are required attributes
-
urn:ietf:params:scim:schemas:extension:LambdaTest:2.0:User:OrganizationRole: Custom attribute used to set TestMu AI Organization Role for Users, If this attribute is not mapped User role would be set by default. Allowed values are (Admin/Guest/User) -
urn:ietf:params:scim:schemas:extension:LambdaTest:2.0:User:LambdatestGroup: Used to assign an existing group in TestMu AI to a new user created in TestMu AI through SCIM. (Applicable only if organisation has group support active)
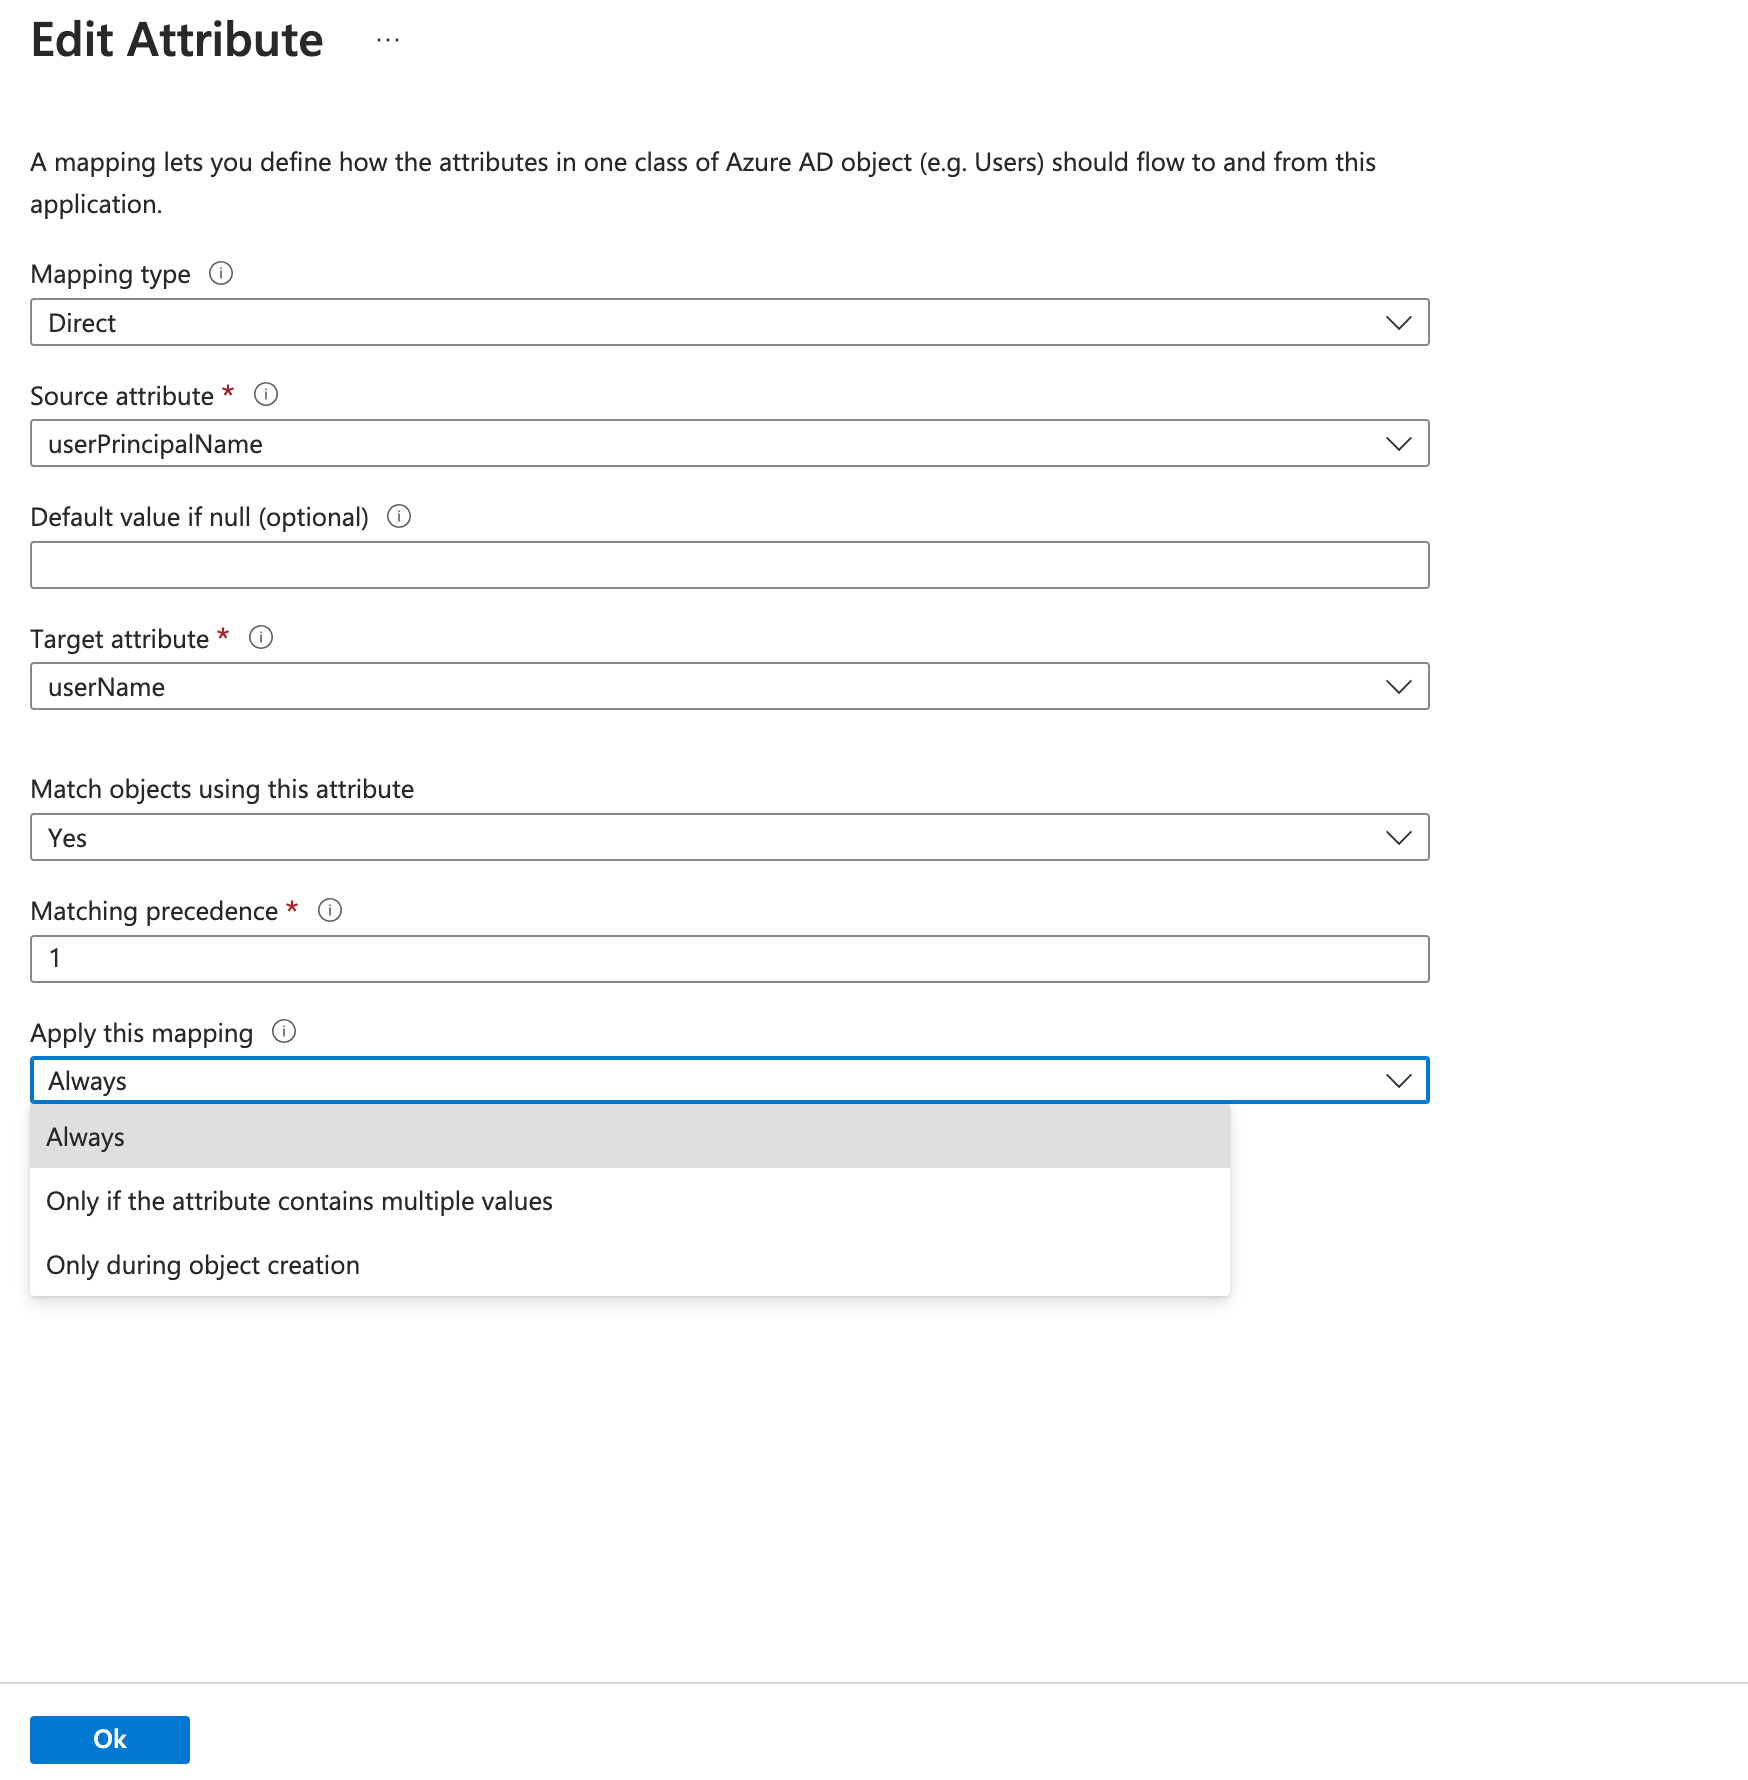
For filtering only userName attribute is supported and must be selected for filtering, click edit on userPrincipalName and make sure Apply this mapping is set to Always

- Dynamic/Static assignment of custom attributes: After custom attribute creation, we have to map them using “Add new mapping”
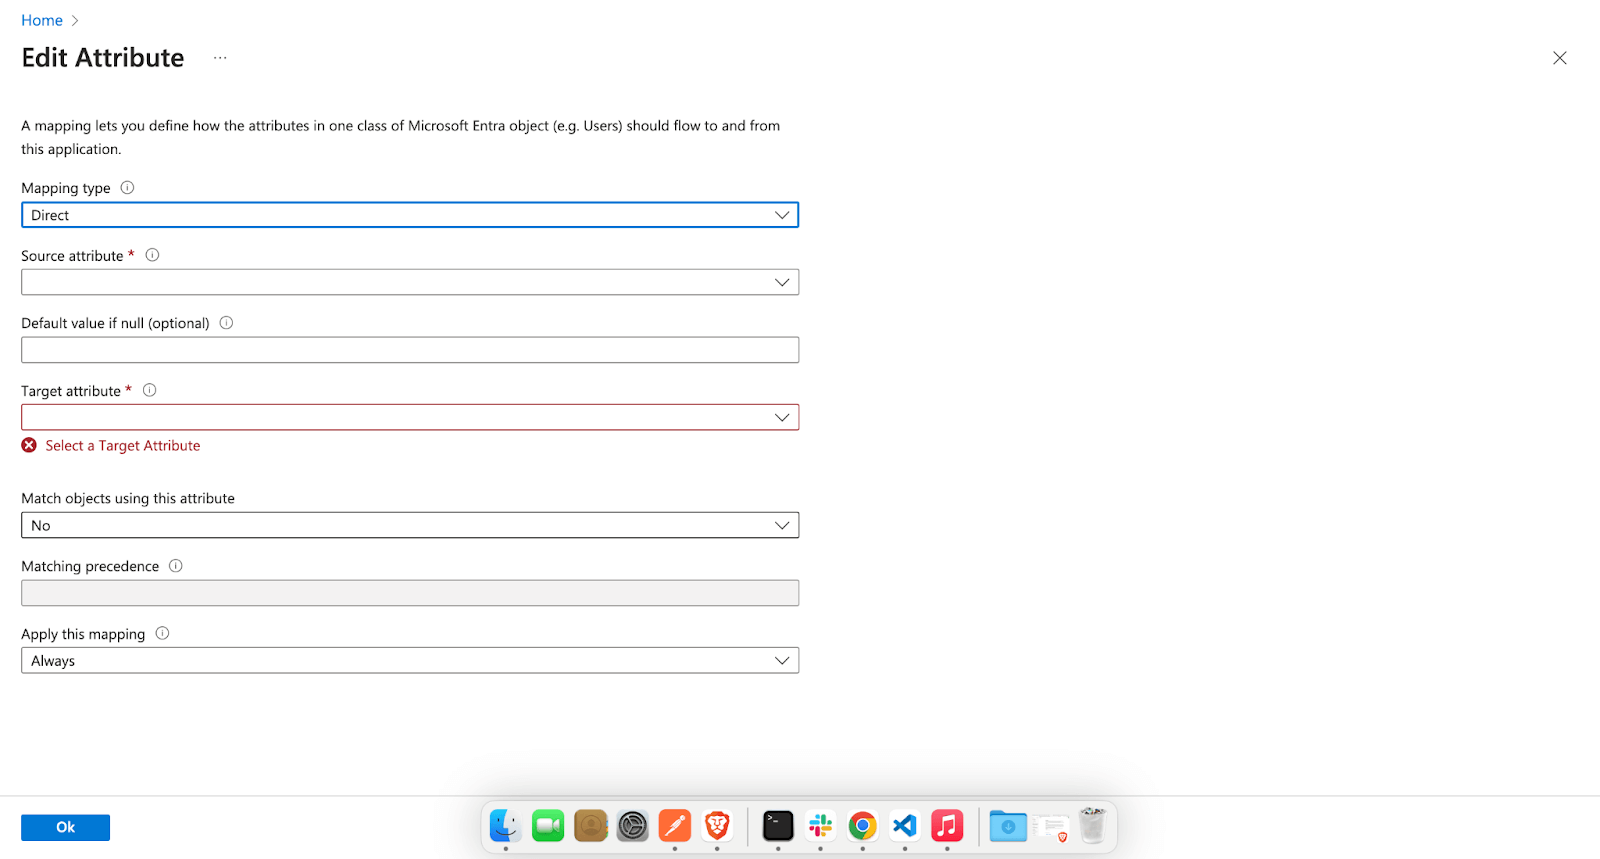
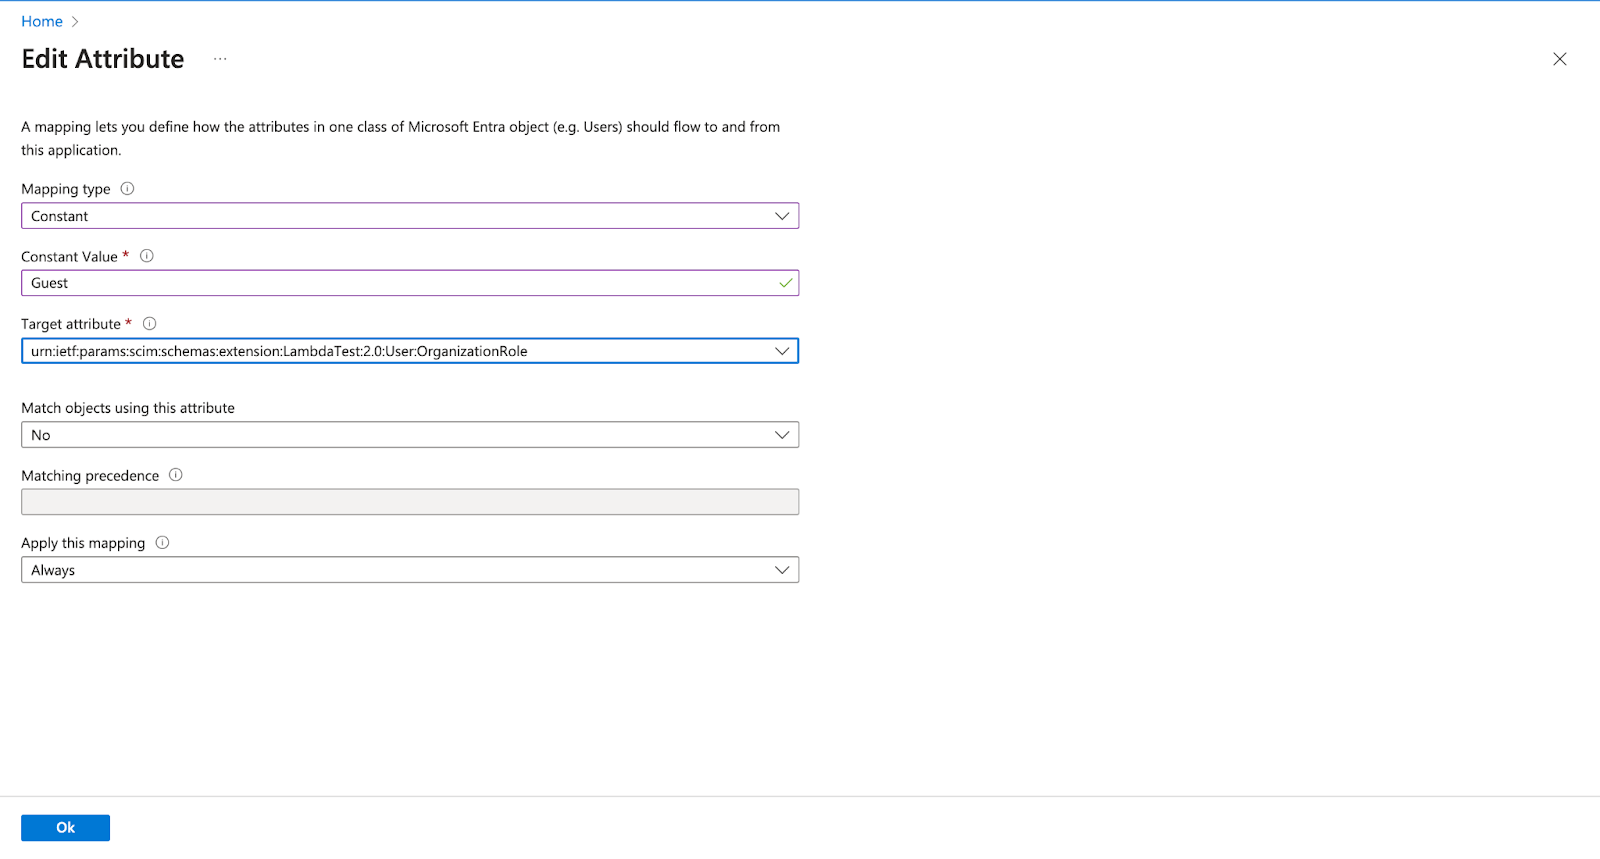
Now there are three types Mapping type in AzureAD, “Direct”, “Constant” and “Expression”.
For example we can set Constant association “Guest” for urn:ietf:params:scim:schemas:extension:LambdaTest:2.0:User:OrganizationRole
Or, can create association using the Expression like this ,
IIF(SingleAppRoleAssignment([appRoleAssignments])="Admin", "Admin",
IIF(SingleAppRoleAssignment([appRoleAssignments])="Guest", "Guest",
IIF(SingleAppRoleAssignment([appRoleAssignments])="User", "User", "User")))
In the above example we are using the appRoleAssignments attribute of microsoft user to set string value.
After custom attribute creation, we have to map them using “Add new mapping”
Provisioning Groups from Azure AD
Once user provisioning is configured, you can also push Azure AD groups to TestMu AI.
Group Provisioning must be enabled for your org. Contact 24/7 chat support to activate it.
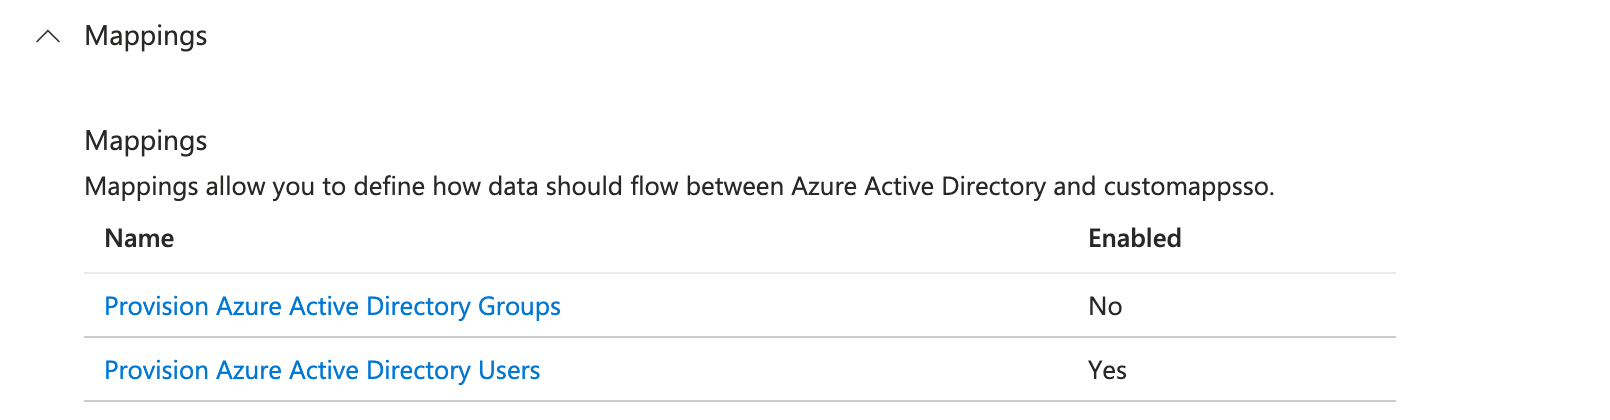
Step 1: In Azure portal, go to your TestMu AI Enterprise Application > Provisioning > Mappings.
Step 2: Click Provision Azure Active Directory Groups and ensure it is Enabled.
Step 3: Review the attribute mappings. The required mappings are:
displayName→displayNamemembers→members
Step 4: Under Users and groups, assign the groups you want to provision.
Step 5: Start a provisioning cycle (or wait for the 40-minute auto sync).
Step 6: In TestMu AI, go to Settings > Organization Settings > SCIM Group Provisioning to view the synced groups and configure mappings.
Setting Roles on Azure AD Groups
Azure AD sends roles via the SCIM group extension urn:ietf:params:scim:schemas:extension:LambdaTest:2.0:Group. To assign roles:
- Create a custom attribute
LambdatestRolesunder the group schema in your Azure AD attribute mappings - Map it to an Azure AD attribute or set it as a constant (e.g.,
User,Admin, orGuest) - The role applies to all members of the group. Highest role wins across multiple groups (Admin > User > Guest)
What Happens After Provisioning
| Azure AD Action | TestMu AI Effect |
|---|---|
| Group provisioned | Group created, mapping rules evaluated, members synced |
| Member added to group | Member added to all mapped TestMu AI entities |
| Member removed from group | Member removed (if no other group maps them there), role recomputed |
| Group renamed | Group renamed, mapped entity renamed to match, rules re-evaluated |
| Group deprovisioned | Group soft-deleted, members safely unassigned, roles recomputed |
For details on mapping, conflicts, and rules, see the SCIM Provisioning guide.
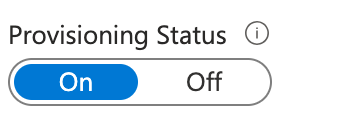
Step 10: To enable the Azure AD provisioning service for TestMu AI, change the Provisioning Status to On in the Settings section.
Step 11: When you are ready to provision, click Save.
This operation starts the initial synchronization cycle of all users in Scope in the Settings section. The initial cycle takes longer to perform than subsequent cycles, which occur approximately every 40 minutes as long as the Azure AD provisioning service is running.

That's all you need to know about TestMu AI SCIM Auto User Provisioning with Azure AD.In case you have any questions please feel free to reach out to us via the 24/7 chat support or email us over support@testmuai.com.
