PingOne SCIM User & Group Provisioning
PingOne (by PingIdentity) is a cloud-based identity platform that provides SSO, MFA, and directory services. It supports SCIM 2.0 Outbound provisioning to automatically sync users and groups to external applications.
In this guide, we will walk through integrating PingOne SCIM provisioning with TestMu AI.
Prerequisites
- You will need an Enterprise plan with TestMu AI.
- The SSO connection must be already established with TestMu AI. Learn how to create a SSO Connection with TestMu AI.
Integrating SCIM User Provisioning with PingOne
Step 1 — Copy SCIM Credentials from TestMu AI
Sign in to your TestMu AI account. Don't have an account, register for free.
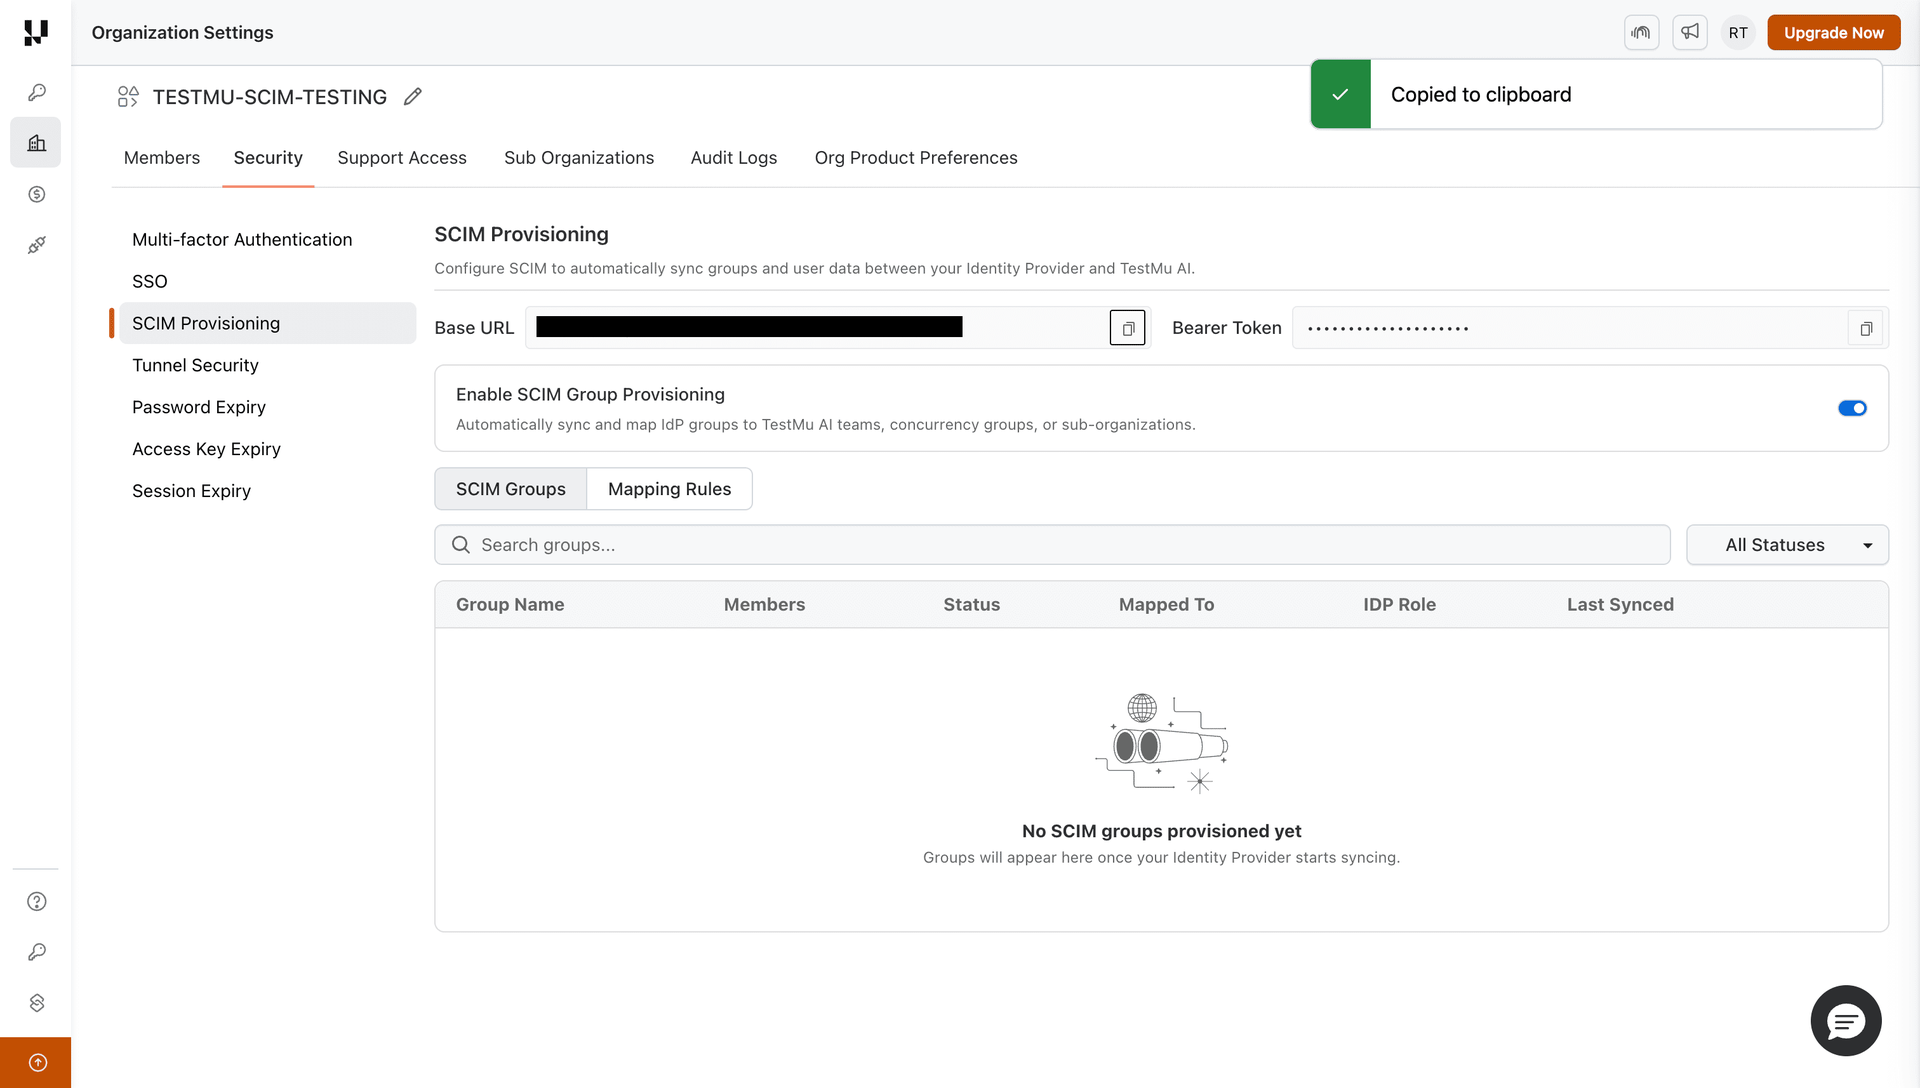
Head to Settings > Organization Settings > Security > SCIM Provisioning tab. Copy the SCIM Base URL and Bearer Token.
Step 2 — Create a SAML Application in PingOne (if not already done)
If you already have a PingOne SAML application configured for TestMu AI SSO, skip to Step 3.
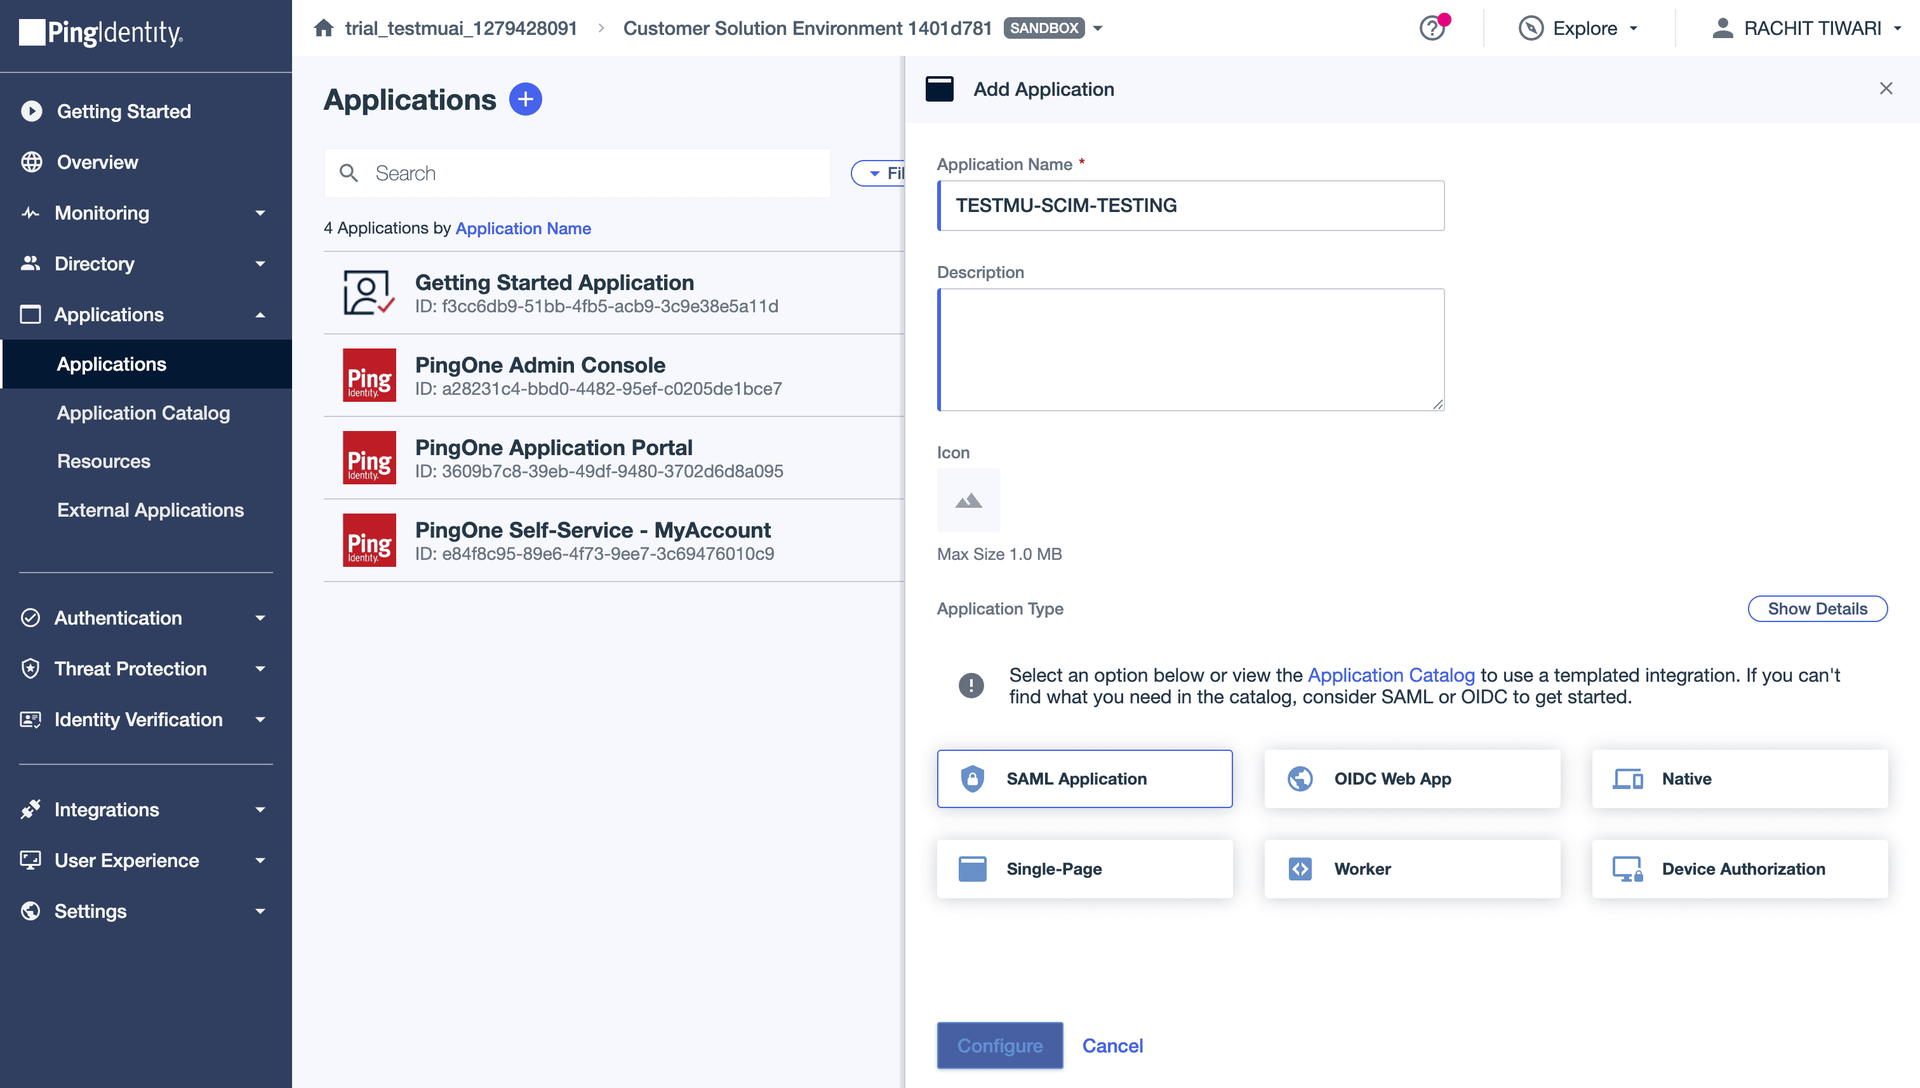
Log in to the PingOne Admin Console. Go to Applications > Applications > click + (Add Application).
Enter a name (e.g., your org name), select SAML Application, and click Save.
Step 3 — Create SCIM Provisioning Connection
In PingOne, go to Integrations > Provisioning > Connections tab.
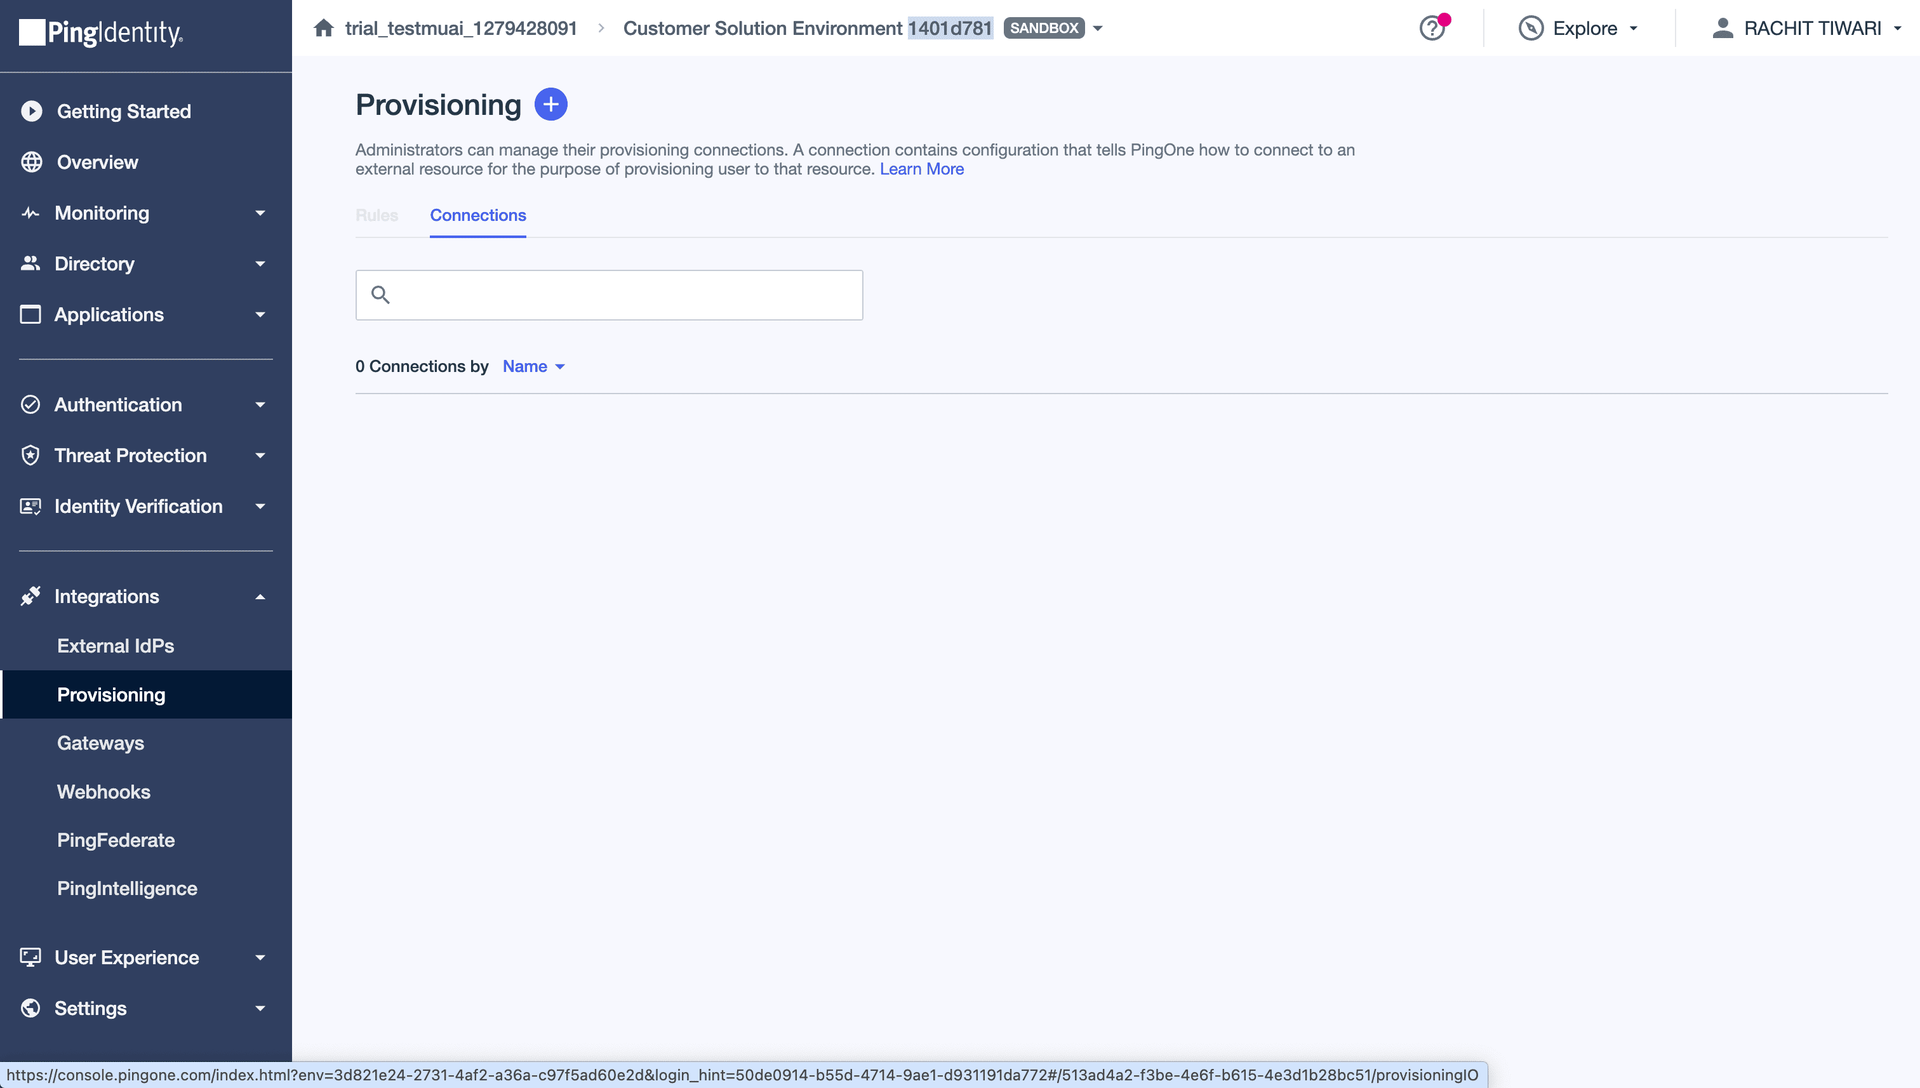
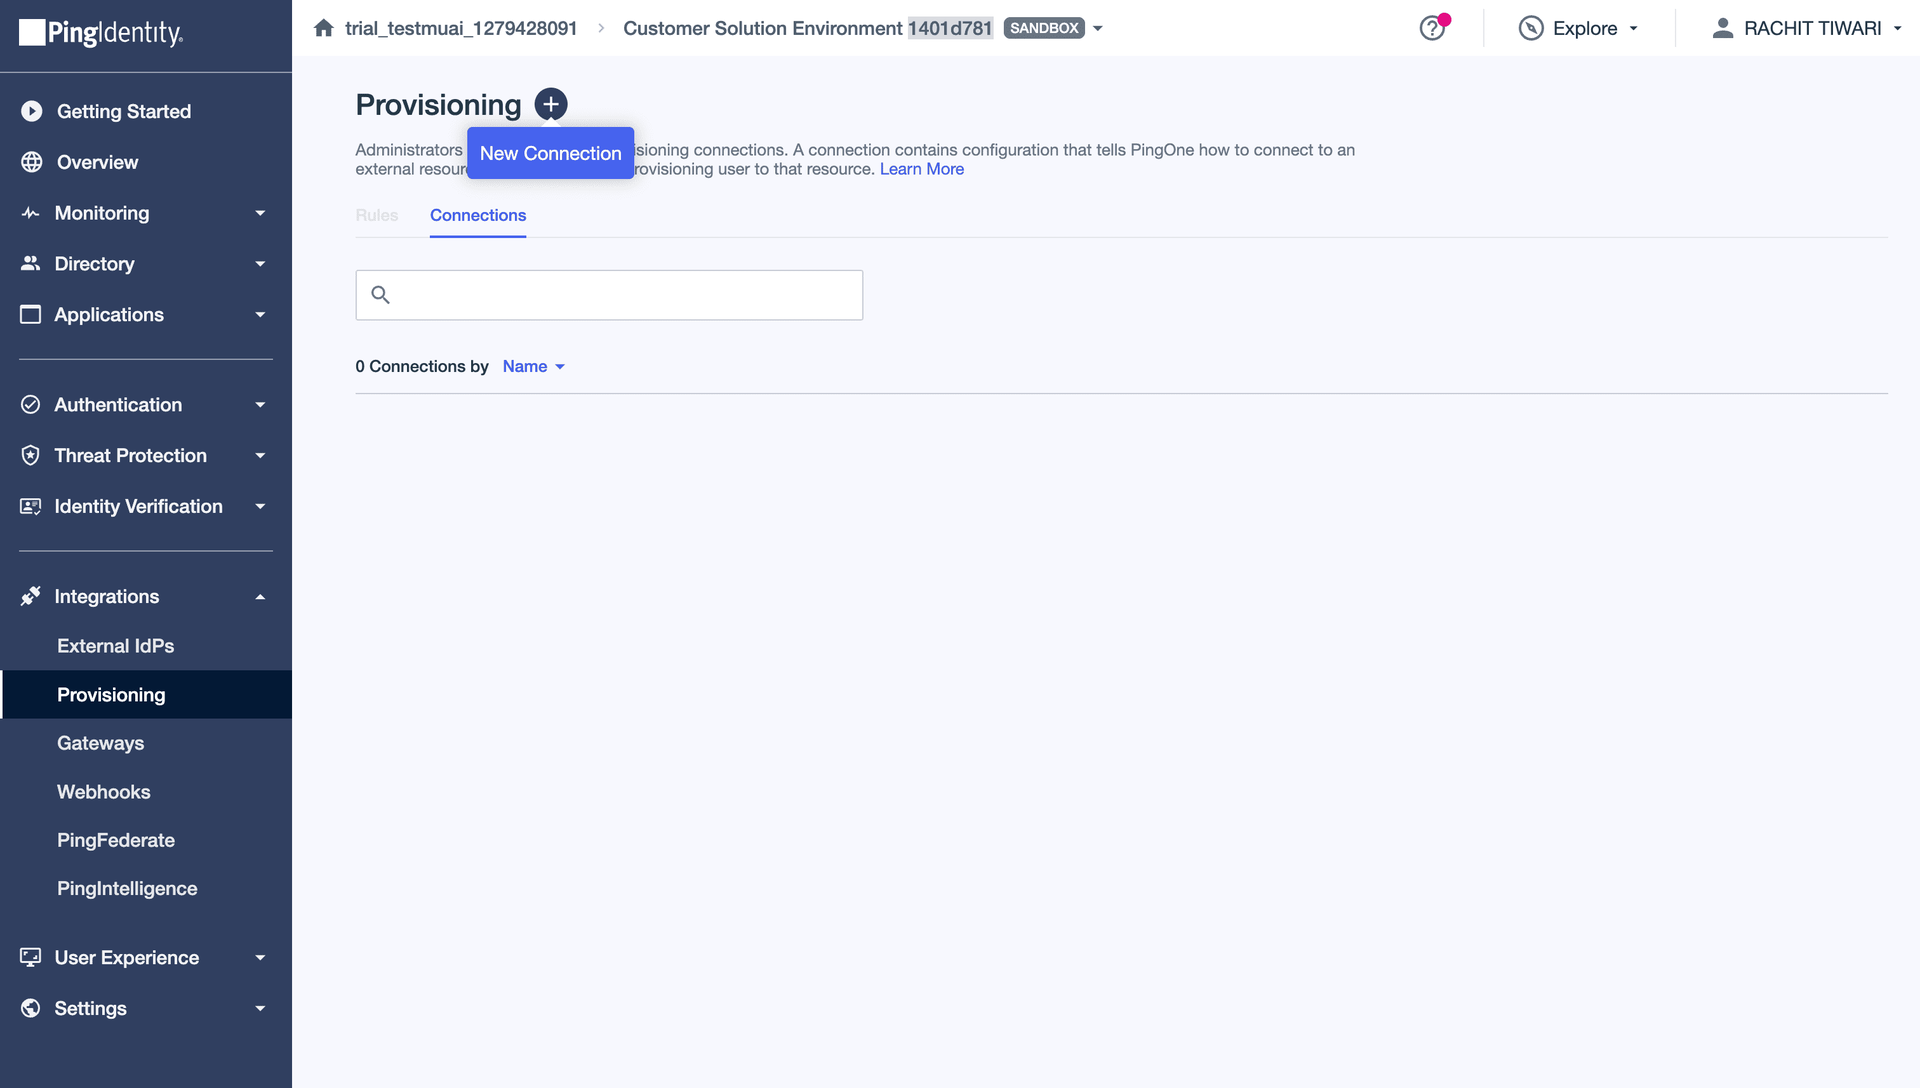
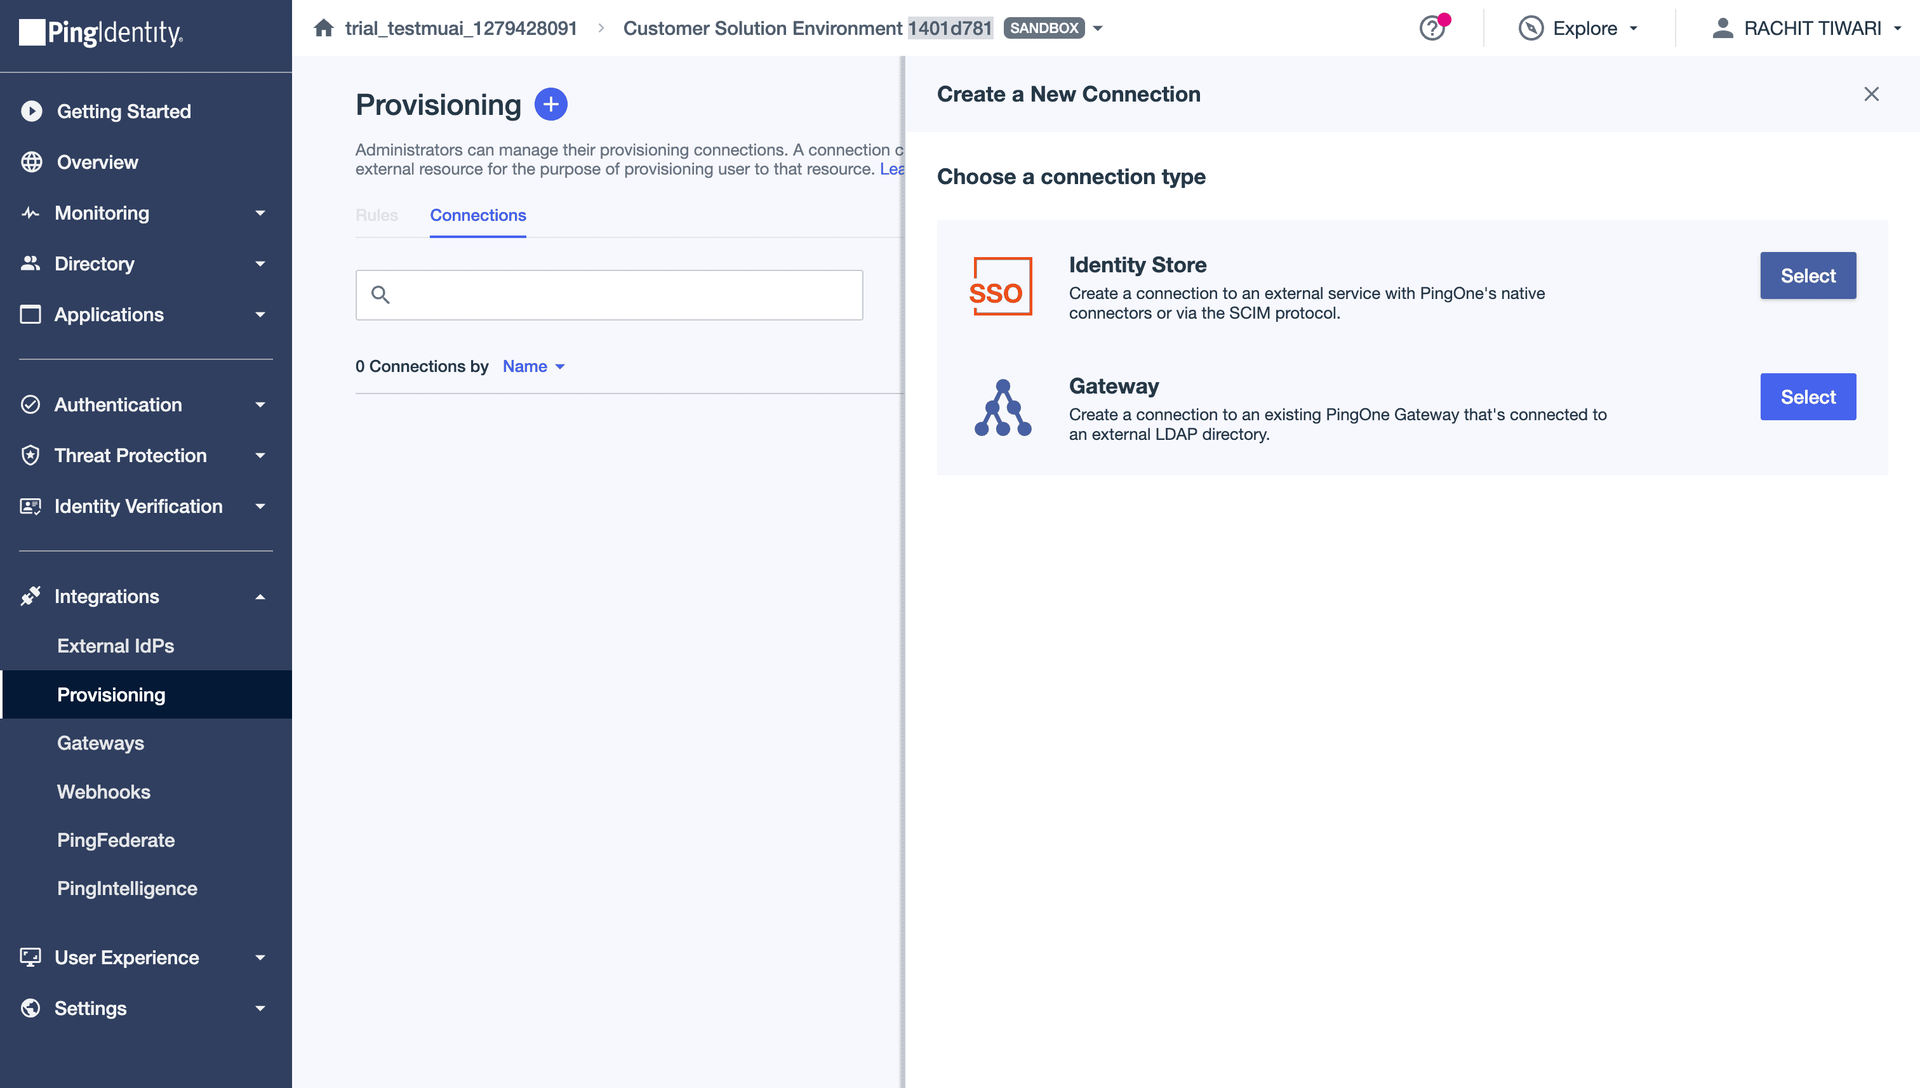
Click + (New Connection).
Select Identity Store (SCIM) and click Next.
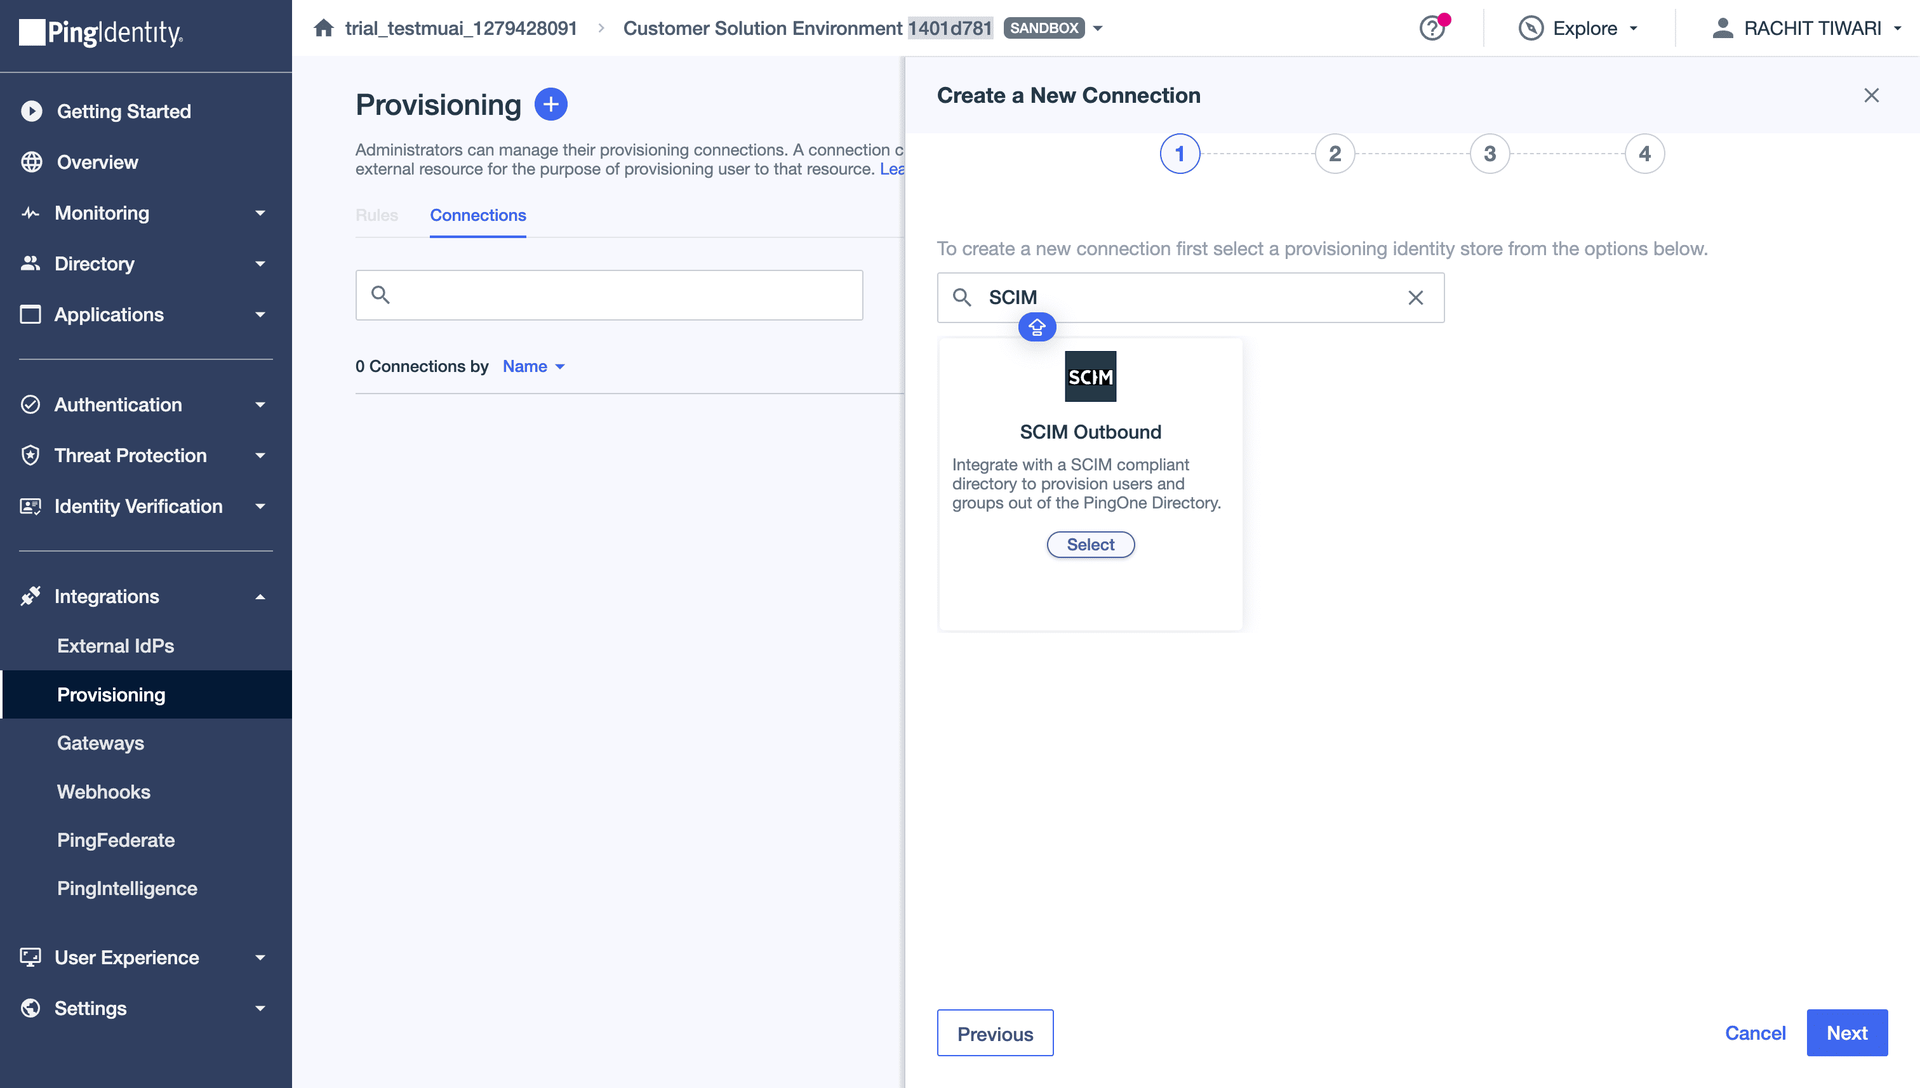
Search for SCIM and select SCIM (Outbound). Click Next.
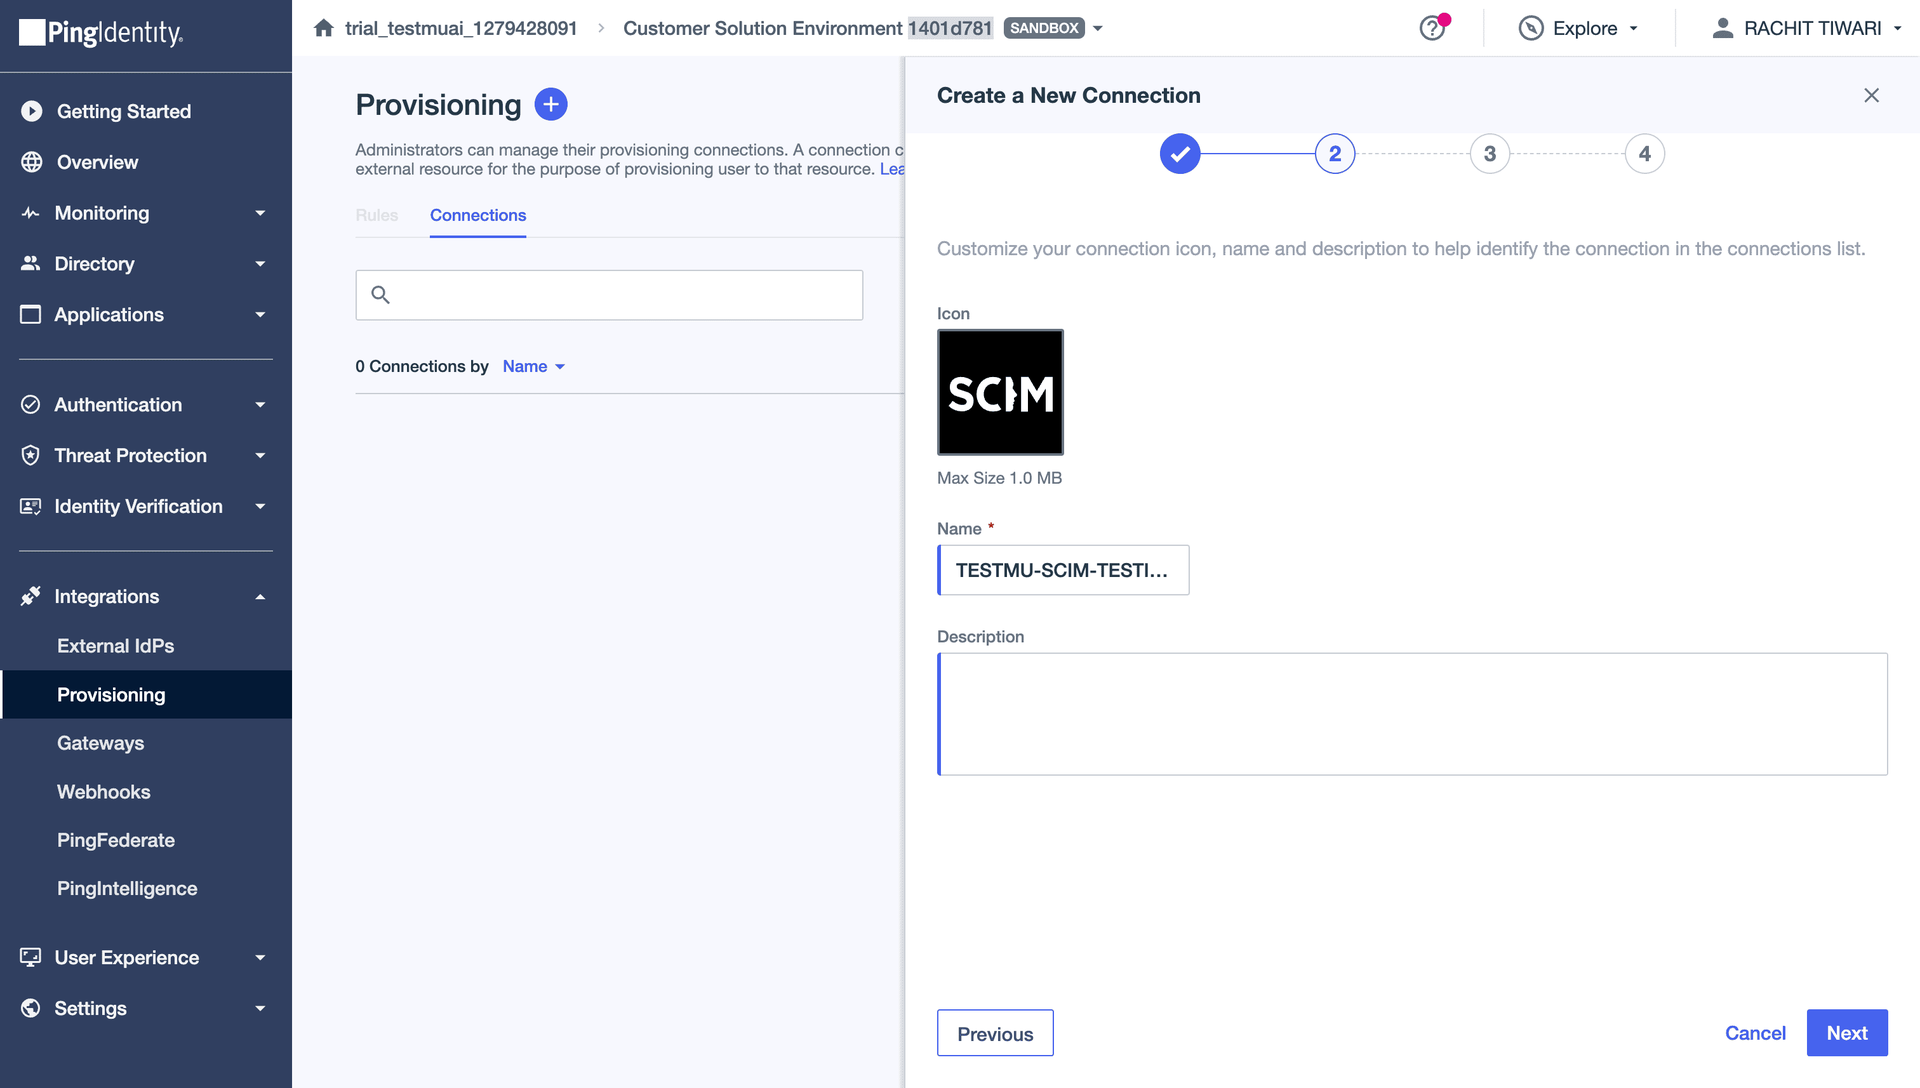
Enter a Name for the connection (e.g., your org name) and click Next.
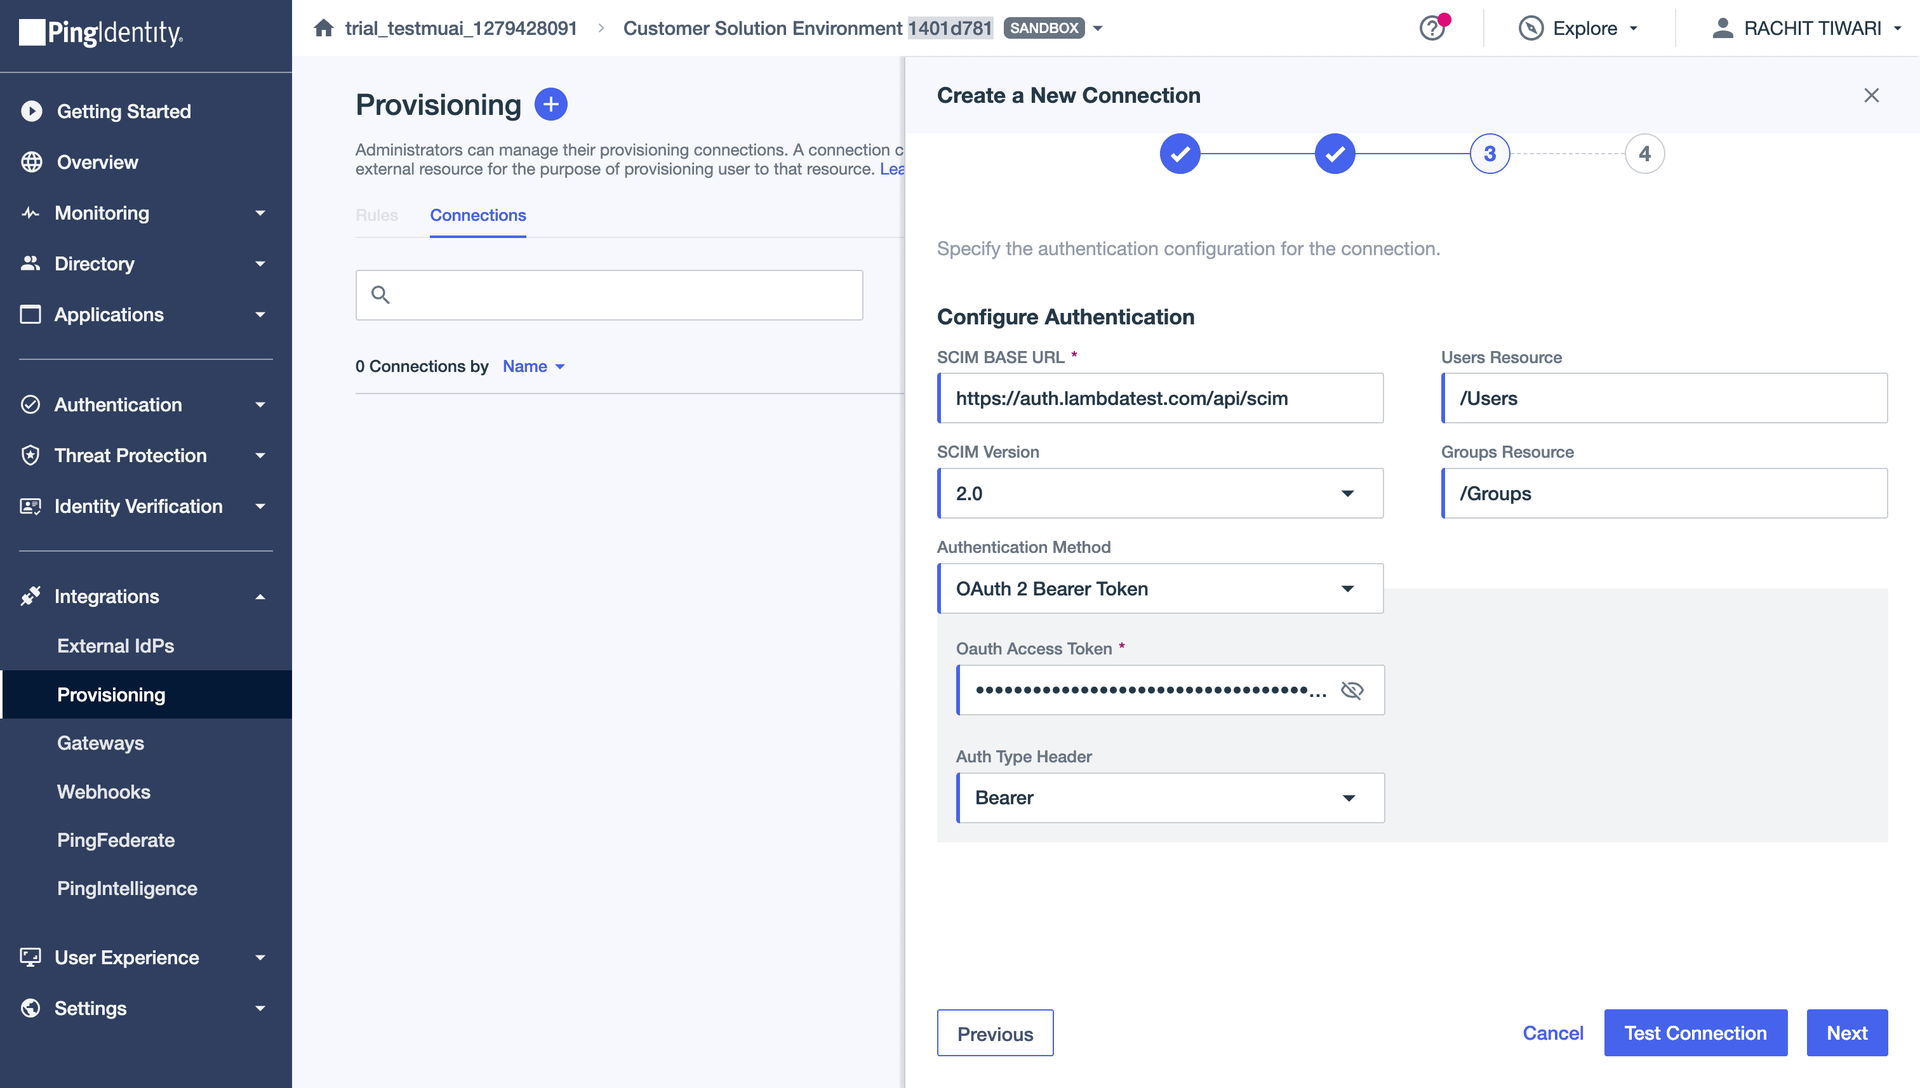
Step 4 — Configure Authentication
| Field | Value |
|---|---|
| SCIM Base URL | Paste the Base URL copied from TestMu AI |
| Users Resource | /Users |
| SCIM Version | 2.0 |
| Groups Resource | /Groups |
| Authentication Method | OAuth 2 Bearer Token |
| OAuth Access Token | Paste the Bearer Token from TestMu AI |
| Auth Type Header | Bearer |
Click Test Connection to verify, then click Next.
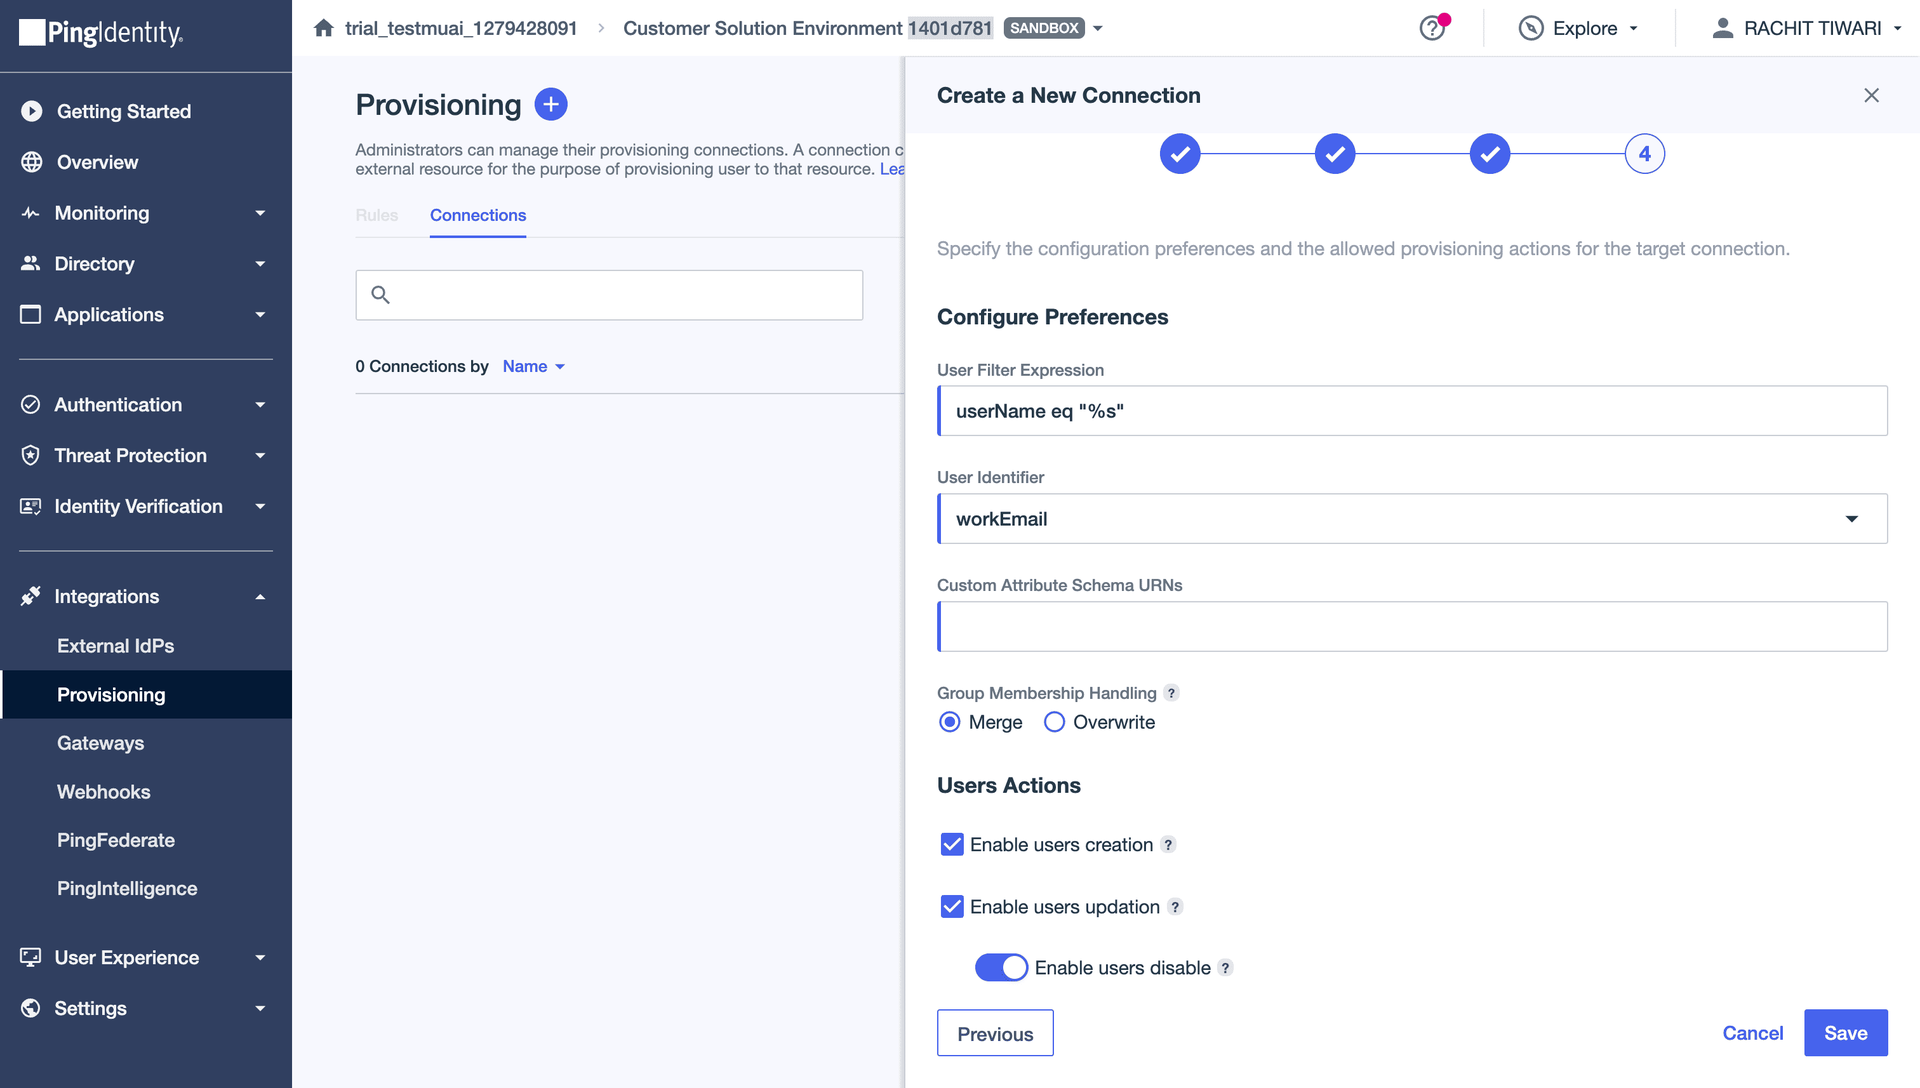
Step 5 — Configure Preferences
| Field | Value |
|---|---|
| User Filter Expression | userName eq "%s" |
| User Identifier | workEmail |
| Custom Attribute Schema URNs | urn:ietf:params:scim:schemas:extension:LambdaTest:2.0:User |
| Group Membership Handling | Merge (recommended) |
Enable the following user actions:
- Create Users — checked
- Update Users — checked
- Disable Users — checked
Click Save.
Add urn:ietf:params:scim:schemas:extension:LambdaTest:2.0:User to the Custom Attribute Schema URNs field to enable sending OrganizationRole and LambdatestGroup from PingOne.
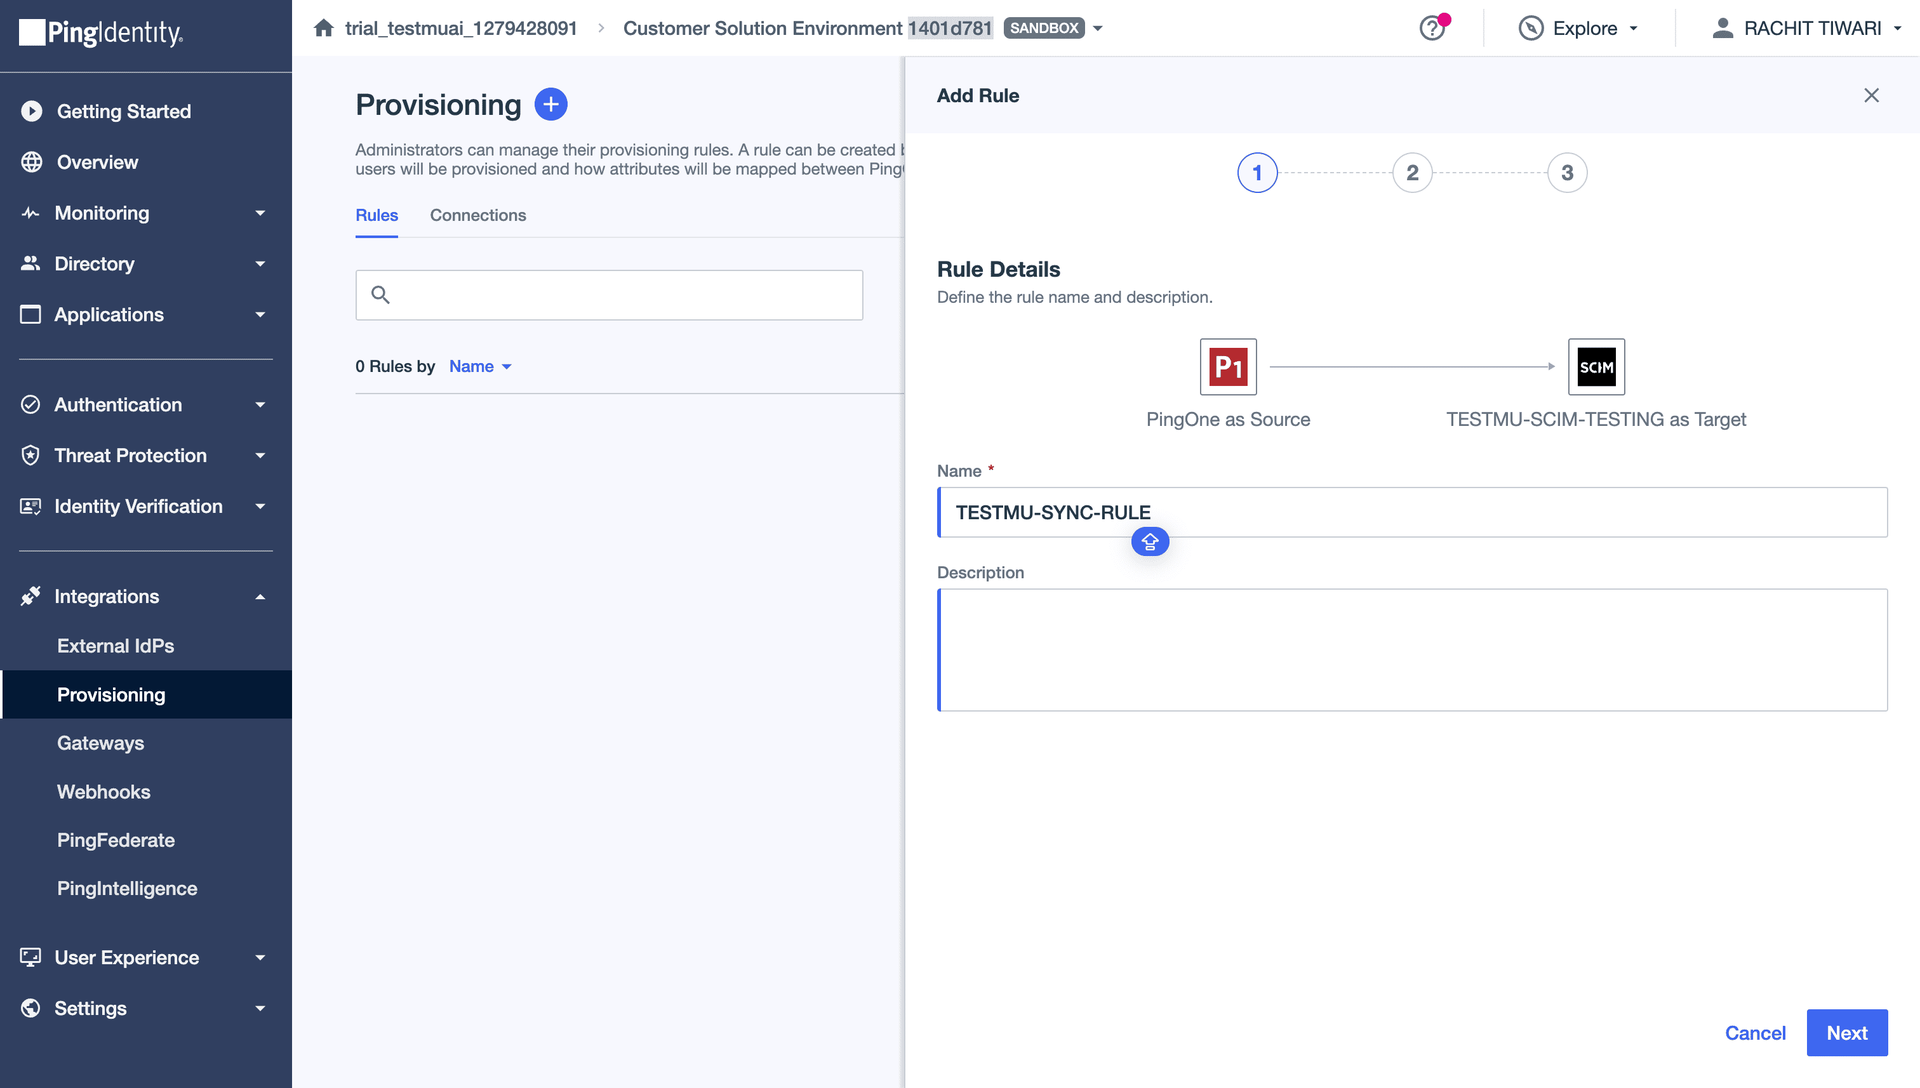
Step 6 — Create a User Provisioning Rule
Go to the Rules tab in your provisioning connection and click Add Rule.
Enter a Rule Name (e.g., "User Sync Rule") and click Next.
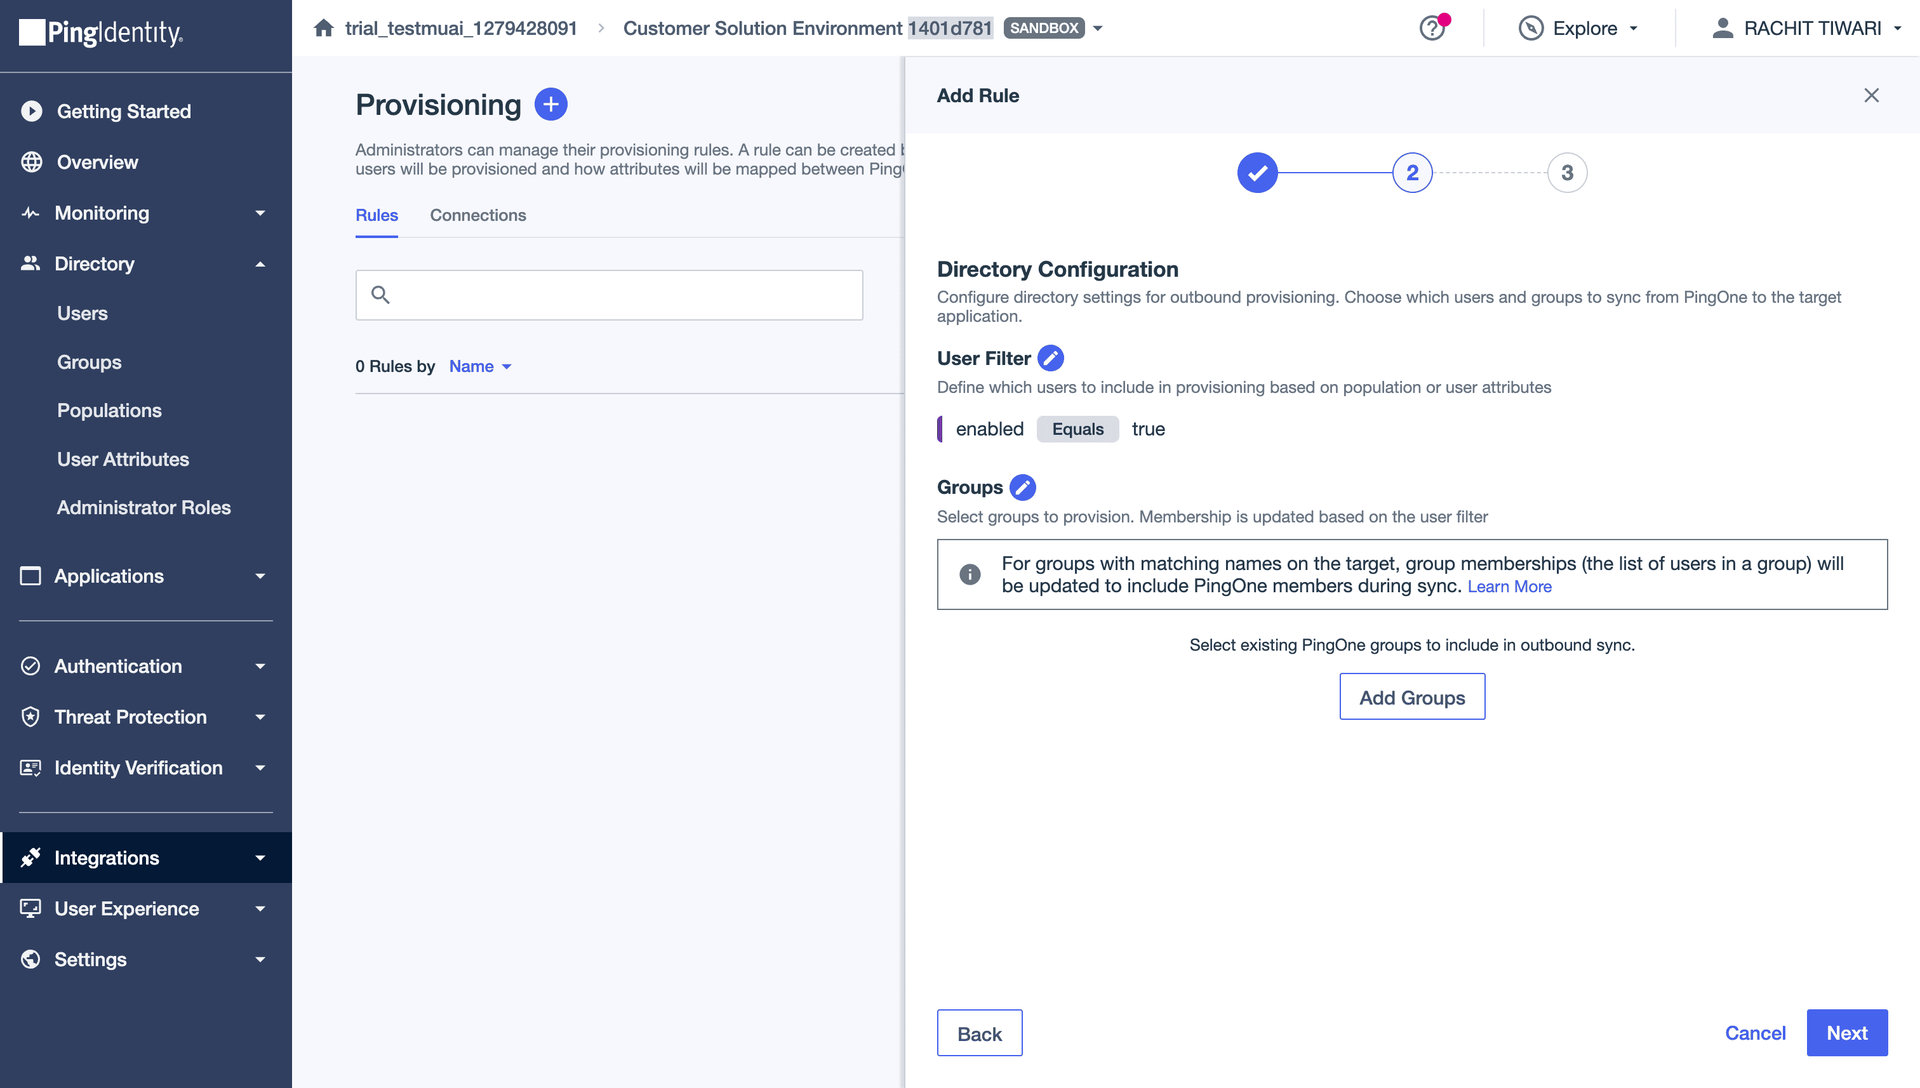
Configure the Directory settings:
- Set a User Filter (e.g.,
enabled Equals trueto only sync active users)
Review the Attribute Mapping. PingOne maps the following attributes by default:
| PingOne Directory | SCIM Attribute |
|---|---|
| Enabled | active |
| Family Name | familyName |
| Given Name | givenName |
| Email Address | userName |
| Email Address | workEmail |
| Formatted | formattedName |
Make sure Email Address is mapped to userName. This is required — TestMu AI uses userName as the unique identifier for SCIM users, and it must be a valid email address.
Click Save to create the rule.

Ensure the rule is enabled (toggle ON).
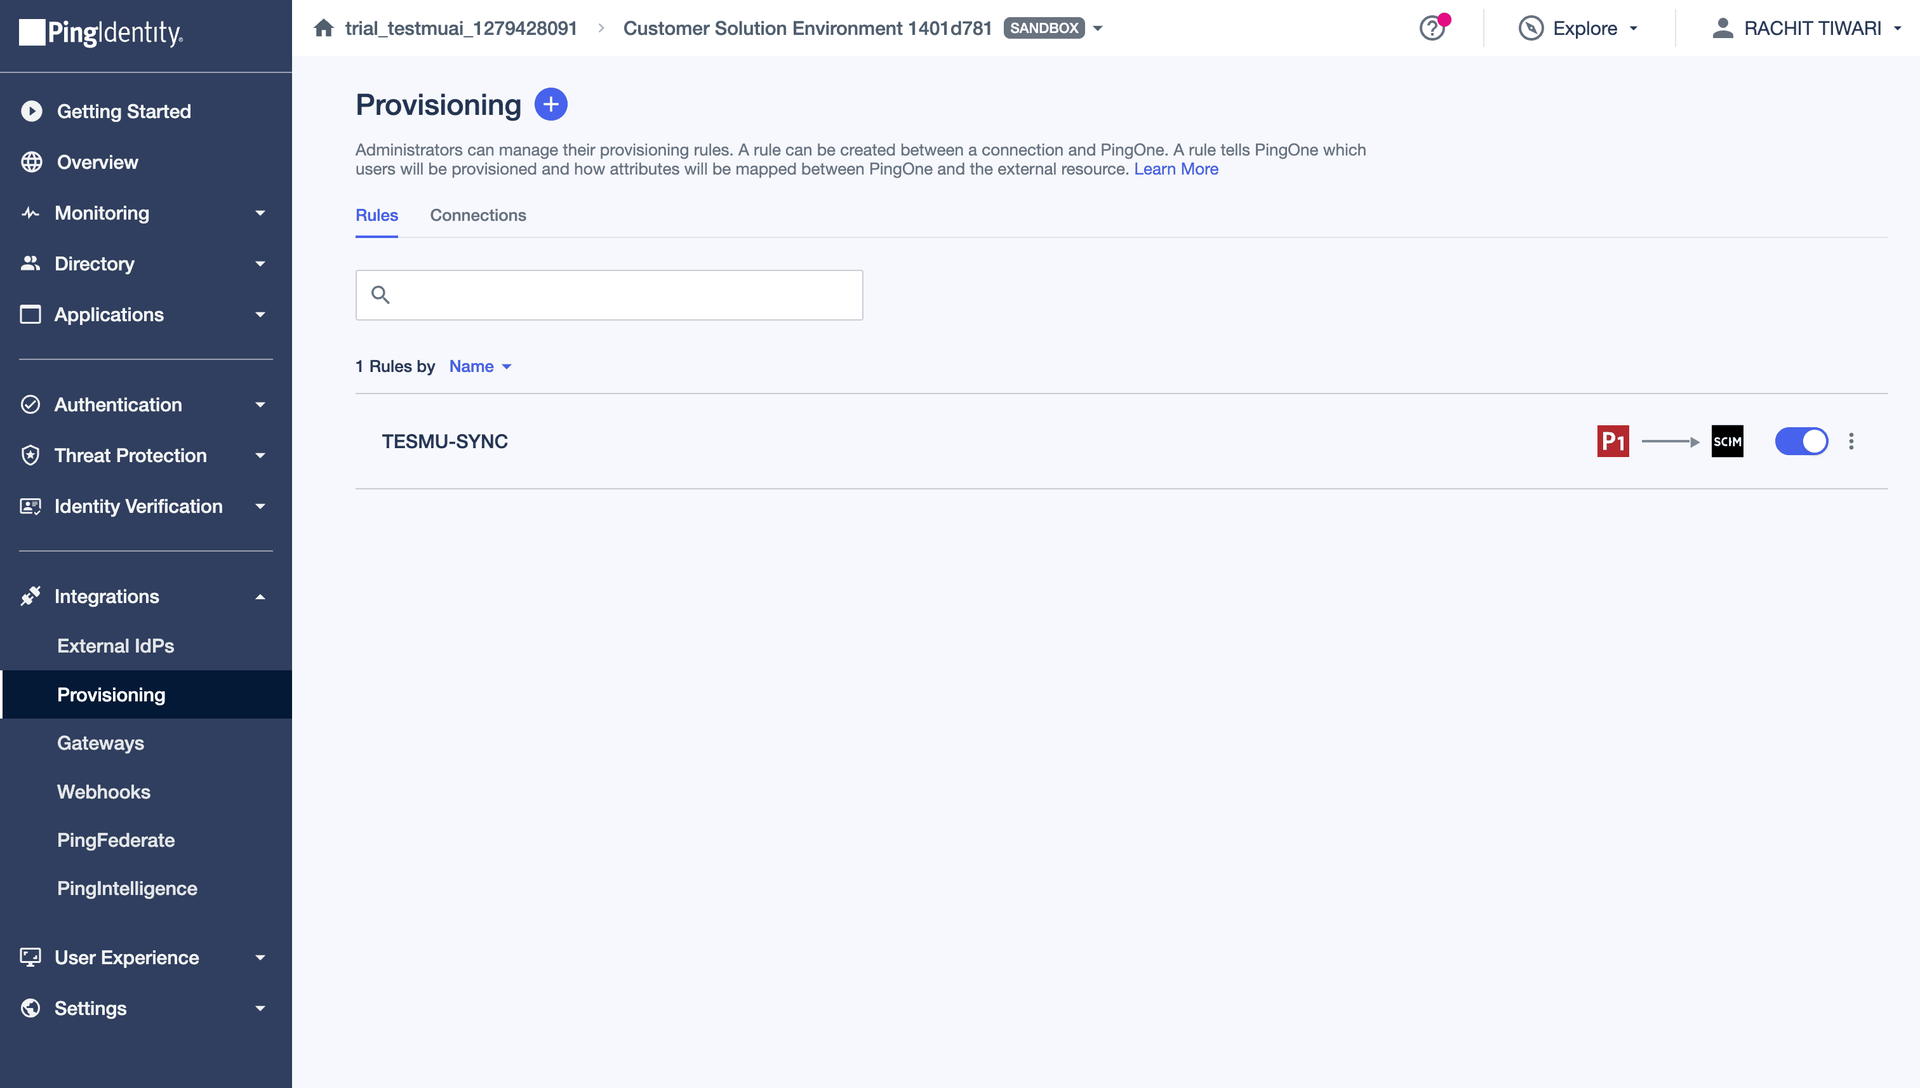
Users assigned to the provisioning rule will now be automatically synced to TestMu AI.
Provisioning Groups from PingOne
Group provisioning is not enabled by default. Before proceeding, reach out to our 24/7 chat support or email support@testmuai.com to get it activated for your organization.
Once group provisioning is enabled and user provisioning is working, follow these steps to push PingOne groups to TestMu AI.
Step 1 — Add Groups to Your Provisioning Rule in PingOne
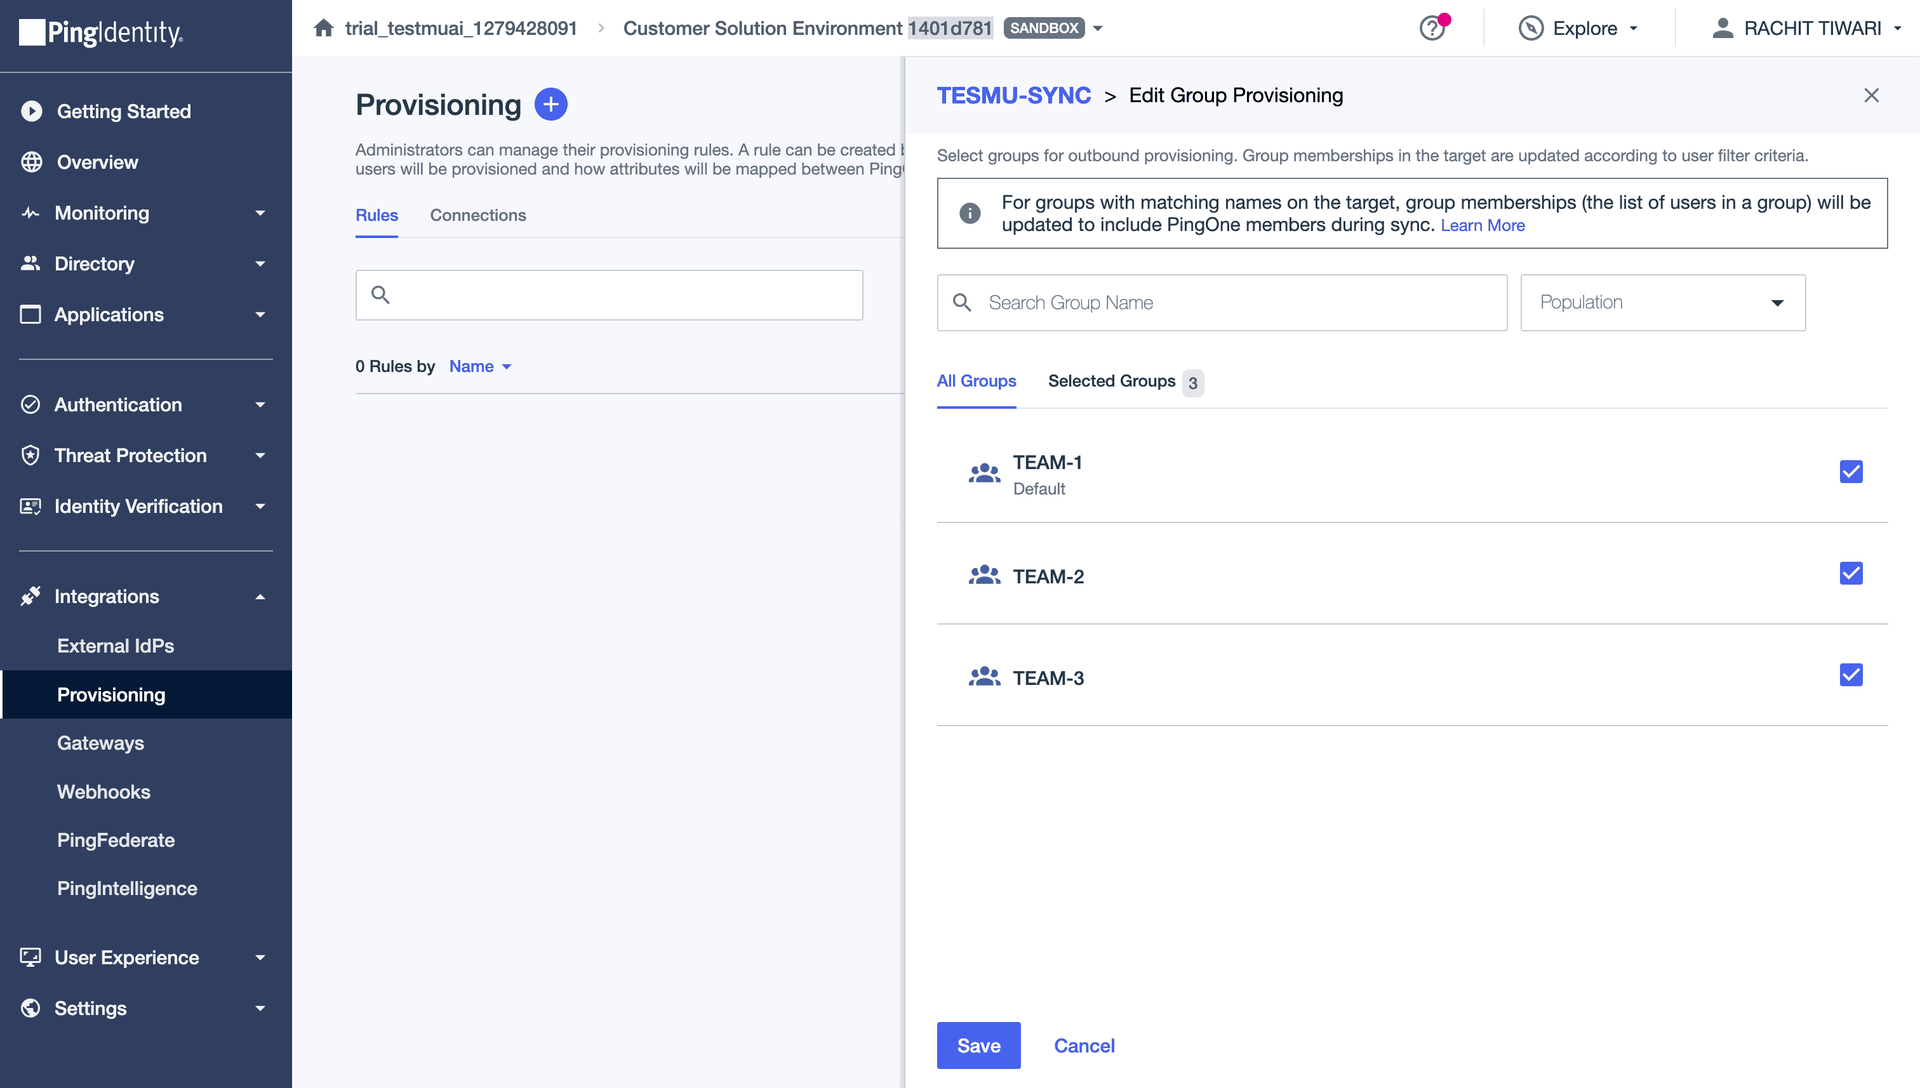
Go back to your SCIM provisioning connection in PingOne > Rules tab > edit your provisioning rule.
Under Directory settings, click Add Groups to select which PingOne groups to provision to TestMu AI.
Select the groups you want to push and click Save.
Step 2 — Configure Mapping Rules in TestMu AI
In TestMu AI, go to Settings > Organization Settings > SCIM Group Provisioning > Mapping Rules tab.
Click Add Mapping Rule to create a rule that determines how incoming groups are mapped.

Configure the rule:
- Pattern — match group names by prefix, regex, or match all
- Target Entity Type — Team, Concurrency Group, or Sub-Organization
- Auto Approve — toggle ON to automatically approve matching groups
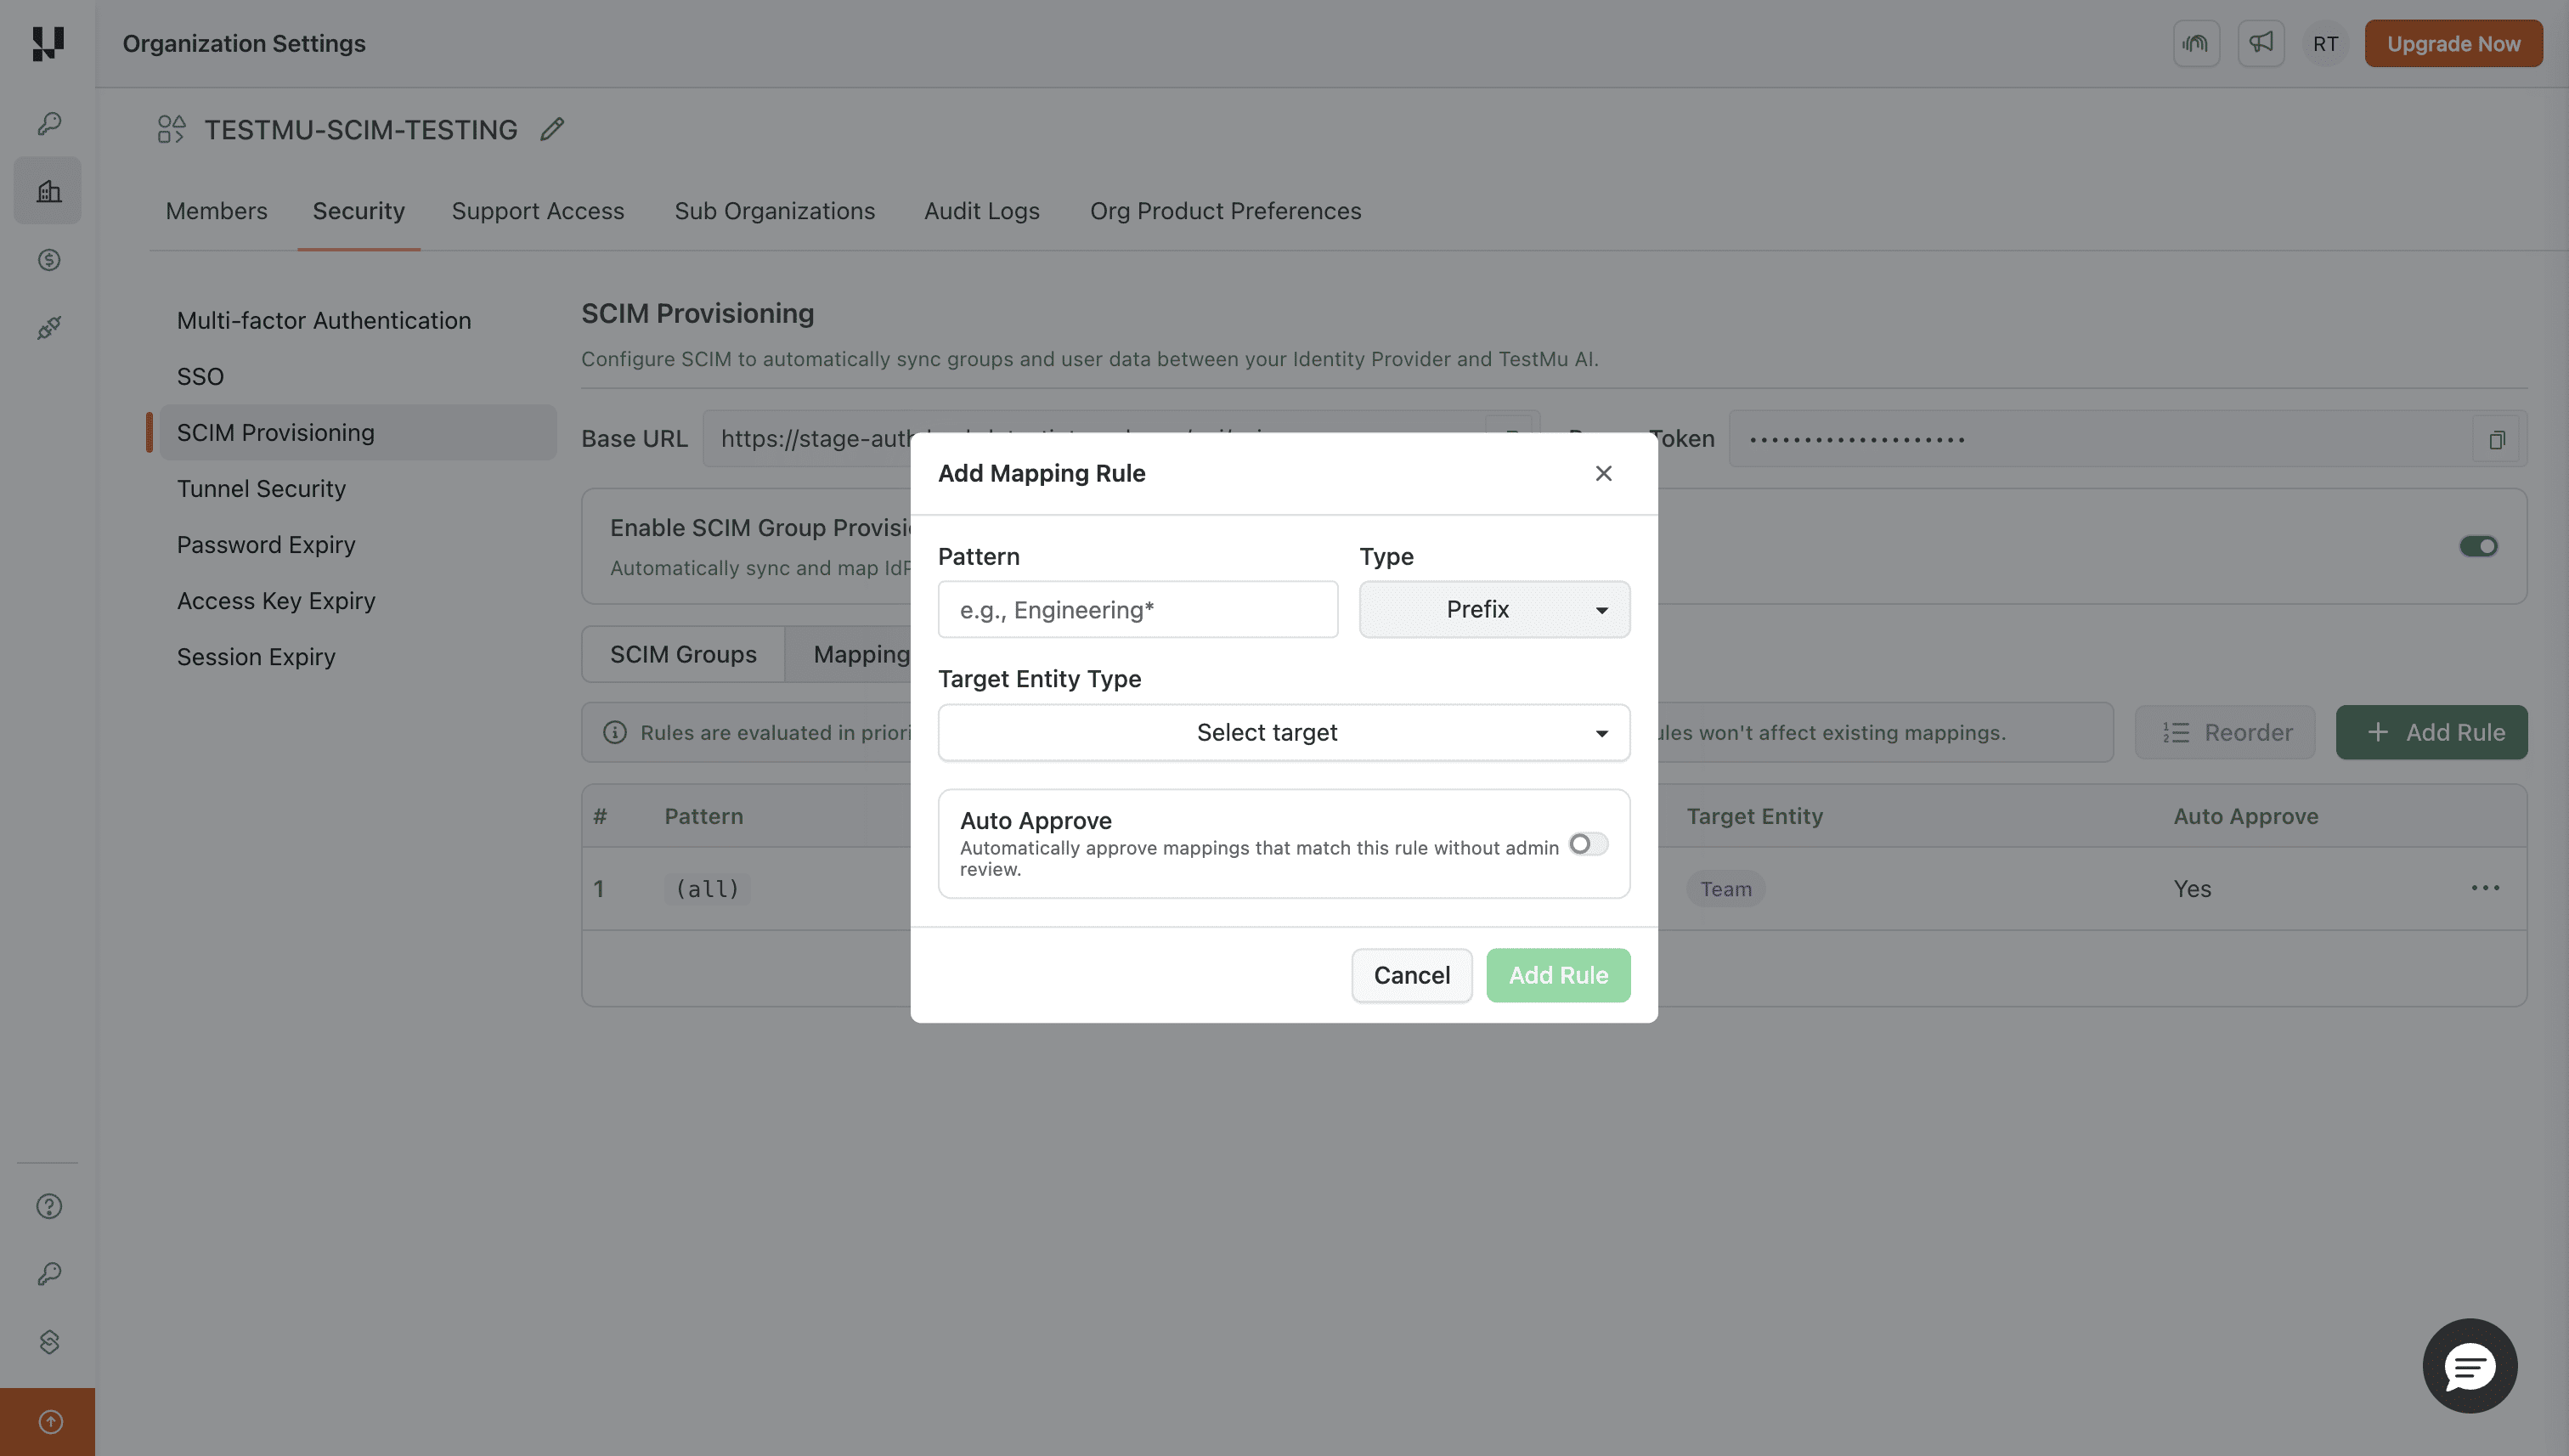
Set a Match All → Team rule with auto-approve enabled to automatically map all incoming groups to teams without manual intervention.
Step 3 — Verify Groups in TestMu AI
Once PingOne pushes the groups, go to SCIM Group Provisioning > SCIM Groups tab to see the synced groups.
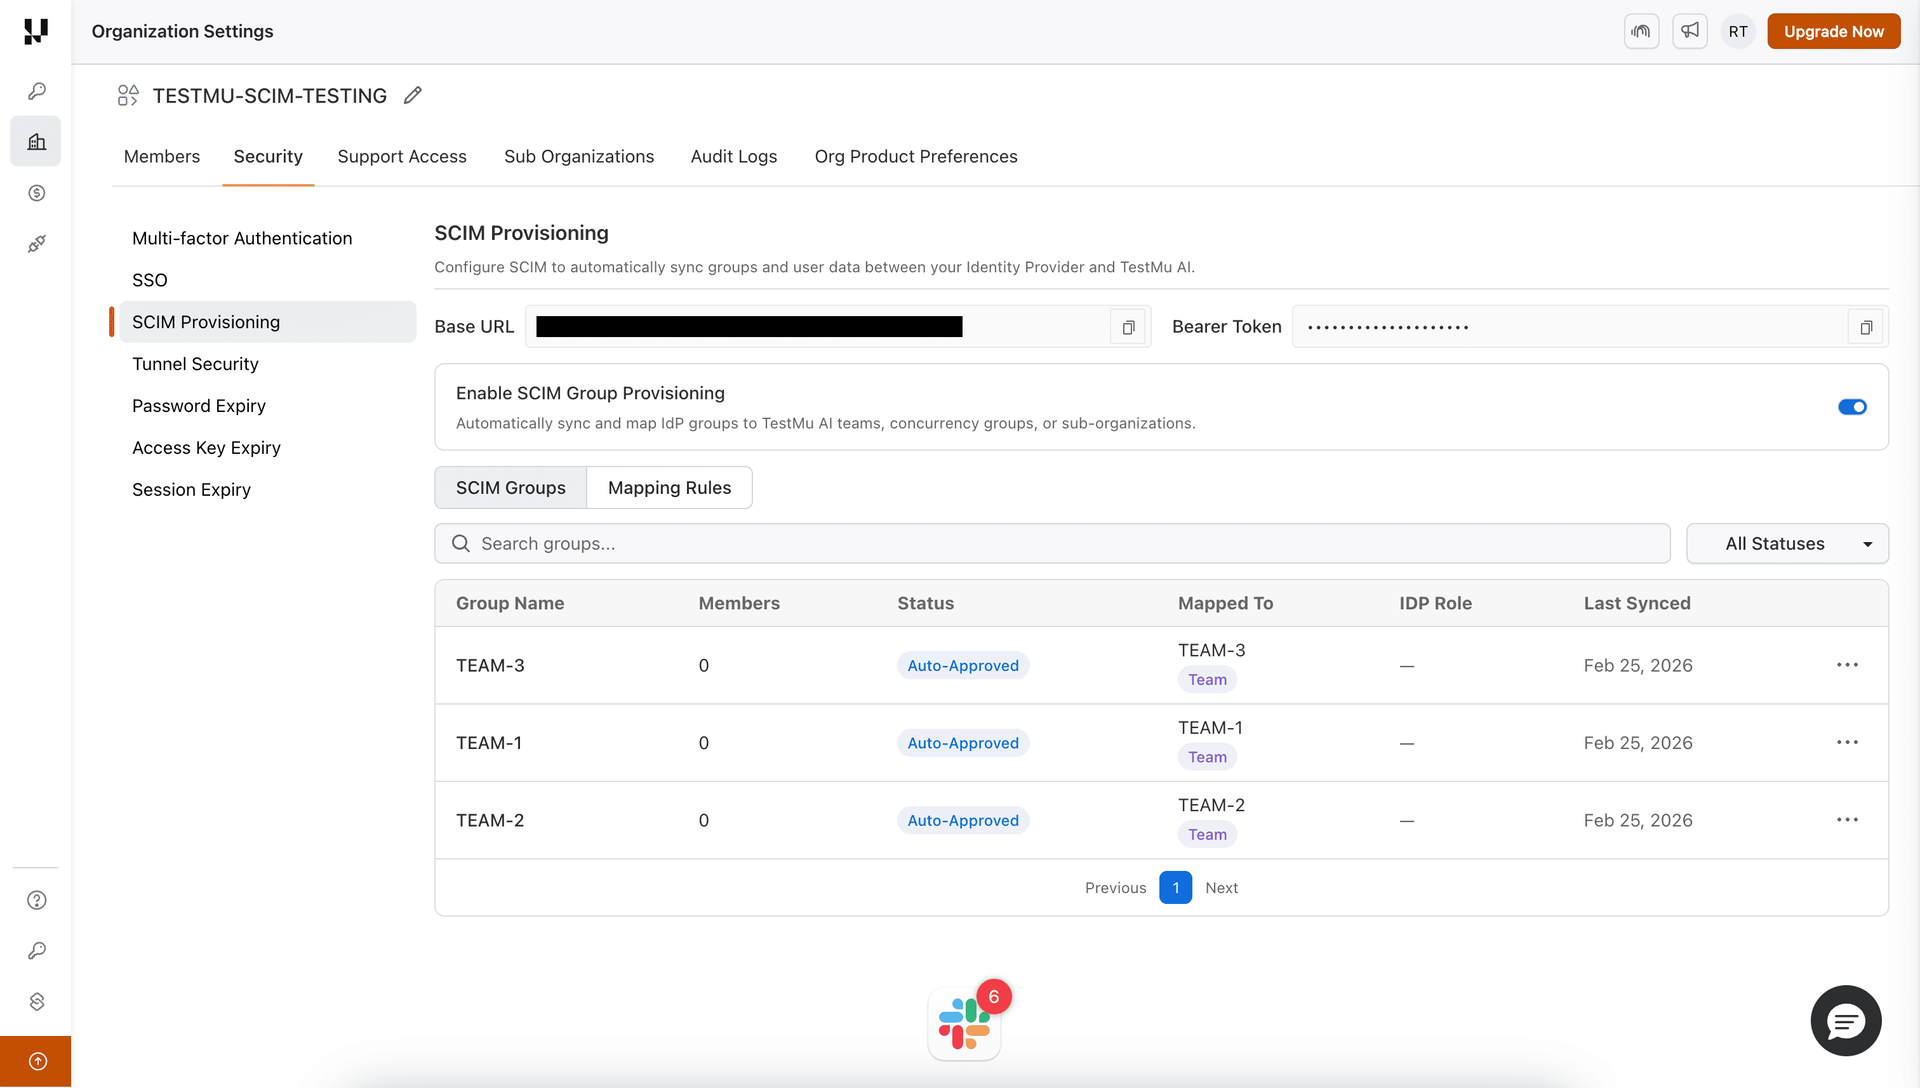
If you configured an auto-approve mapping rule, the groups will be automatically approved and members synced.
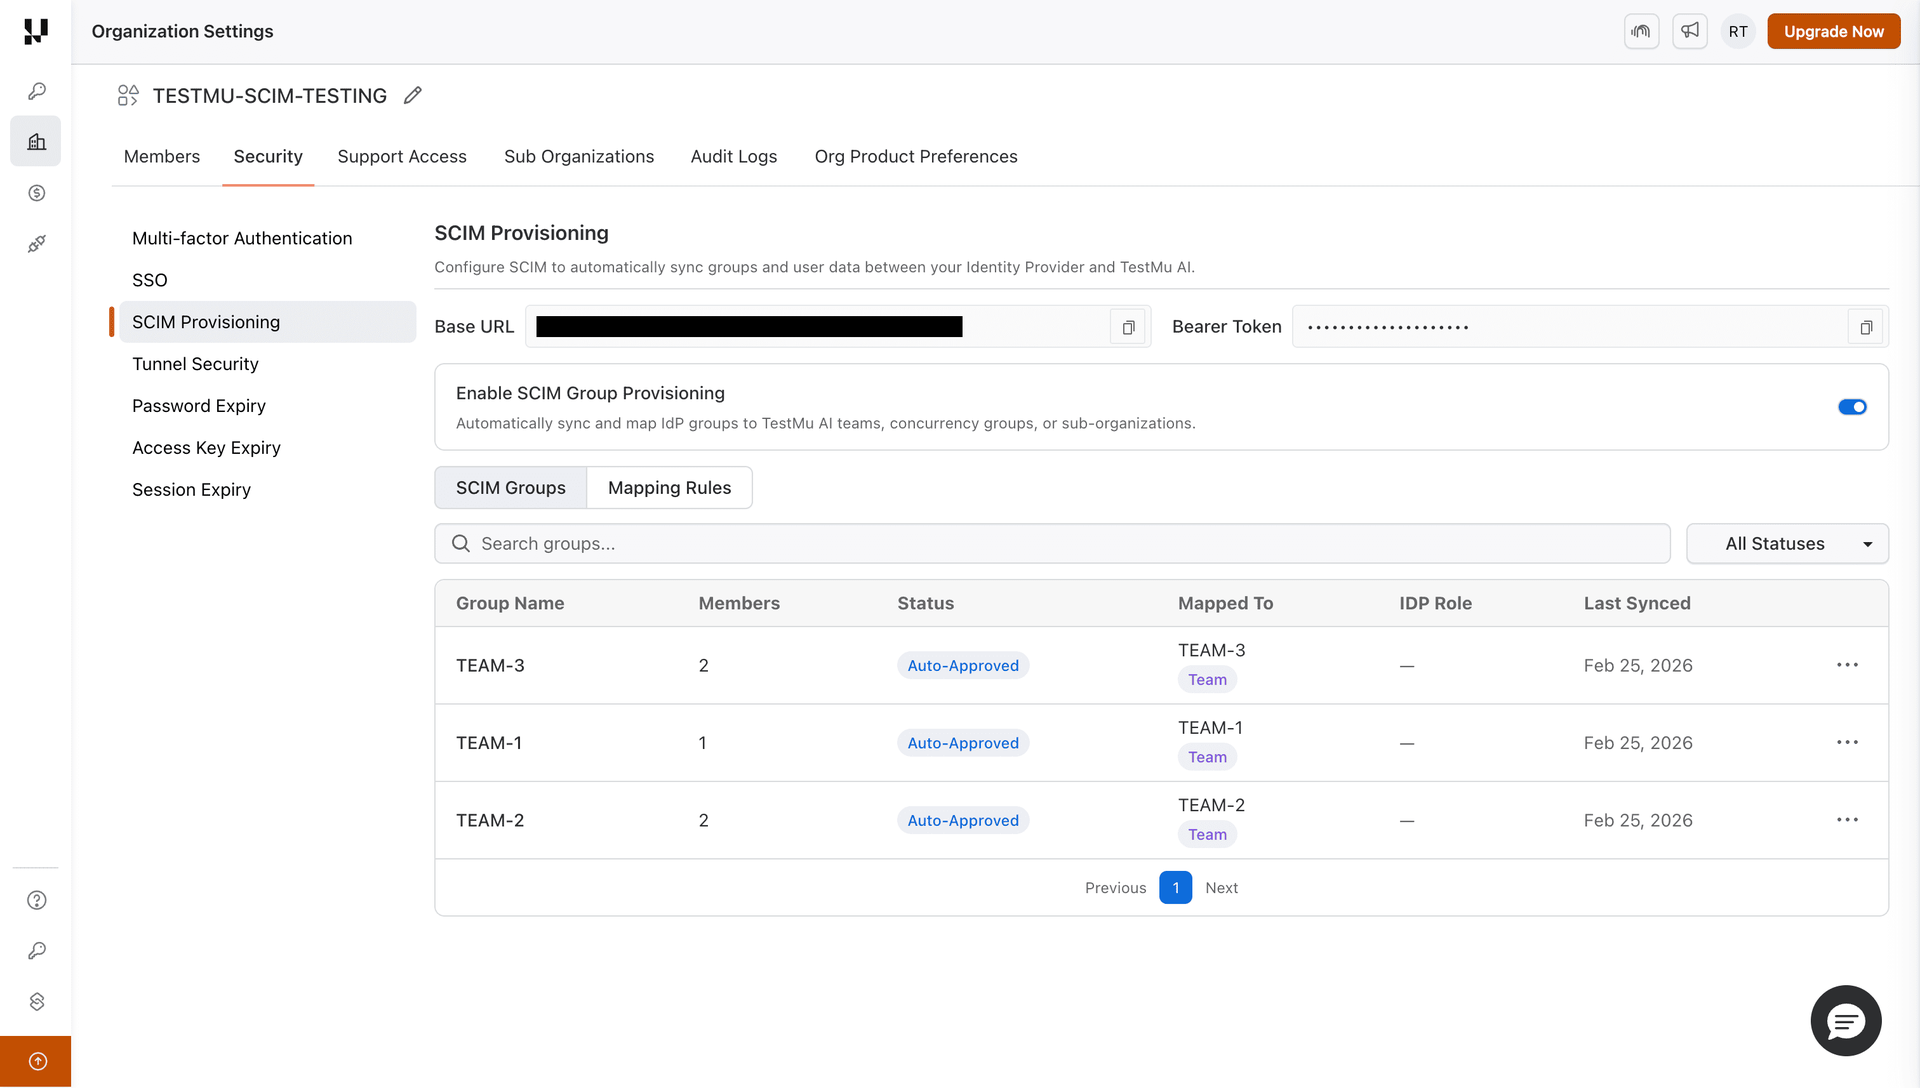
Verify that the teams (or concurrency groups / sub-orgs) were created:

Once the provisioning rule runs, group members will appear in the mapped entities.

What Happens After Group Provisioning
| PingOne Action | TestMu AI Effect |
|---|---|
| Group included in provisioning rule | Group created, mapping rules evaluated, members synced |
| User added to group | Member added to all mapped TestMu AI entities |
| User removed from group | Member removed (if no other group maps them there), role recomputed |
| Group renamed | Group renamed, mapped entity renamed to match, rules re-evaluated |
| Group removed from rule / deleted | Group soft-deleted, members safely unassigned, roles recomputed |
For details on mapping, conflicts, and rules, see the SCIM Provisioning guide.
That's all you need to know about TestMu AI SCIM Provisioning with PingOne. In case you have any questions please feel free to reach out to us via the 24/7 chat support or email us over support@testmuai.com.
