Upload and Download Files in KaneAI
This guide provides a step-by-step process for uploading and downloading files within Kane AI, a cloud-based testing platform provided by TestMu AI. Users can easily upload files from their local system, access pre-uploaded files, and download files generated during a test session.
Prerequisites
- A valid TestMu AI account with access to Kane AI.
- An active test session on Kane AI.
- Supported file formats:
- Images : JPG, JPEG, PNG, GIF (Maximum size: 10 MB)
- Videos : MP4 (Maximum size: 50 MB)
- Files : XLS, XLSX, DOC, DOCX, PDF, CSV, TXT (Maximum size: 15 MB)
Steps to Upload a File
Step 1: Initiate a Test Session
- Log in to your TestMu AI account.
- Click on Create a Web Test to start a new session within Kane AI.
Step 2: Navigate to the Upload Section
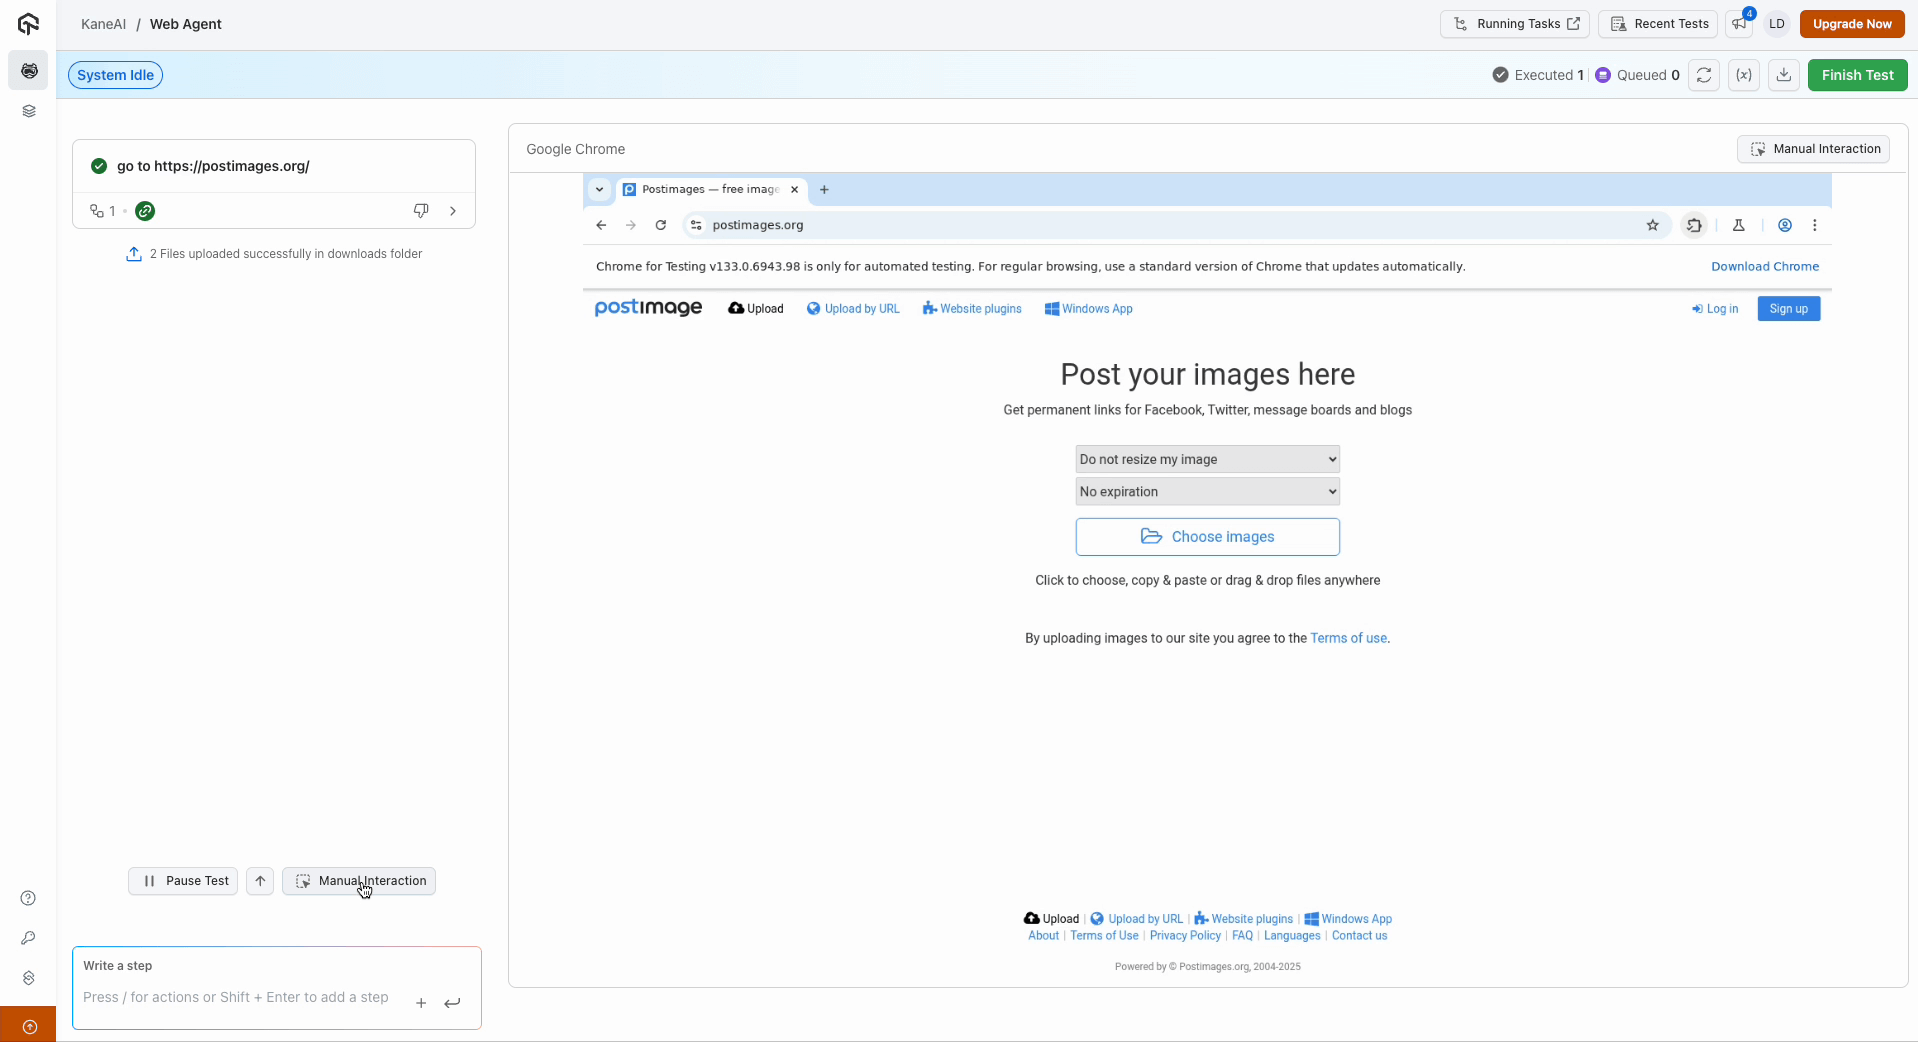
- Within the test session, navigate to the specific webpage where file uploads are required.
- Type a
slash (/)to access the file selection menu.
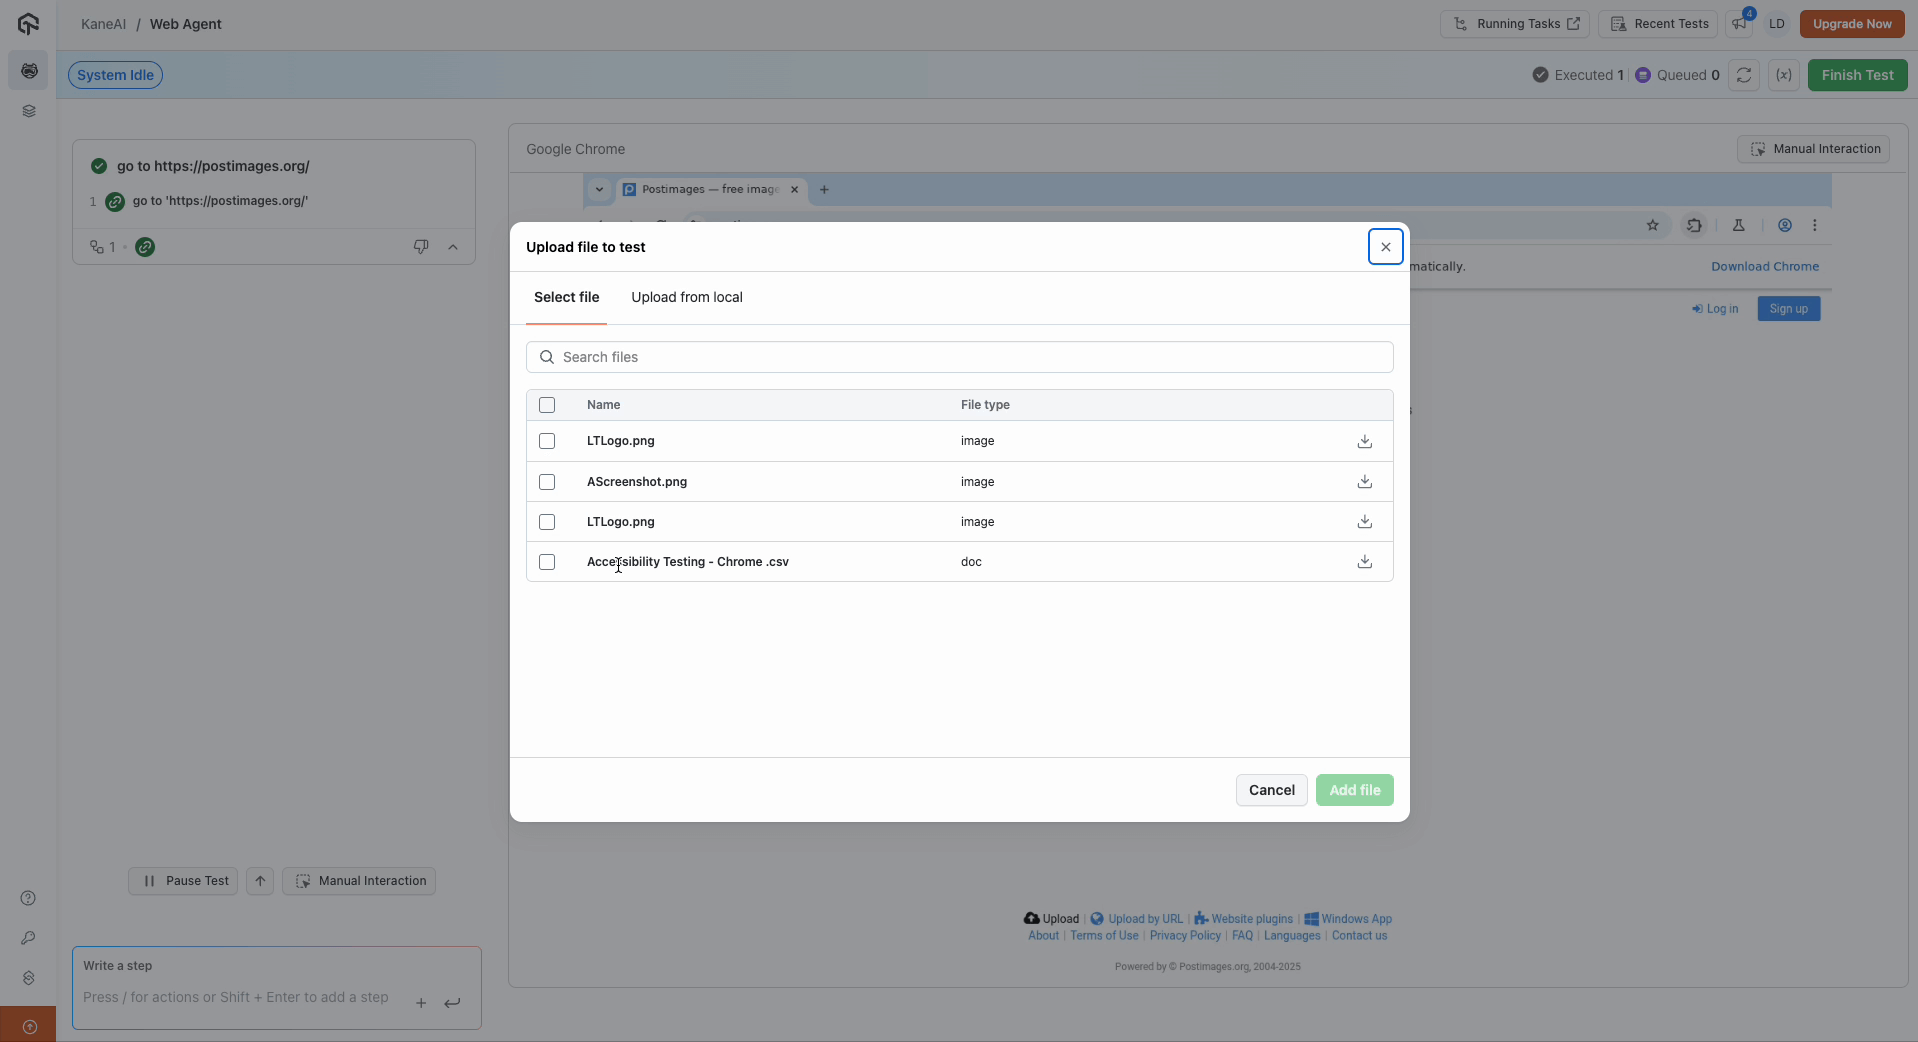
Step 3: Select Files for Upload
- Choose to either:
- Select from pre-uploaded files.
- Upload files from your local system.
- Ensure the upload limit does not exceed 5 files per session.
- Supported file formats:
- Images : JPG, JPEG, PNG, GIF (Maximum size: 10 MB)
- Videos : MP4 (Maximum size: 50 MB)
- Files : XLS, XLSX, DOC, DOCX, PDF, CSV, TXT, GED (Maximum size: 15 MB)
- Click Add File to confirm your selection.
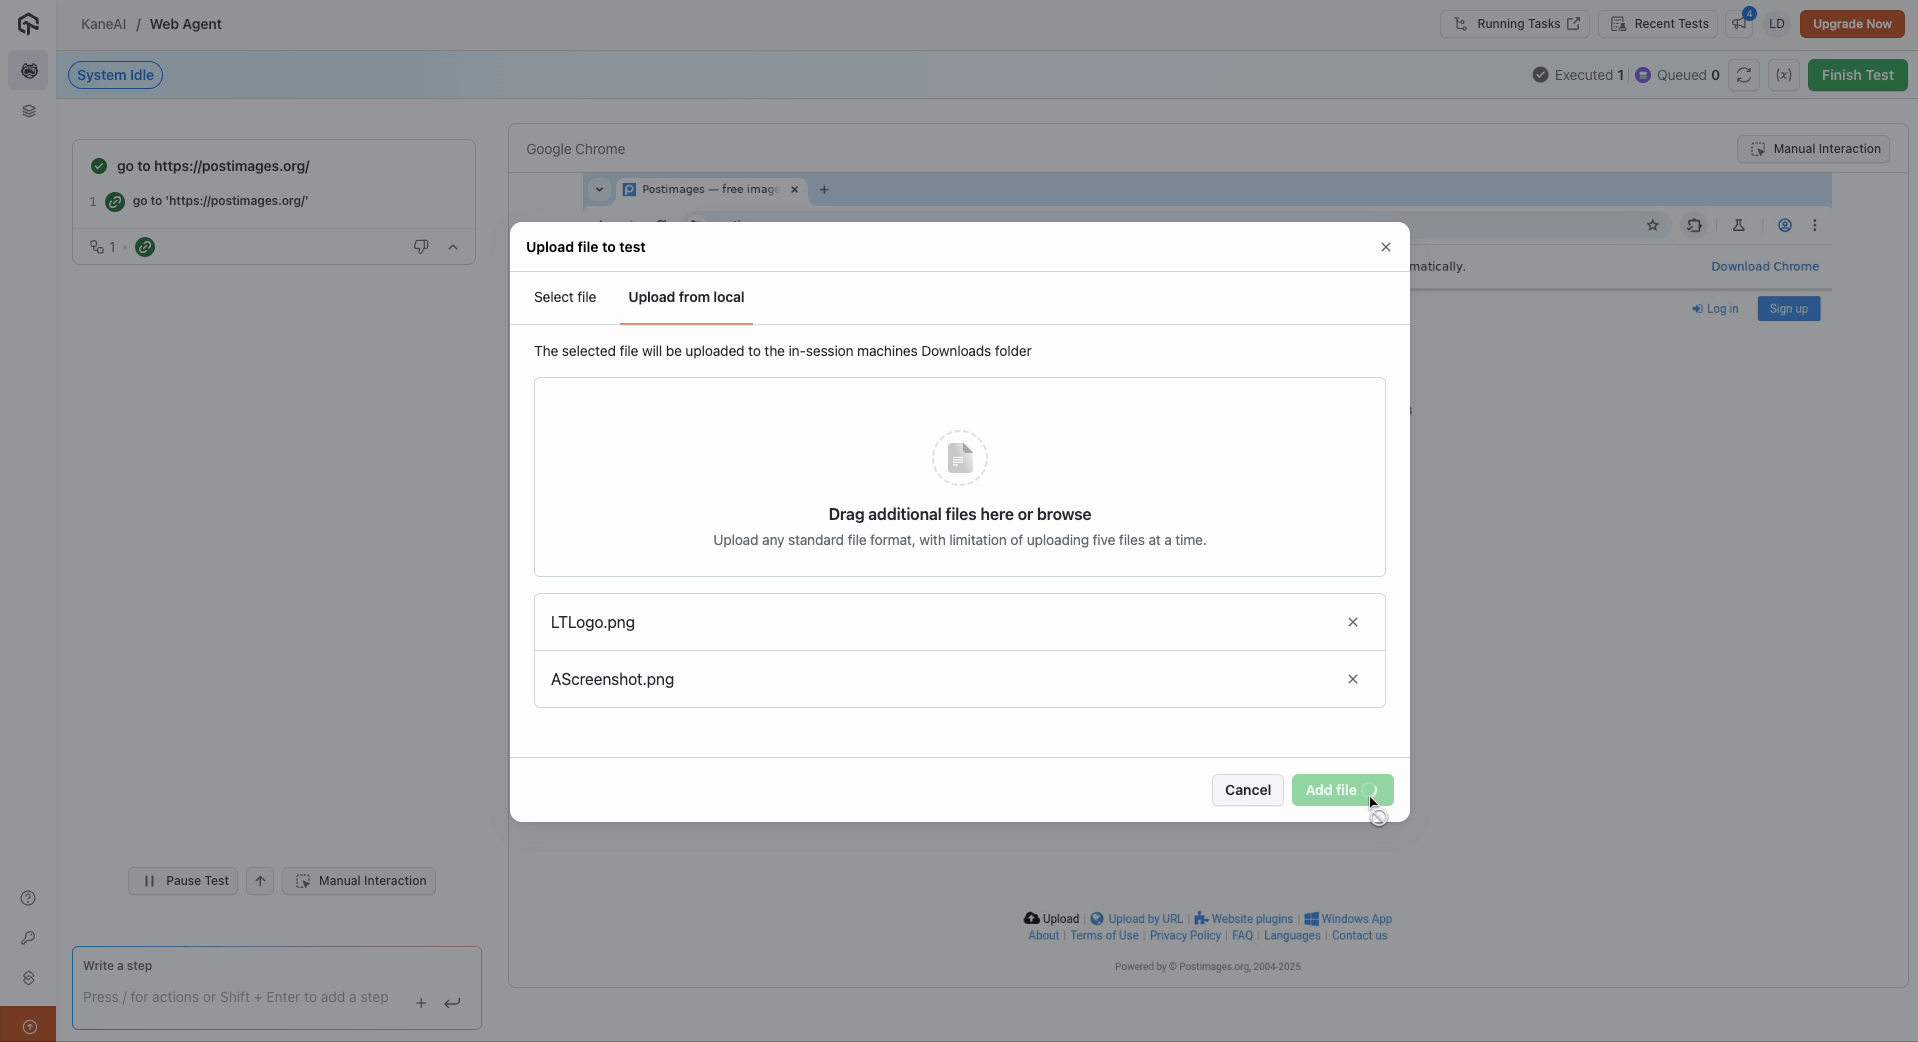
Step 4: File Upload Process
- Upon clicking Add File, the selected files are uploaded successfully to the downloads folder within the session.
- These files are treated as variables and their paths are dynamically assigned.
- These variables are named with prefix
FILE_
The FILE_ variable behavior described above applies to Web tests. In App tests no file variable is created. See File Upload in App Tests below for more information.
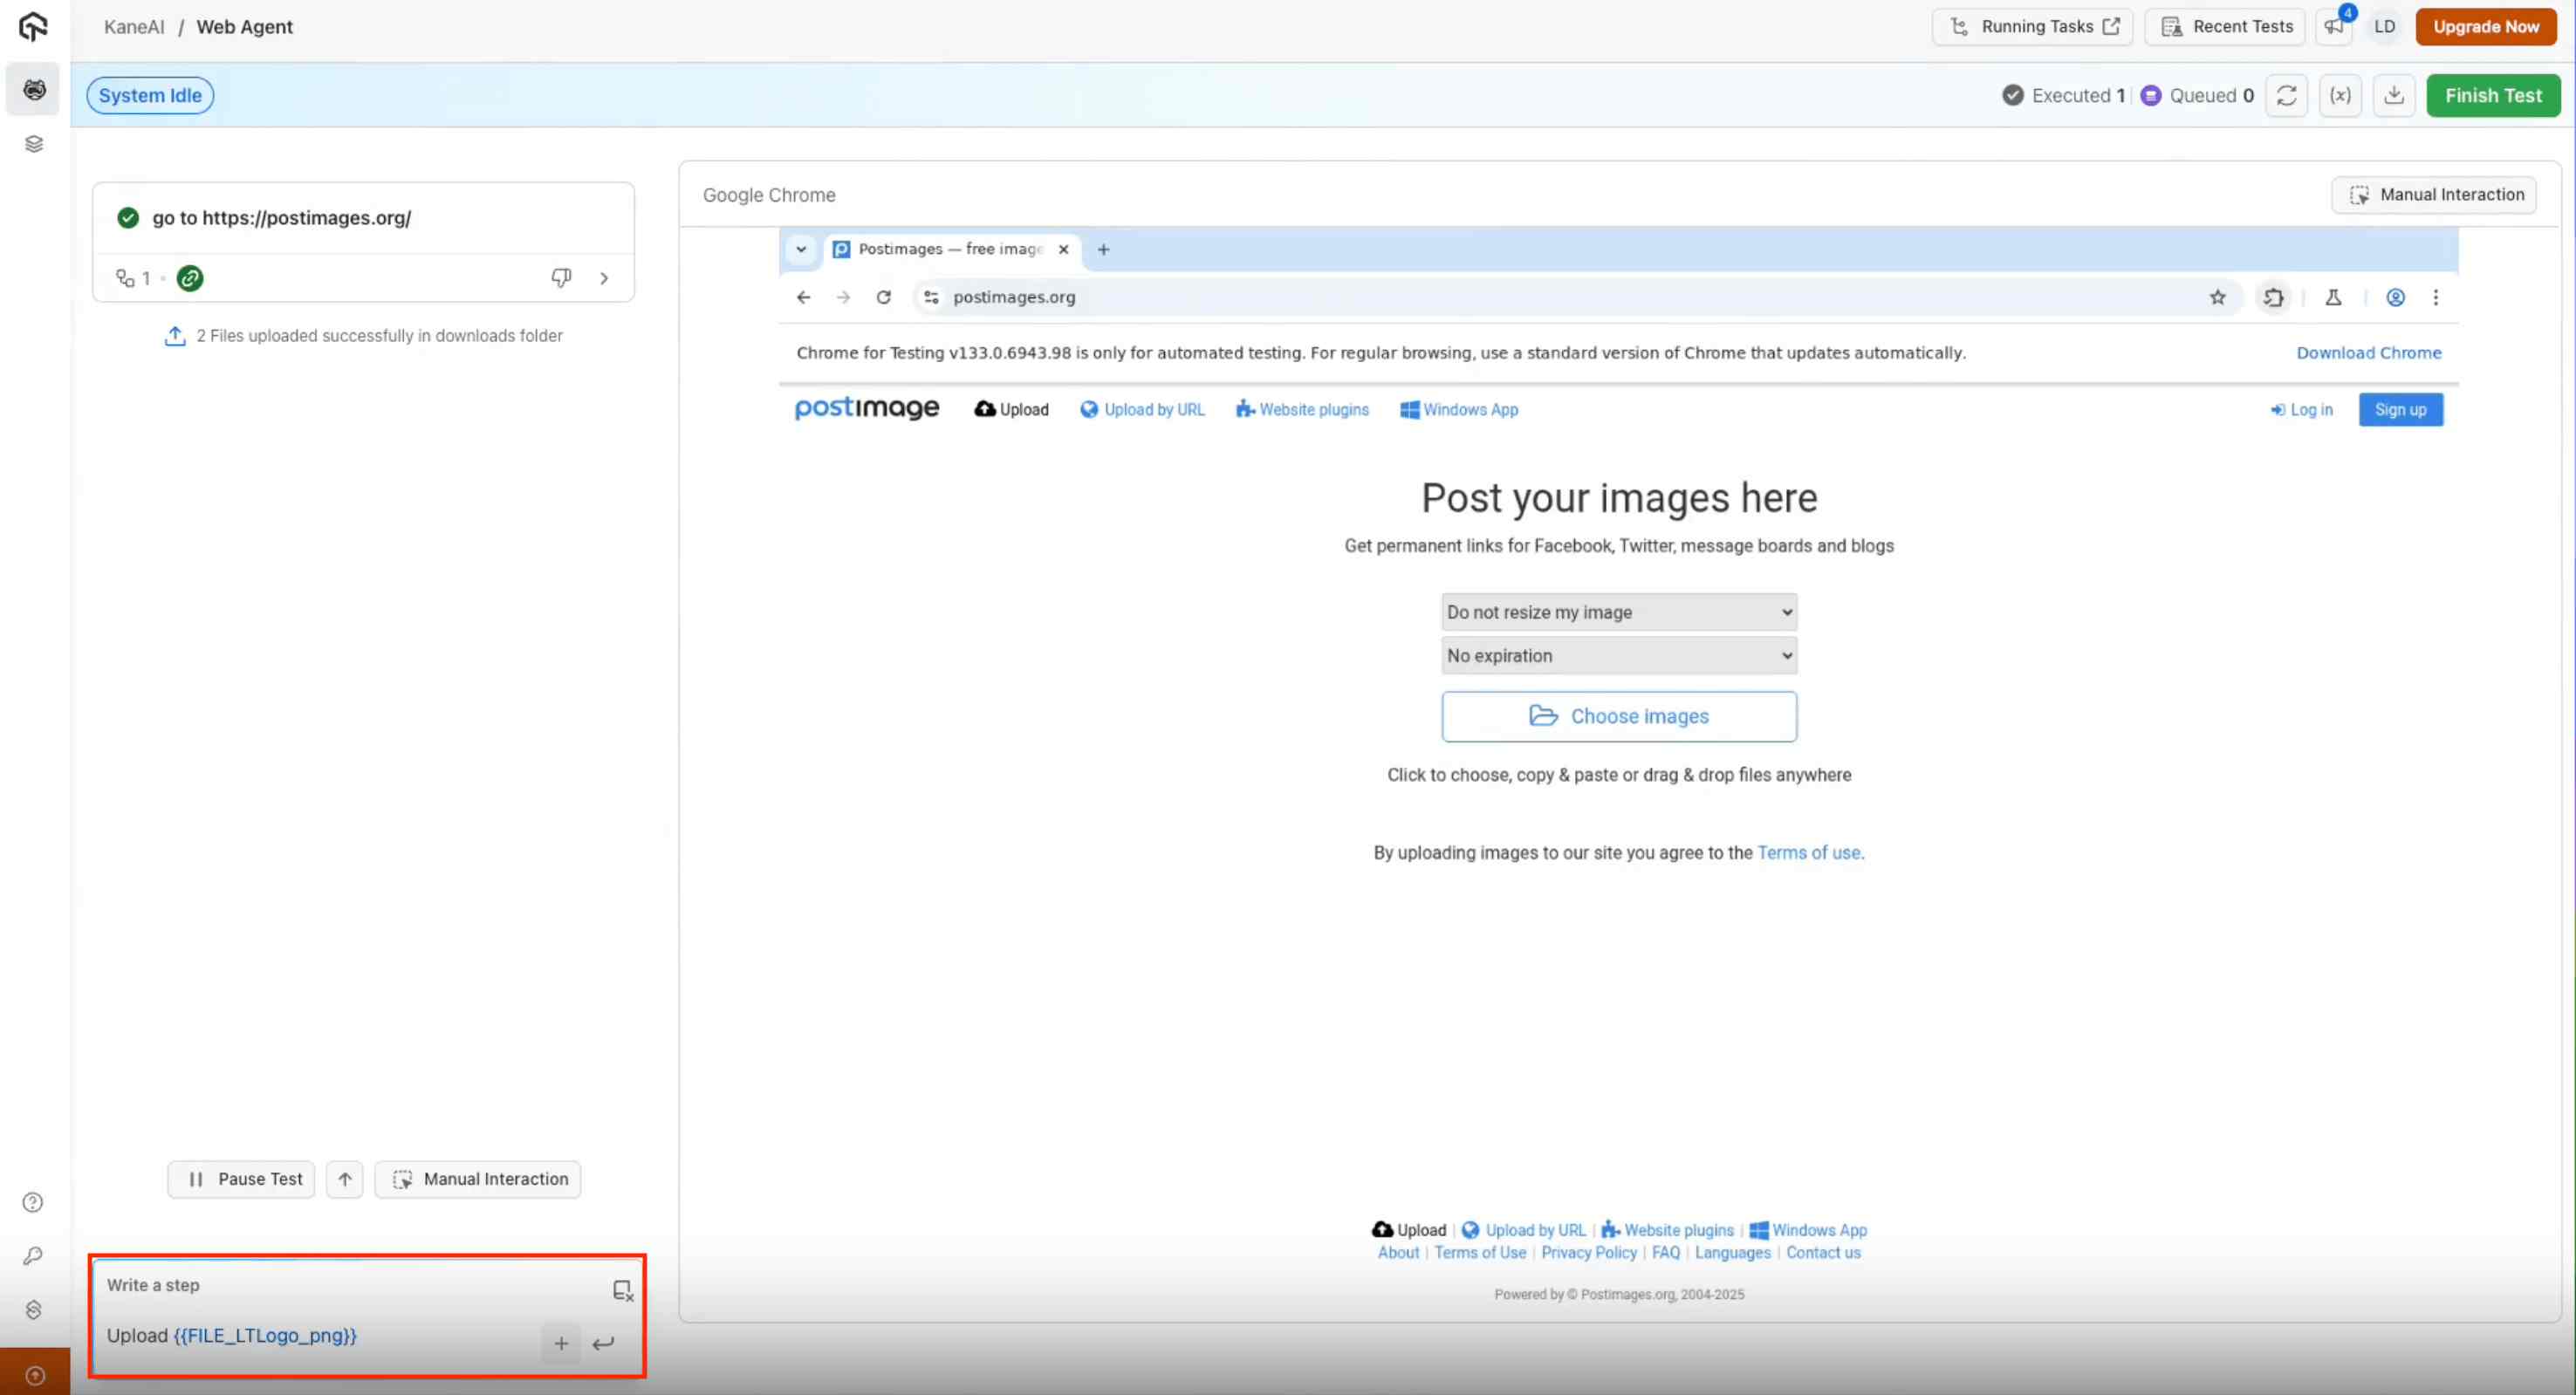
Step 5: Accessing Uploaded Files
- In the test environment, type upload in the command field.
- Select the required file from the available list using double-curly braces syntax (e.g.,
upload {{FILE_IMAGE_1_PNG}} in upload section). - Kane AI will detect the appropriate action for uploading and provide relevant options.
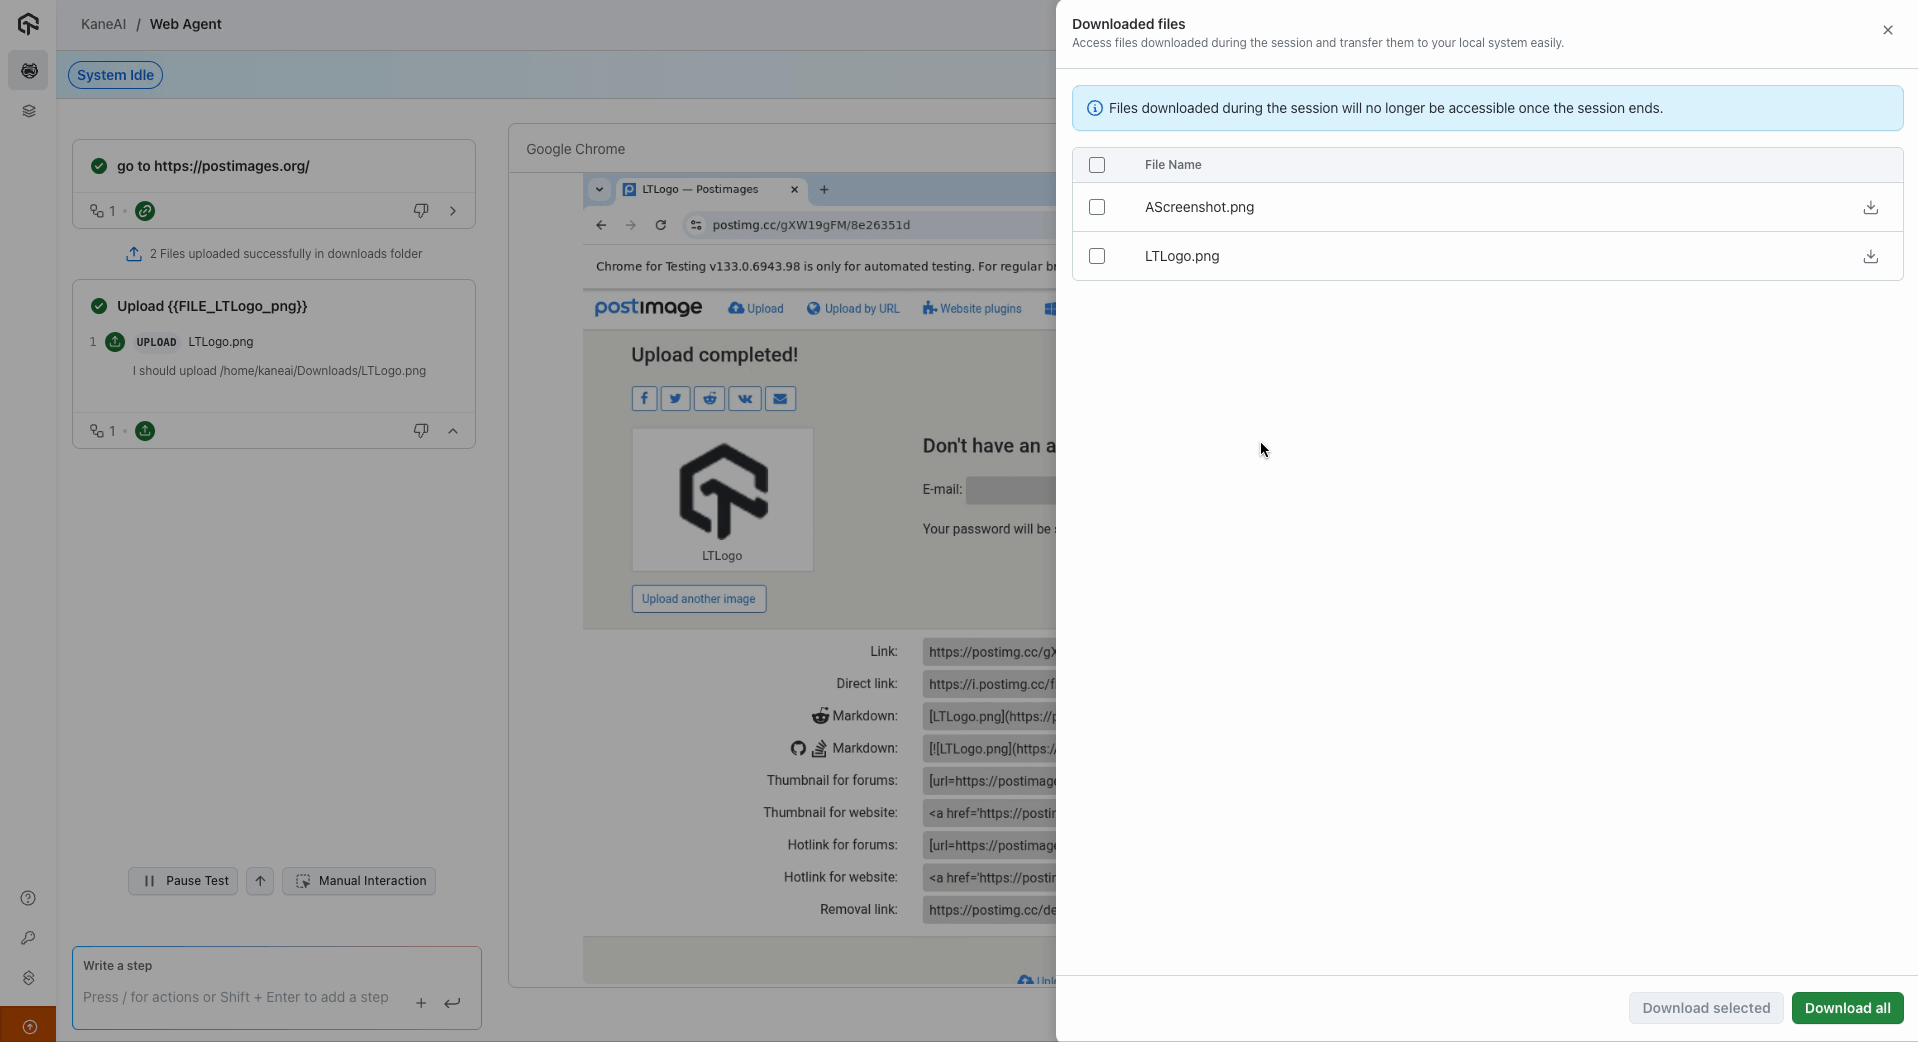
- On the right panel, all downloaded files in the session’s downloads folder will be displayed.
File Upload in App Tests
File upload behaves differently in App tests than in Web tests. In a Web test, TestMu AI creates a file variable for each upload. App tests skip this step entirely — no file variable is created, so you never reference uploaded files with double-curly-brace syntax.
How it works
When you upload files to an App test session, TestMu AI injects them directly into the device's storage. The files become part of the device itself, which is why there is no variable to assign, track, or reference in your instructions.
Working with injected files
Most native apps include their own file controls, such as an upload or attach button. Selecting one of these opens the device's system gallery or file picker, where your injected files are already available. You then choose the file you need and continue through the app's normal flow, exactly as a real user would.
Downloading Files from Kane AI
Step 1: Managing Downloaded Files
- Files added during the session will be visible in the downloads section.
- Users can either download all files at once or select specific files for download.
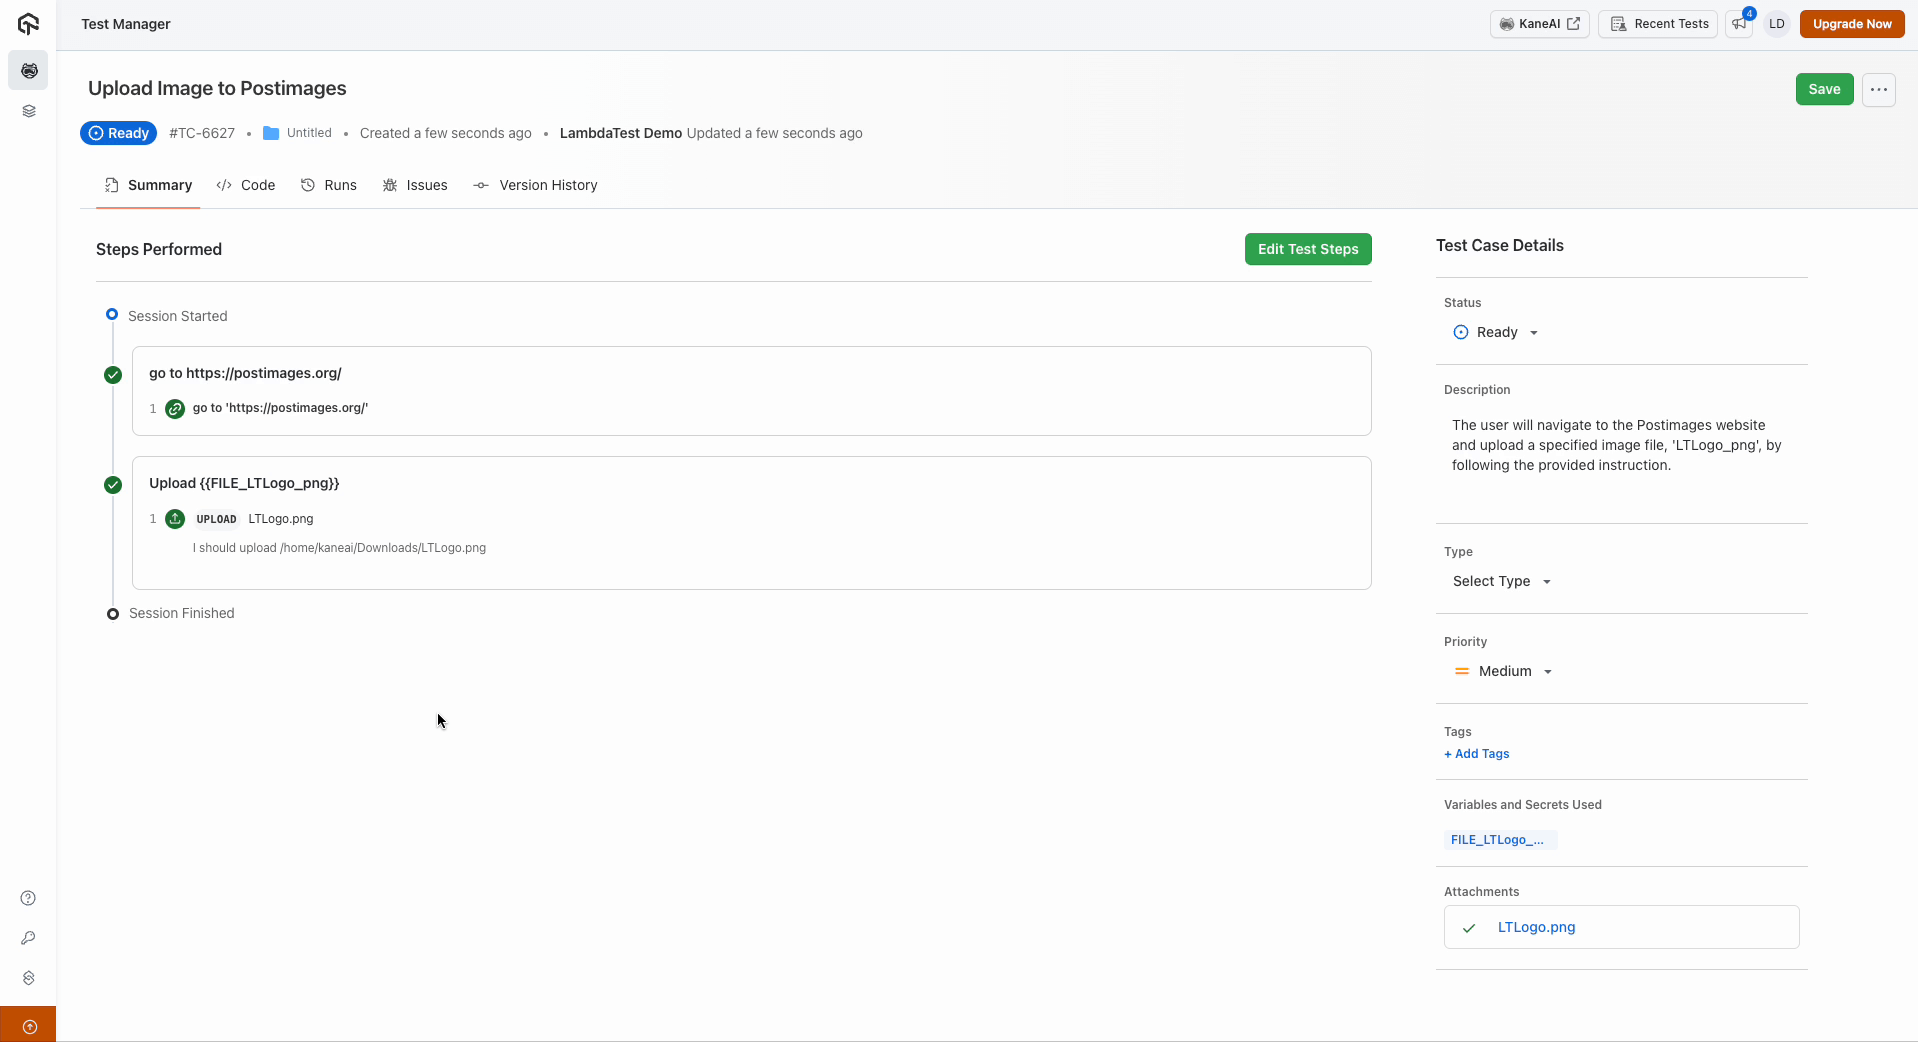
Step 2: Reviewing Uploaded Files Post-Test
- After test completion, all uploaded files are recorded as variables.
- These files are also available as attachments in the test summary page for easy reference and download.
The file upload and download functionality in Kane AI enhances test automation by providing easy access to necessary files. By following these steps, testers can efficiently manage files during their test sessions.