Execute BiDi Framework Tests on HyperExecute
BiDi (Bi-Directional) refers to the WebDriver BiDi protocol, a new standard from the W3C (World Wide Web Consortium). Unlike the traditional WebDriver protocol (which works in a request → response model), WebDriver BiDi enables two-way communication between your test script and the browser in real time.
That means instead of only sending commands (like “click this element” or “navigate to this URL”), your test can also subscribe to events happening inside the browser as they occur, such as console logs, network requests, page lifecycle events, or JavaScript exceptions. In simple terms:
- Old WebDriver = One-way communication (test script sends a command, browser replies).
- BiDi WebDriver = Two-way communication (test script can also “listen” to the browser while interacting with it).
BiDi brings modern automation capabilities that were missing in Selenium until now. Some key reasons to use it:
- Real-time event monitoring
- Network interception and mocking
- Enhanced debugging
- DOM and page lifecycle tracking
- Ensures your tests are aligned with the latest W3C standards.
HyperExecute is an AI Native Test Orchestration Cloud Platform that empowers you to run end-to-end tests quickly and efficiently. It provides Just-in-Time (JIT) testing infrastructure with fast execution speeds, smart orchestration, and detailed logs.
This guide details how to execute your BiDi tests on HyperExecute using YAML 0.1
Run a Sample Project
Step 1: Clone Sample Repository
Download or Clone the BiDi sample from TestMu AI’s GitHub Repository
 View on GitHub
Step 2: Download the CLI in your Project
Download the HyperExecute CLI and copy it into the root folder of the downloaded sample repository.
Step 3: Add the required Capabilities
VerifiedThe
webSocketUrlcapability is set totrueto enable BiDi support.
capabilities: [{
    "LT:Options": {
      browserName: "chrome",
      webSocketUrl: true,
      version: "latest",
      platform: process.env.HYPEREXECUTE_PLATFORM || 'windows 10',
      name: "HyperExecute BiDi Test",
      build: "HyperExecute BiDi Test",
      console: true,
    }
}],
Step 4: Configure YAML in your Test Suite
Verifiedloading...
Step 5: Execute your Test Suite
From the project root directory, execute the below CLI command in your terminal:
VerifiedNOTE : In case of MacOS, if you get a permission denied warning while executing CLI, simply run
chmod u+x ./hyperexecuteto allow permission. In case you get a security popup, allow it from your System Preferences → Security & Privacy → General tab.
./hyperexecute --user undefined --key undefined --config yaml/hyperexecute-linux.yaml
Step 6: Monitor the Test Execution
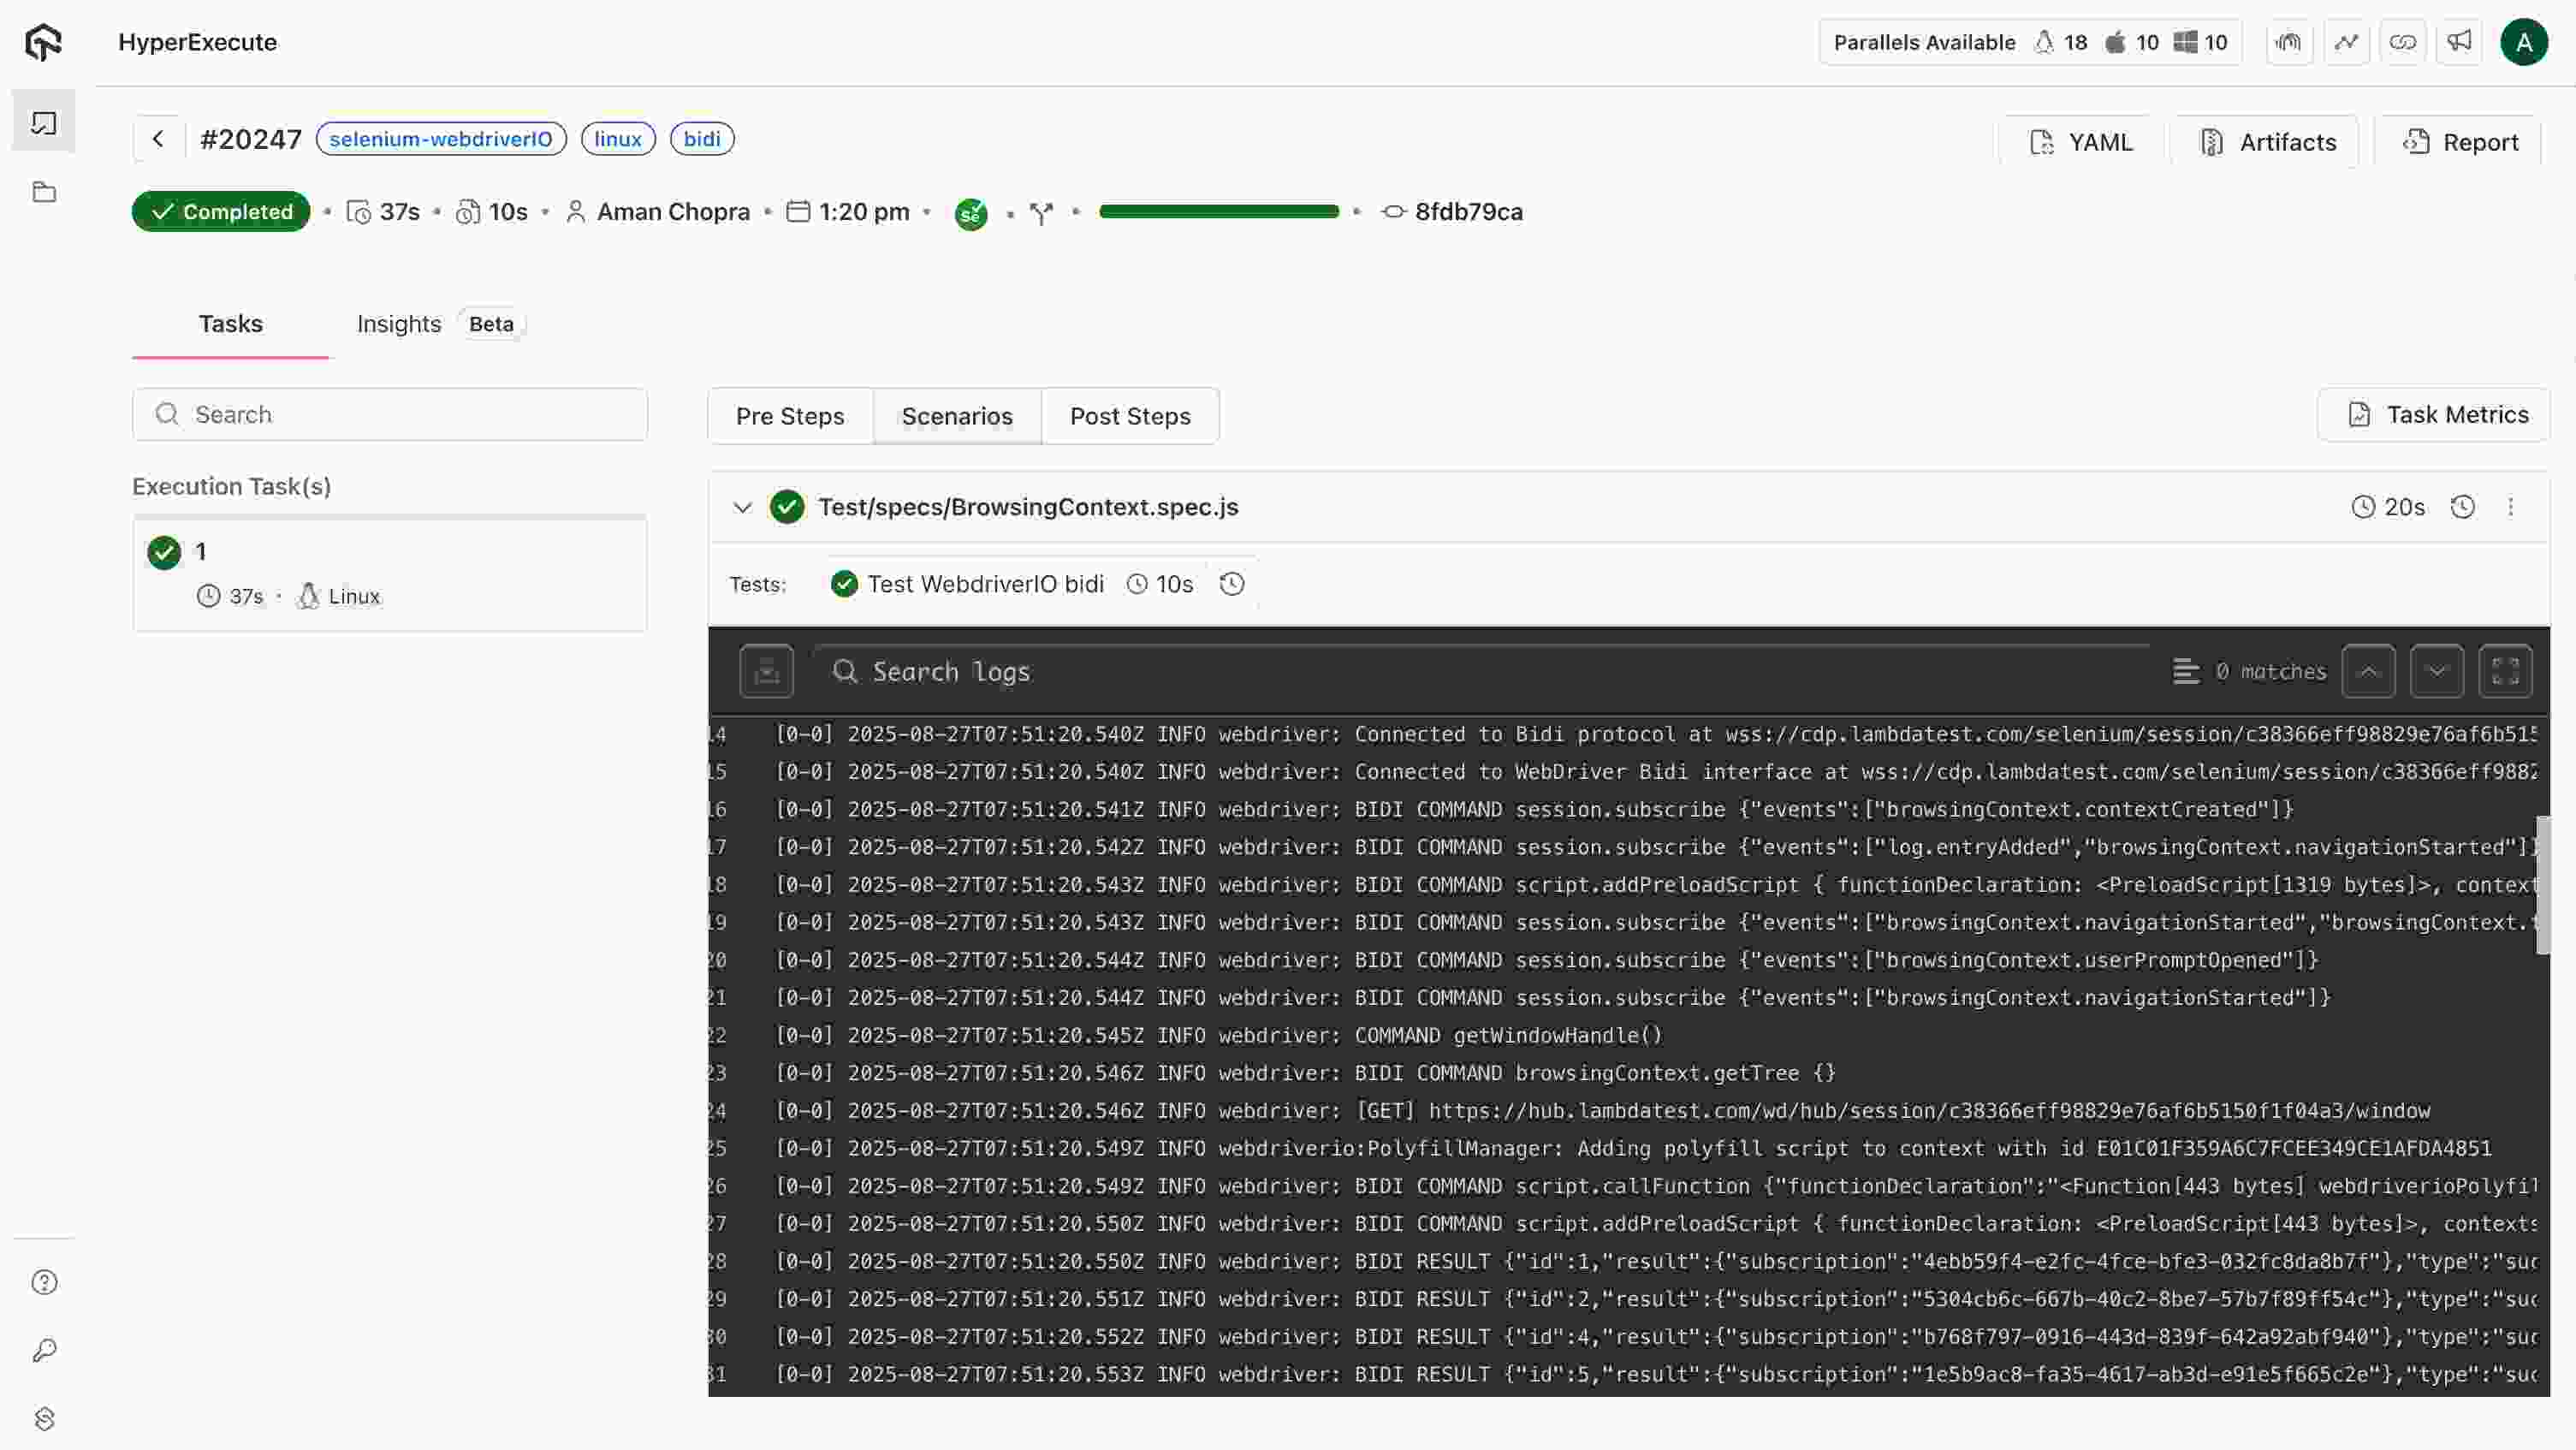
Visit the HyperExecute Dashboard and check your Job status.
Advanced Parameters
Optimize your test pipeline using the following advanced features:
- ✅ Smart Test Splitting – Automatically distribute tests across parallel runners
- ⚡ Fail Fast – Stop test runs on the first failure
- 📊 Detailed Reports – Real-time terminal logs & rich test reports
- 🔄 Auto-Healing – Automatically recover from certain failures
For any query or doubt, please feel free to contact us via 24×7 chat support or you can also drop a mail to support@testmuai.com.


 Chat with Us