How to Integrate TestMu AI With n8n
If you use n8n to automate workflows between apps, you can give those workflows access to a real, cloud-hosted browser by adding the TestMu AI Agent node. The node connects your workflows to 10,000+ browser/device combinations, with no local driver setup or infrastructure to manage. It is available in n8n's built-in verified nodes panel and works in any workflow alongside n8n's 1,000+ built-in integrations.
Prerequisites
Before you install the node, confirm you have the following in place.
- A TestMu AI account. Sign up for a free TestMu AI account if you do not have one.
- An n8n account on n8n Cloud or a self-hosted n8n instance running n8n 1.0 or later.
- Admin access on the n8n instance, or permission from your instance admin to install nodes.
- Before installing, check the TestMu AI Agent listing in the n8n integrations directory for the current version number and any reported compatibility notes.
How to Add TestMu AI Credentials to n8n
The TestMu AI Agent node uses your TestMu AI username and access key to authenticate each browser session. Retrieve both values from your account before you configure the node in n8n.
Step 1: Sign into your TestMu AI account. Open the Profile dropdown in the top-right corner and click Account Settings > Password & Security. Your Username and Access Key are listed on that page. Copy both values.
Step 2: In n8n, open the TestMu AI Agent node settings. Click the Credential dropdown and select Create credential. A credential modal opens.
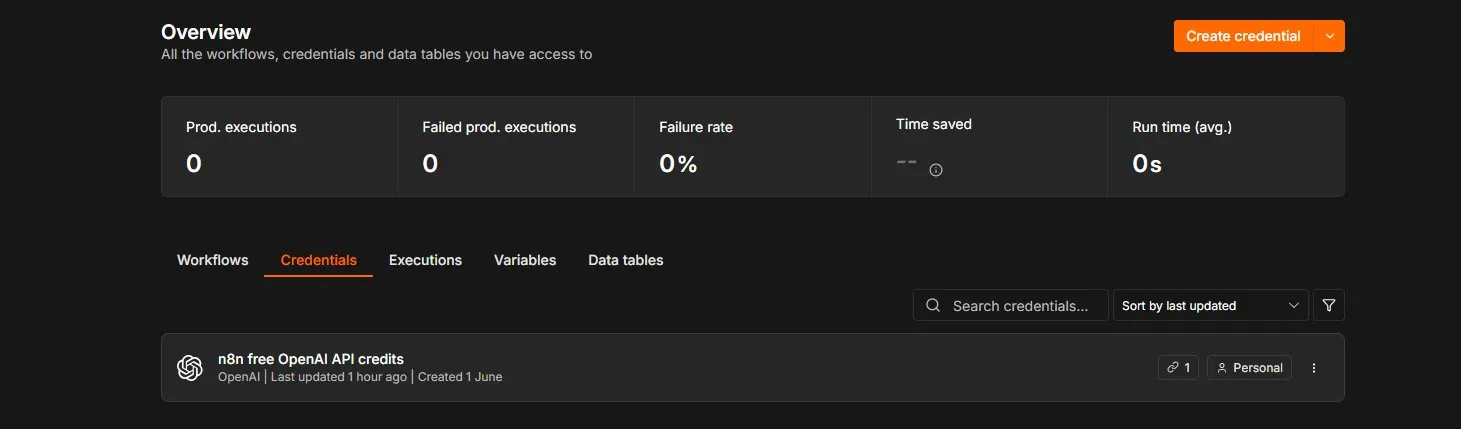
Step 3: Paste your Username into the Username field and your Access Key into the Access Key field and click Save
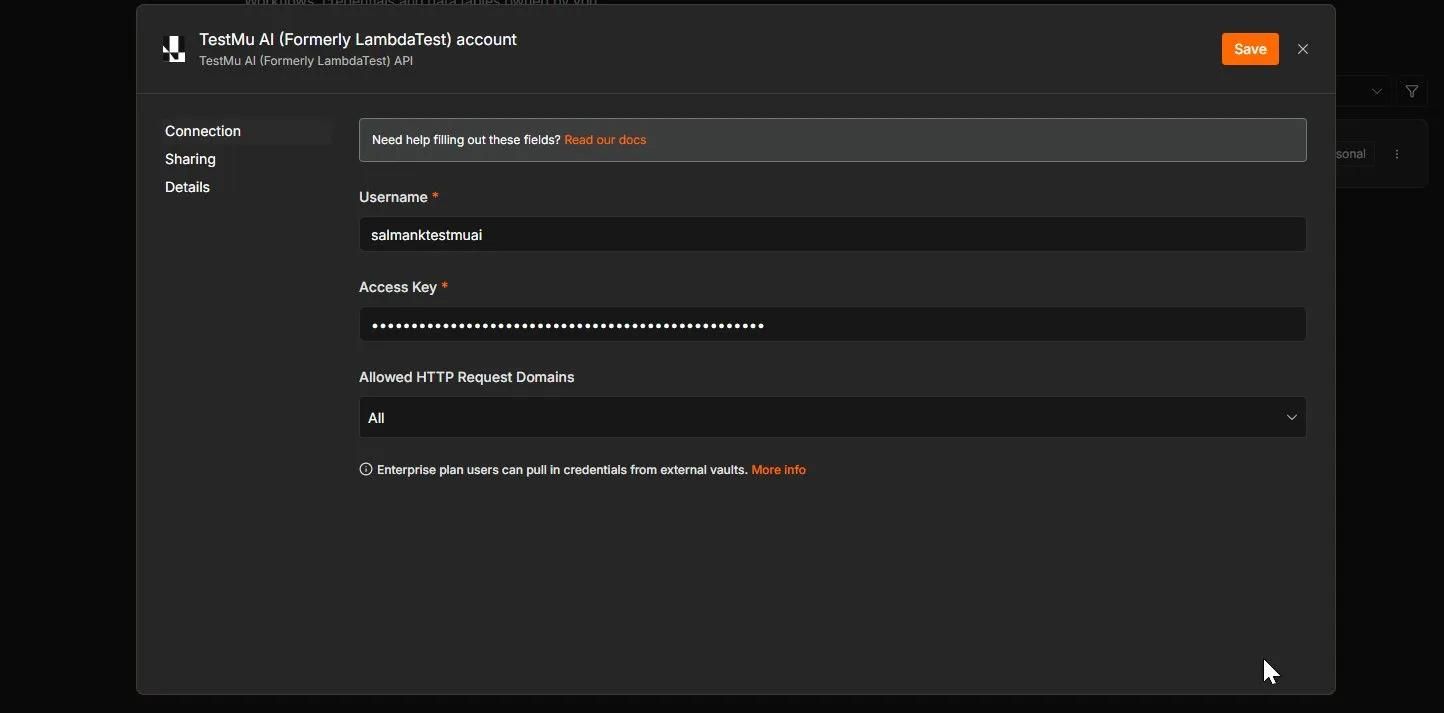
n8n displays a green checkmark next to the credential name if the values are valid.
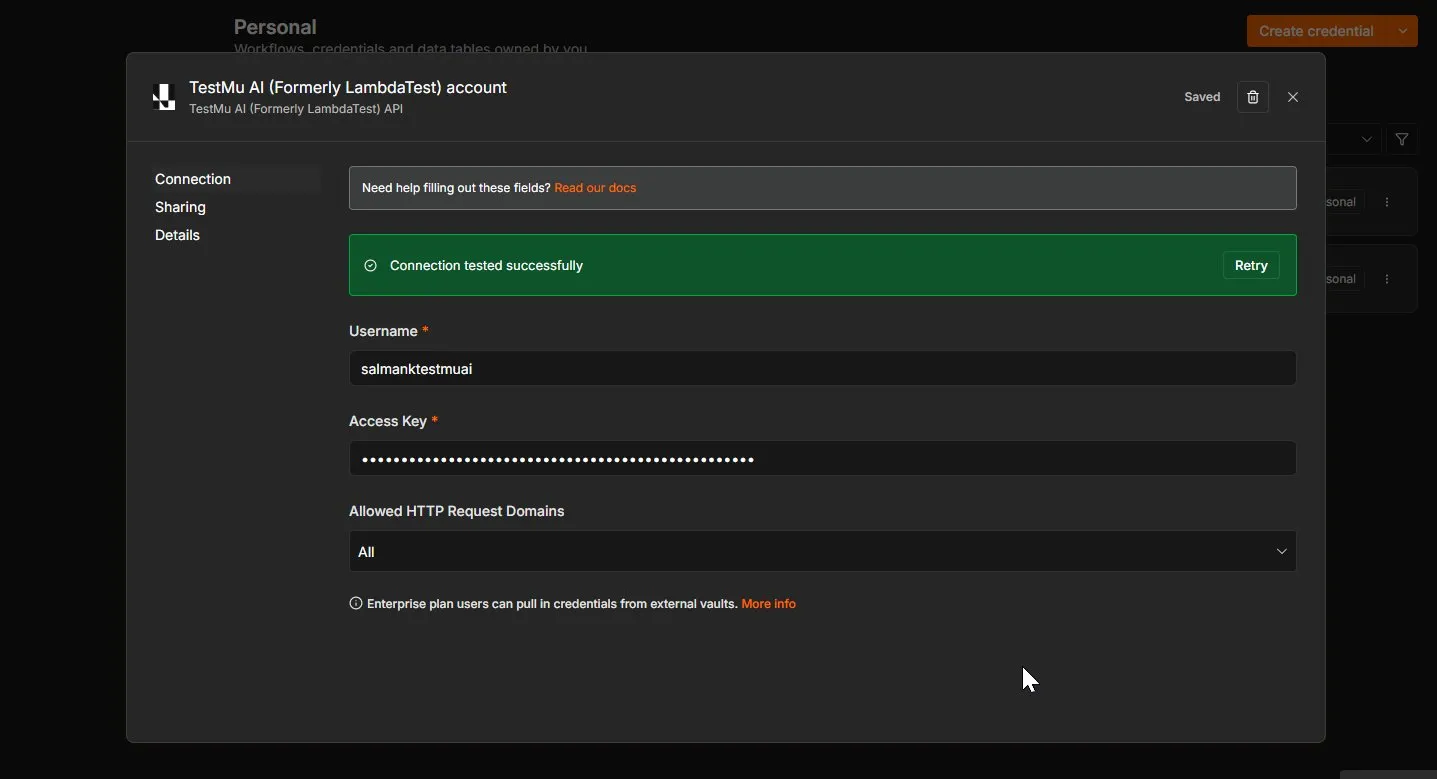
Keep your Access Key private. Anyone who has it can run billable browser sessions on your TestMu AI account. If you suspect the key has been exposed, regenerate it from Account Settings immediately.
How to Install the TestMu AI Agent Node in n8n
Installing the node once makes it available to every workflow on the instance. You do not need to reinstall it per workflow.
Step 1: Sign in to n8n on n8n Cloud or your self-hosted instance.
Step 2: Open the workflow editor and click + in the top-left corner to open the Nodes panel.
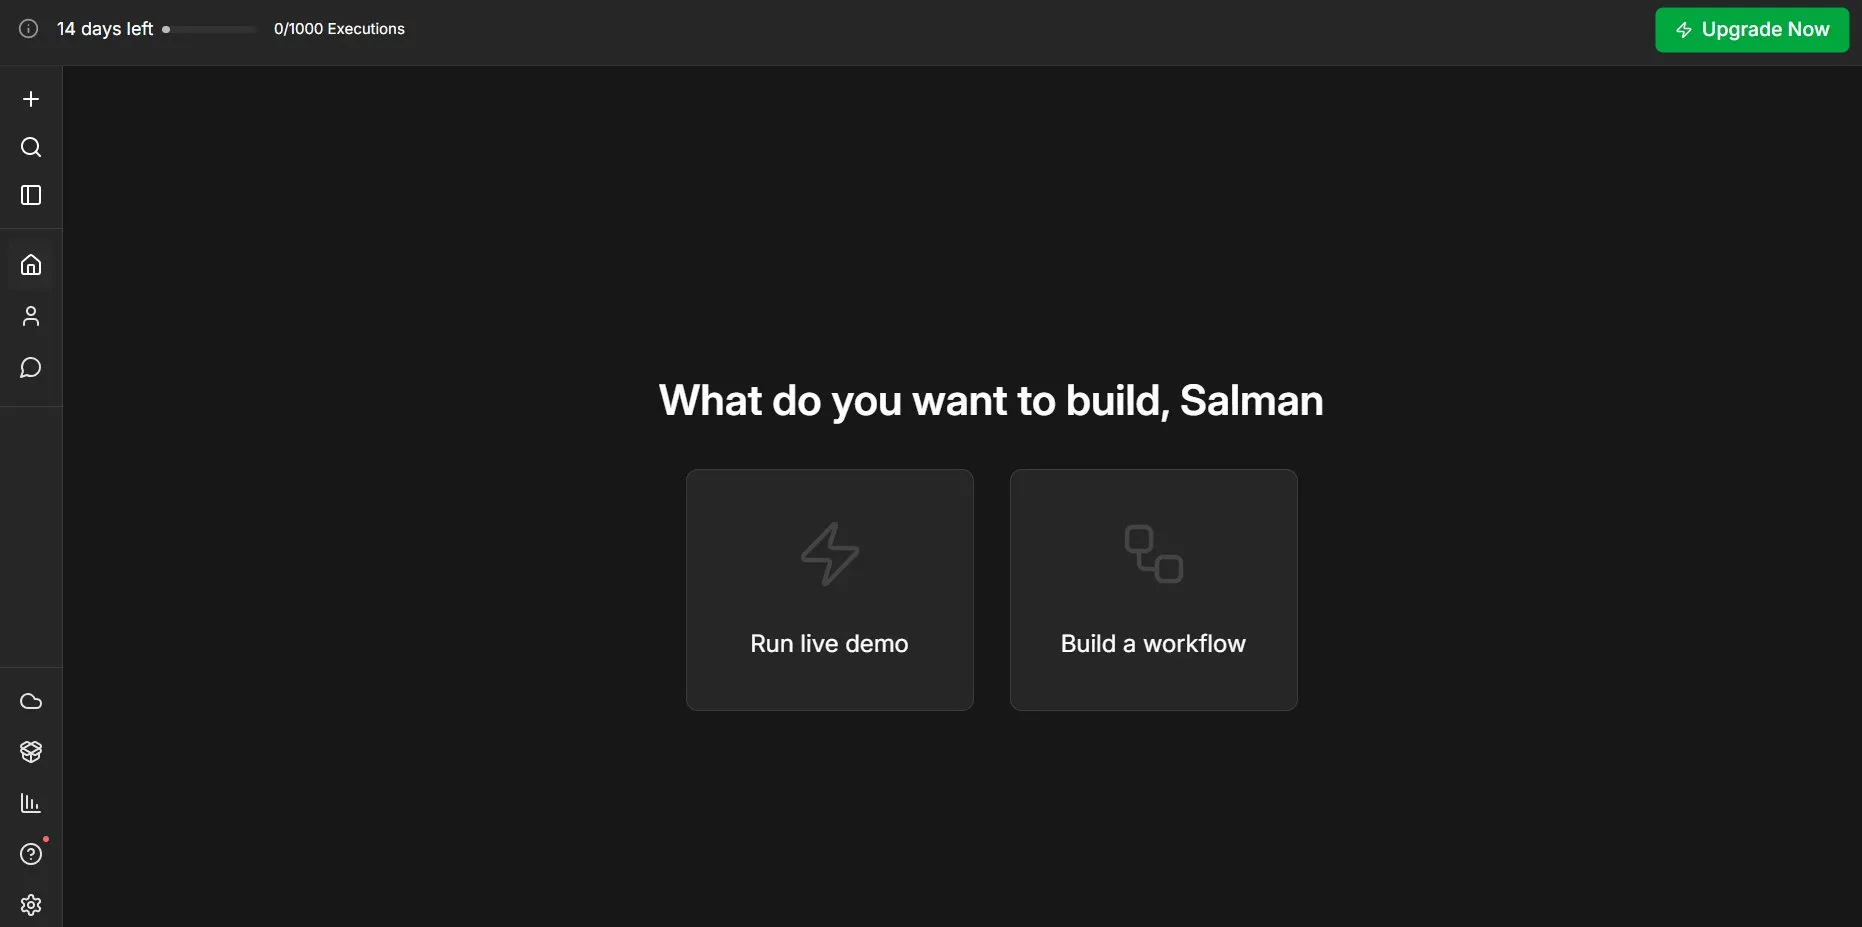
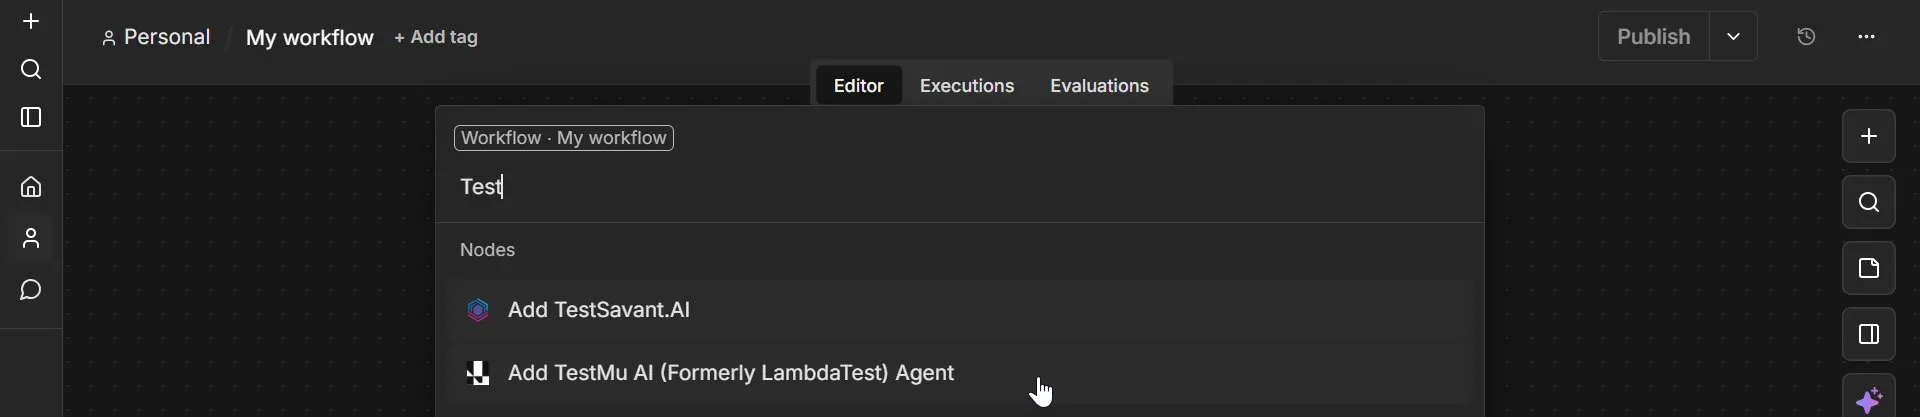
Step 3: Search for TestMu AI in the Nodes panel. Select TestMu AI Agent from the results.
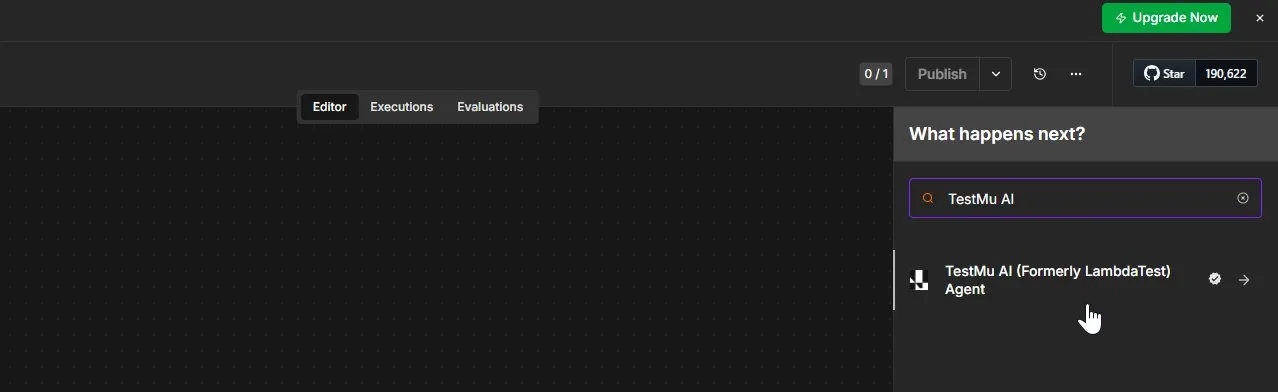
If the node does not appear in search results, confirm you are searching in the built-in verified nodes panel. The TestMu AI Agent node is a verified node and does not require community node access to install.
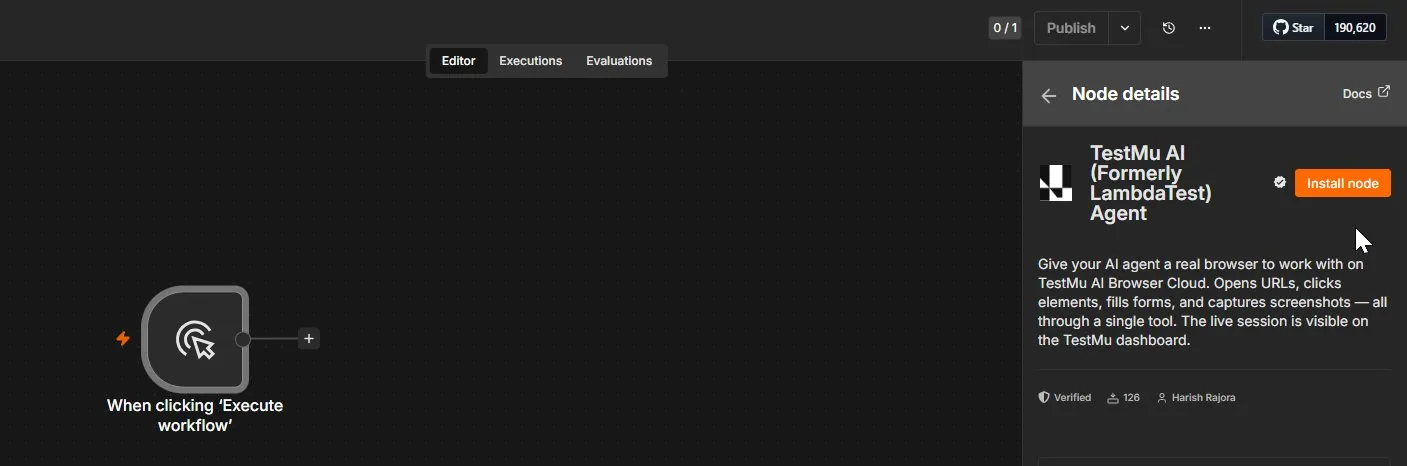
Step 4: Click Install node on the confirmation prompt. n8n downloads the node and makes it available to all workflows on the instance.
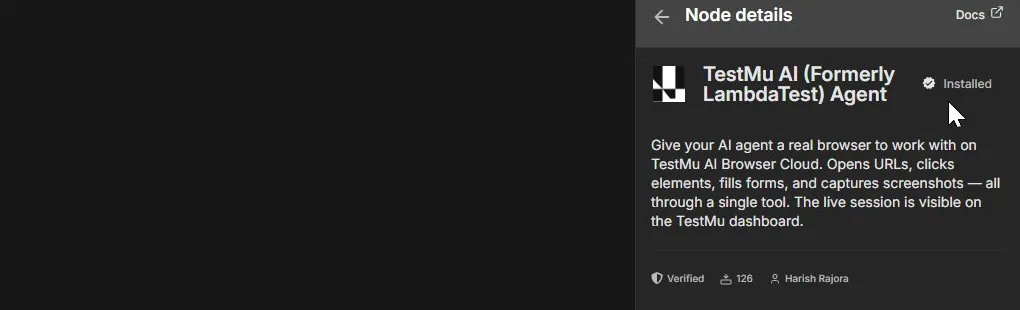
Step 5: The TestMu AI Agent node now appears in the Nodes panel, ready to add to any workflow on the instance.
How to Build Your First Workflow With TestMu AI and n8n
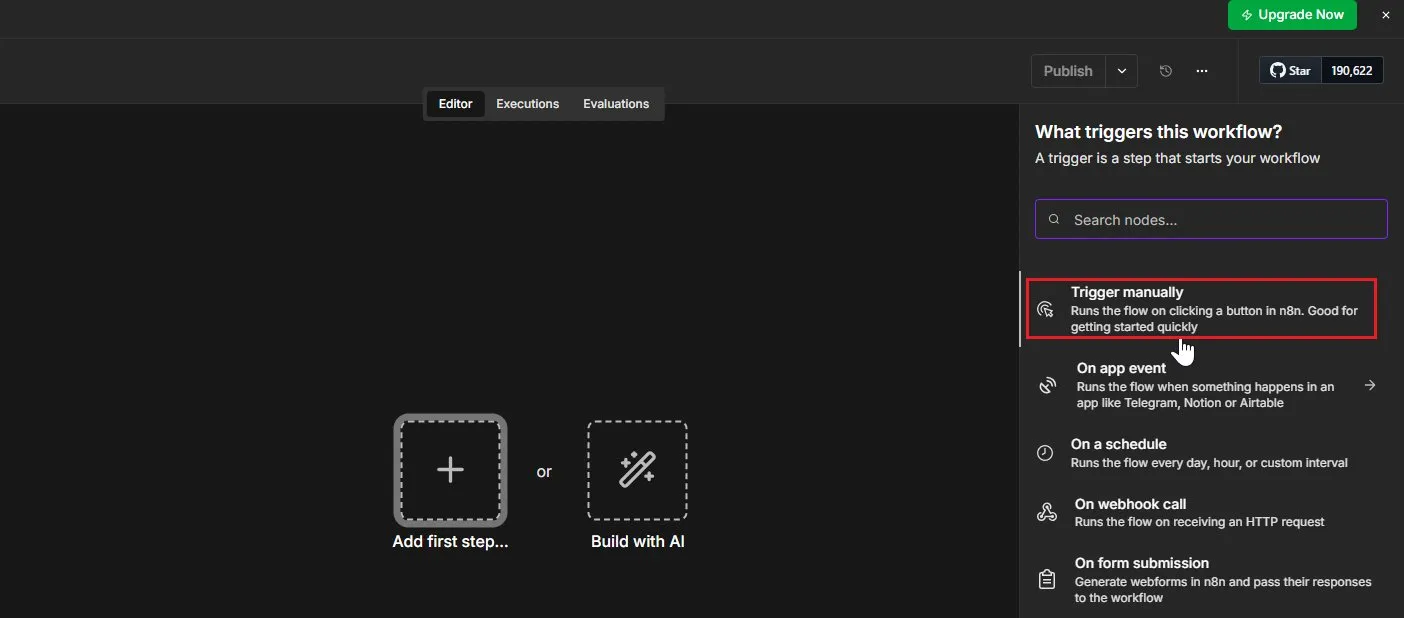
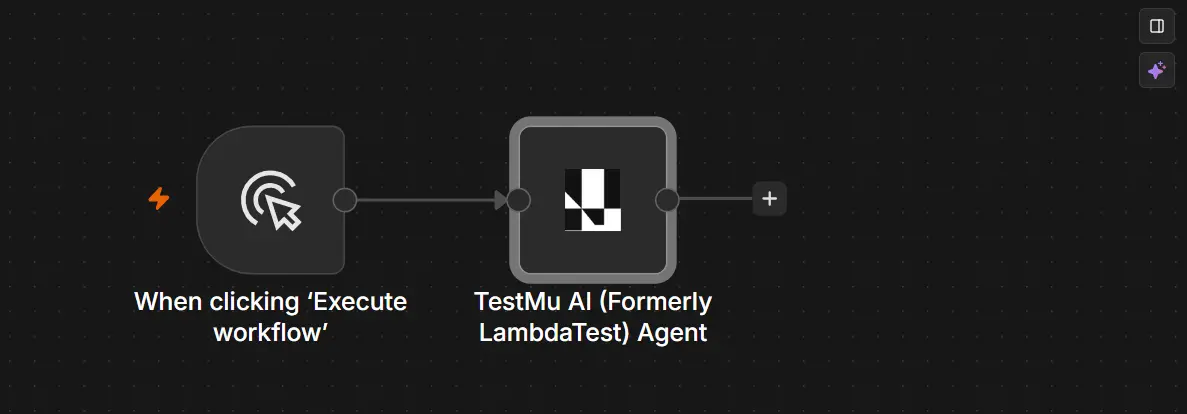
Step 1: Open the workflow editor. Click + in the Nodes panel and add a Manual Trigger node to the canvas.
Step 2: Click + after the trigger node, search for TestMu AI, and add the TestMu AI Agent node to the canvas.
When added, it will look like this:
Step 3: Click the TestMu AI Agent node to open its settings panel. Fill in the following fields:
- Action: Select
navigateto open a URL in the browser. - URL: Enter the absolute URL to navigate to, for example
https://www.testmuai.com/. - Browser Name: Select
Chrome. - Platform Name: Select
Windows 11. - Browser Version: Enter
latestor specify a version number. - Region: Select
usor your preferred region.
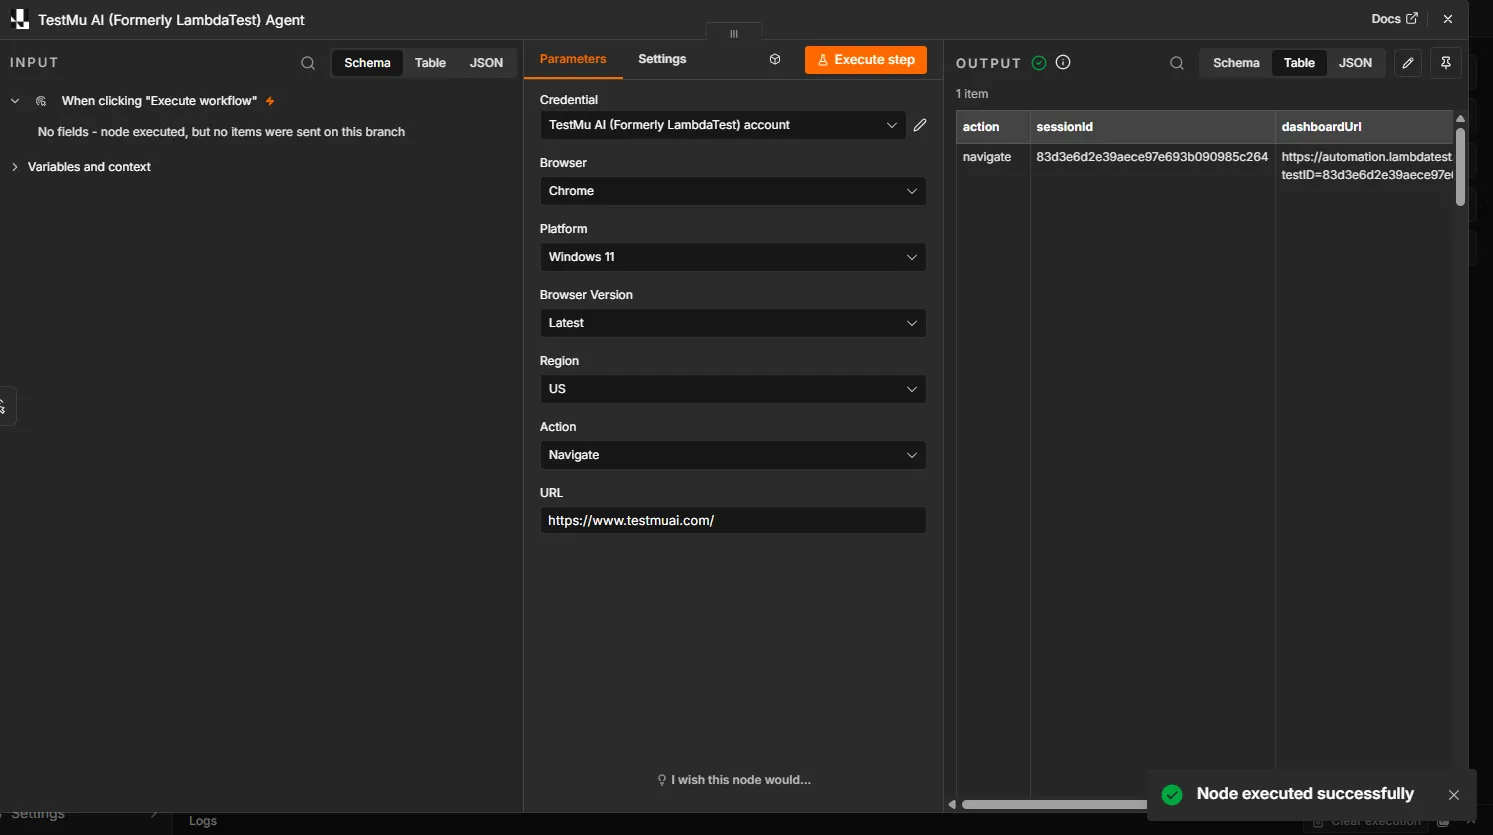
Now click Execute step to run the workflow. TestMu AI opens a real browser in the cloud and navigates to the specified URL. Check the node output to see the session ID, dashboard URL, and page snapshot.
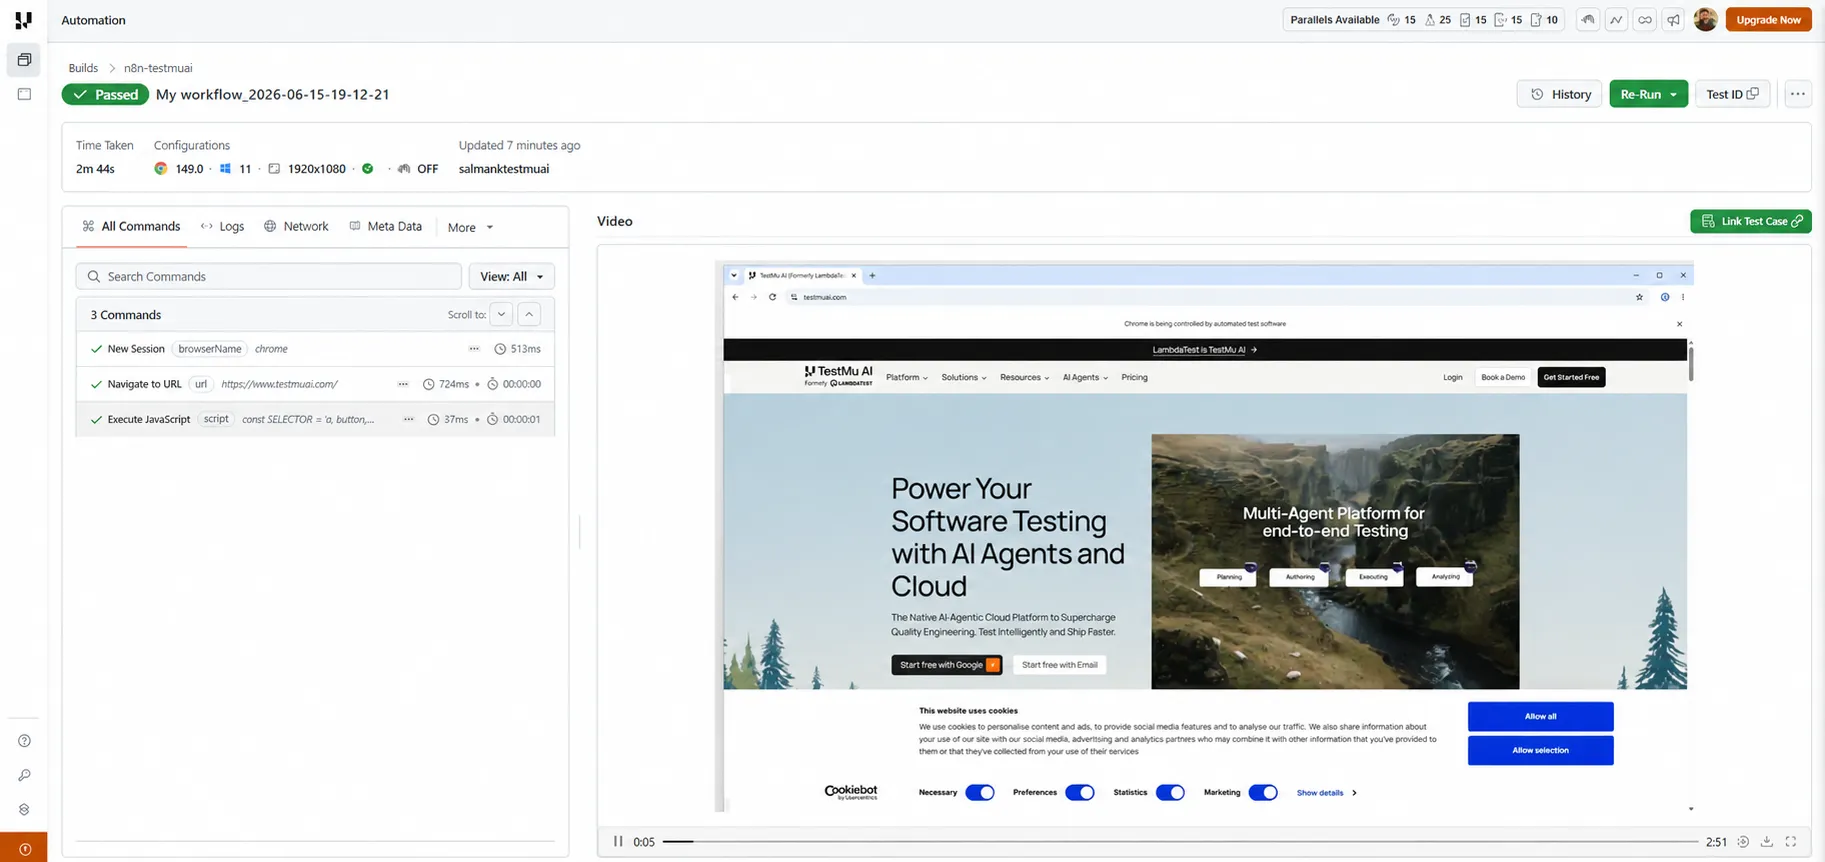
Step 4: Visit the TestMu AI Web Automation dashboard to view your test results.
Running n8n on a local or self-hosted instance? The n8n-nodes-browsercloud community package gives you two additional nodes: a browser automation node and a script runner that runs test scripts directly on TestMu AI infrastructure.
Both use the browsercloud SDK, which executes faster and makes fewer server calls than the verified agent node. Install it via Settings > Community Nodes by entering the package name n8n-nodes-browsercloud. These nodes are not available on n8n Cloud.
How to Uninstall the TestMu AI Agent Node
Uninstalling removes the node from the entire n8n instance, not just the current workflow. Every workflow that uses it will fail until the node is reinstalled.
Step 1: In n8n, open Settings from the left sidebar and click Community Nodes.

Step 2: Locate TestMu AI Agent in the installed node list and click Uninstall package.

Step 3: Click Confirm uninstall next to the node. n8n removes it from the instance and disables it in all existing workflows immediately.
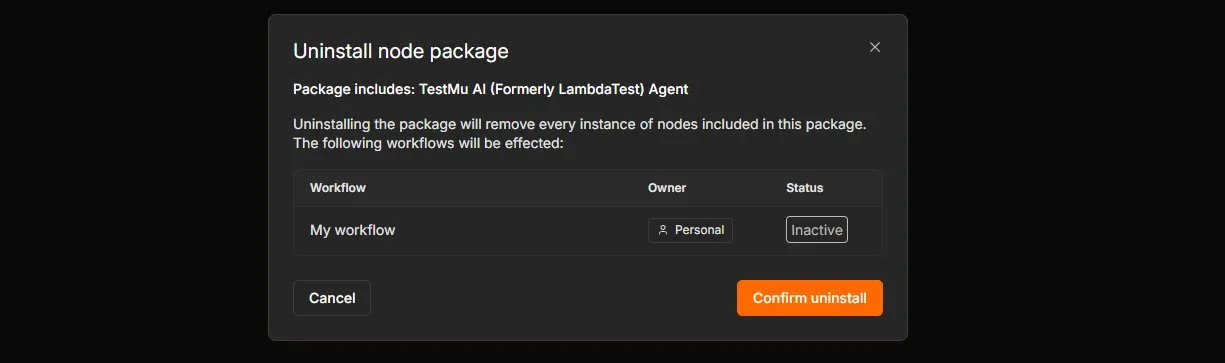
Pause or deactivate any active workflows that depend on the TestMu AI Agent node before uninstalling. The uninstall takes effect immediately across the entire instance.


 Chat with Us