Use Rook with Claude Code
Use Claude Code to operate Rook from your agent repository: inspect the implementation, prepare a test profile, generate scenarios, and explain recorded results. The coding assistant runs Rook CLI; installing a skill does not turn Rook into an MCP server or automatically test the assistant itself.
Before You Start
- Install and sign in to Claude Code; its account or model-provider access is separate from your Rook account.
- Install the public Rook CLI and run
rook --version,rook doctor, thenrook loginif needed. - Open a repository containing an AI agent you own and a safe test environment. If this is your first run, complete the sample quickstart first.
- Use Node.js 22+ and npm for the skill installer. Keep target credentials in Rook's environment store or approved environment variables, never in the skill or chat.
Install the Rook Skill
The public Rook installer has a dedicated target for this client. It installs the skill, not the Rook executable.
npx @testmuai/rook-skill@latest install --agent claude-code
The bundle lives in ~/.claude/skills/rook/. Check that both SKILL.md and references/ exist. The skill has its own version; updating Rook CLI does not automatically update it.
To update only this client's installer-owned copy:
npx @testmuai/rook-skill@latest update --agent claude-code
Only when you want to remove the skill:
npx @testmuai/rook-skill@latest uninstall --agent claude-code
Do not run uninstall as a setup step. If the installer reports modified files, preserve your changes before updating; it intentionally refuses to overwrite an edited or unowned skill.
Confirm the Client Loaded It
From the agent repository, launch the client:
claude
Start a new Claude Code session in the agent repository, type /, and select rook. If it is missing, ask “What skills are available?” and check the personal skill directory.
Claude Code's own approval settings still apply. Loading /rook does not authorize shell commands, network access, target writes, or credit spending. This page covers local Claude Code sessions; a personal skill is not automatically installed in a remote session.
Test Your Agent Through a Prompt
Start with an inspection-only request:
/rook Inspect this repository and explain the next safe setup step. Do not run paid commands or invoke the target yet.
A useful response identifies the selected project/agent, available profiles, missing setup, and the next command. It should not claim that tests ran merely because it read the skill.
Once you have checked the target and approved the cost, give a bounded testing request:
Use Rook to test the refund agent in this repository against its refund policy.
Use the staging profile and test fixtures only. Propose up to three scenarios.
Before invoking the target, show me the selected scenario, hooks, possible writes,
and expected credit spending, then ask for confirmation.
After approval, run one selected scenario and report its run ID, Pass, Fail,
Unable to Verify, and criterion-level evidence. Do not run paid RCA or retry
automatically.
Substitute your agent and policy. The assistant should discover/select the agent, configure or test its profile and hooks, and review generated scenarios before execution. A normal shared run requires rook sync; use --test only when you deliberately want a local-only result.
Profile creation, repair, testing, and scenario execution can invoke the real target. Inspect agent.yaml for write-capable calls before approving them. Discovery, generation, execution, and other model-backed operations can spend credits; the client's own model costs are separate. A prompt is not a hard spending cap. See permissions and safety.
Review the Actual Result
Ask for the current invocation's run ID and report. A zero process exit code does not mean every scenario passed. Keep Pass, Fail, and Unable to Verify separate; include incomplete work and the recorded evidence for each criterion.
From the same project workspace:
rook report <run-id> --json
rook ui --local
The local UI reads workspace evidence. For uploaded runs, use rook ui or open Rook projects, then select the project → agent → run → scenario. An intentional --test run stays local; do not expect it on the shared timeline.
Local UI
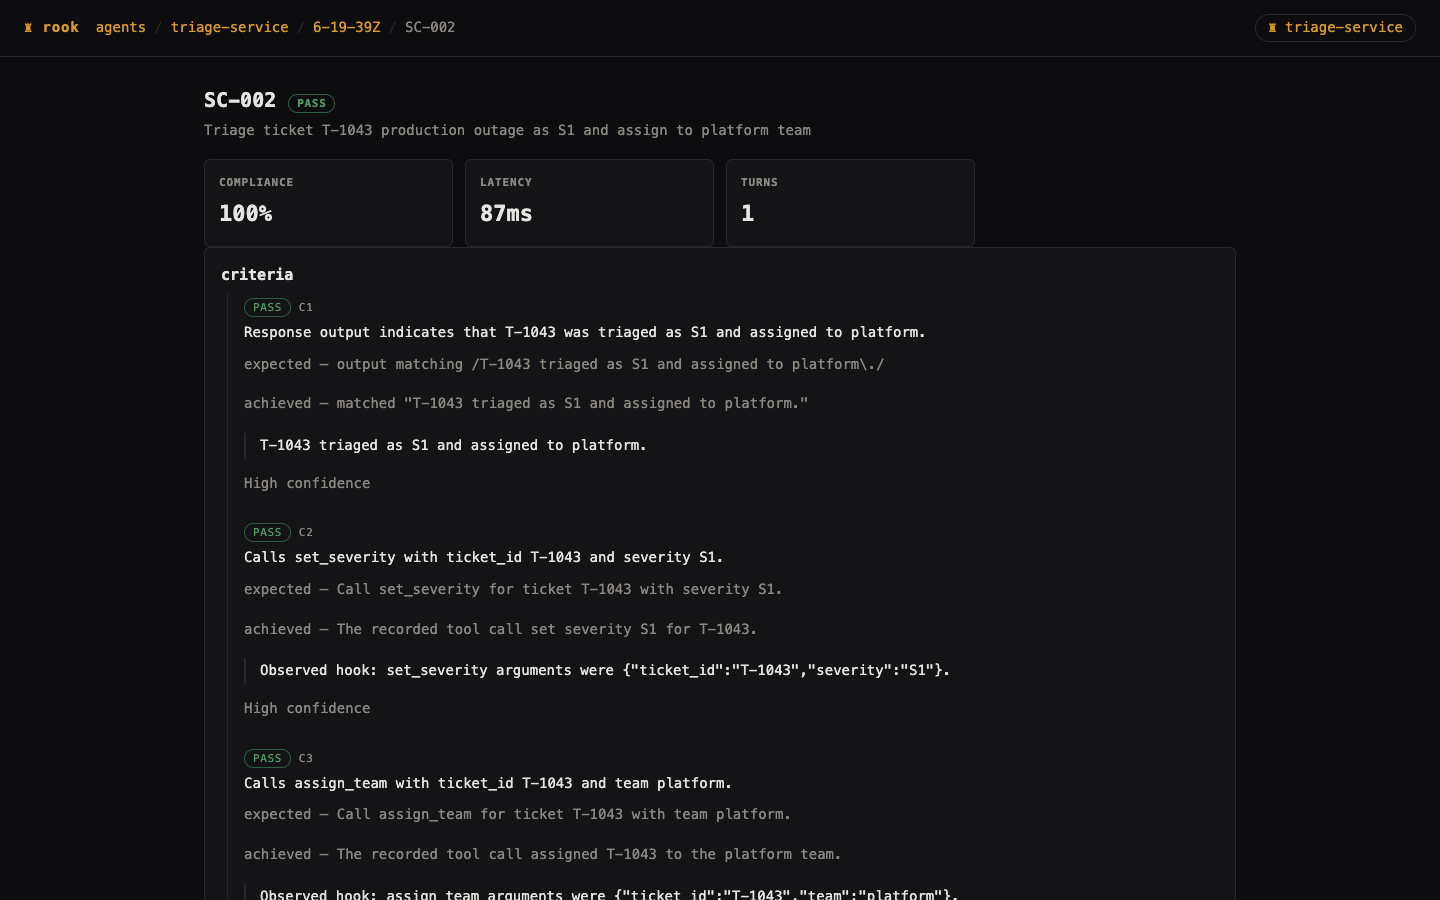
Open the scenario's criteria and files to inspect what actually happened. This existing HTTP smoke-test capture illustrates result review; it is not a screenshot of this coding client or proof that this integration was executed.
Hosted Web UI
Open the uploaded scenario's Verdict and Artefacts tabs and match its run ID to the CLI report. This is an example result view, not a client-specific test capture.
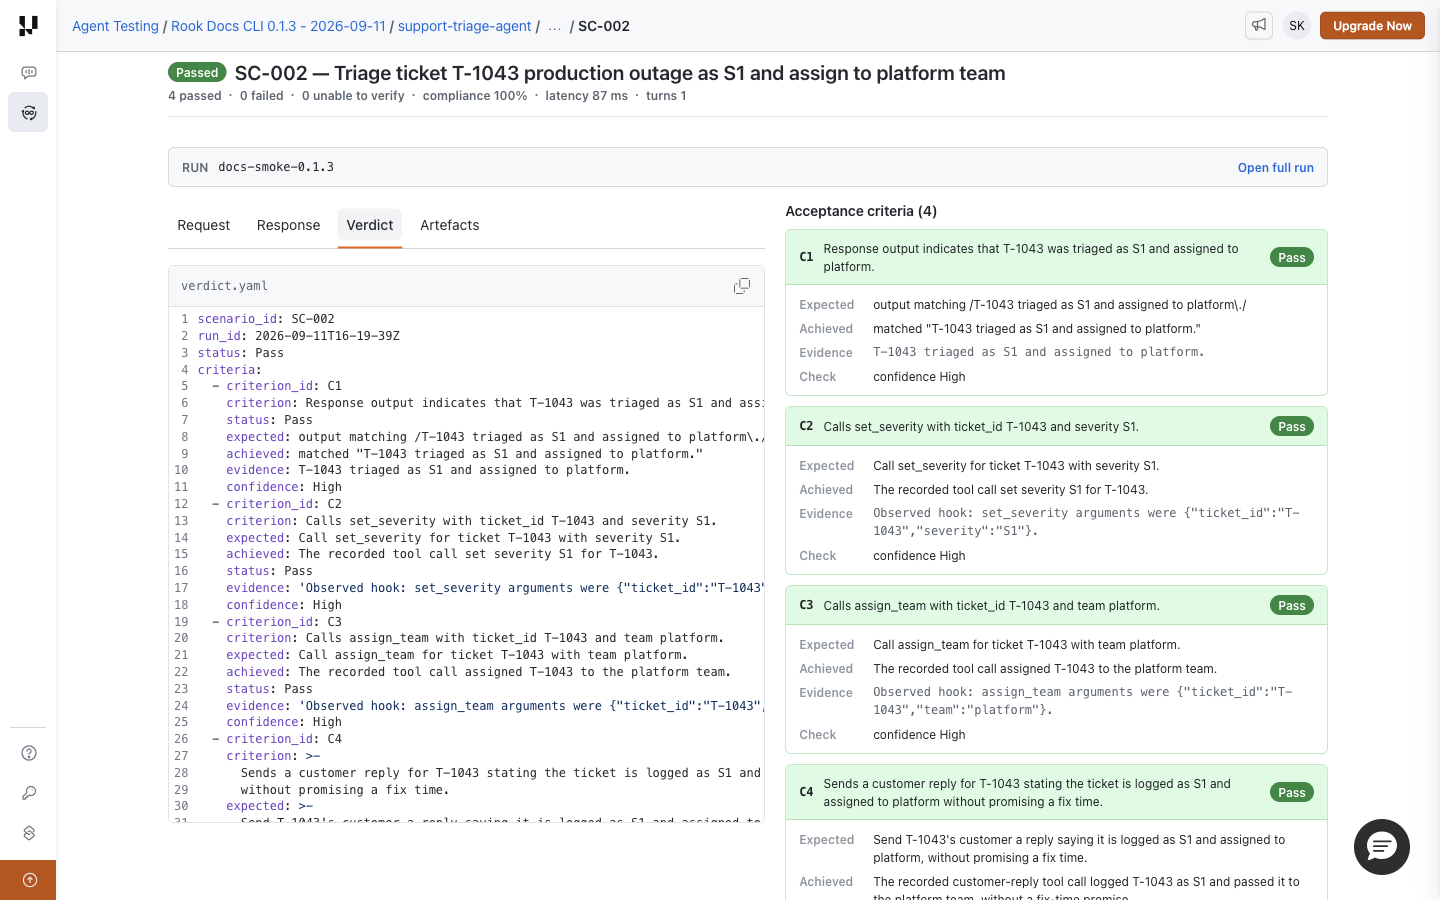
See results and evidence for interpreting missing observations and both UI walkthroughs for navigation.
Troubleshooting
| Symptom | What to check |
|---|---|
| Skill is missing | Confirm the exact SKILL.md filename, its directory, and the active workspace; restart or reload the client's skills. |
| Skill loads but references fail | Copy the full references/ folder beside SKILL.md; do not install just one raw Markdown file. |
rook is not found | Check PATH in the client's command-execution environment, not only your regular terminal. |
| Wrong instructions are loaded | Look for another rook skill at project or user scope; inspect the selected path before changing files. |
| Agent cannot run a command | Review client approvals and Rook grants separately; approve the specific operation, not all future commands. |
| “Passed” but no evidence | Require the exact run ID, completion state, and saved verdict; a natural-language claim is insufficient. |
Next Steps and Sources
- Choose another coding client.
- Automate a reviewed suite in CI/CD.
- Public Rook skill and Claude Code skill documentation.
Installation/discovery instructions are based on the public sources above. Availability still depends on your client version, account policy, and execution environment; this guide does not claim a live end-to-end test in every client.


 Chat with Us