Getting Started With Cypress Testing
Cypress is a modern web front-end testing tool built with JavaScript Mocha. It operates directly on the browsers without the need for Selenium. Its unique DOM manipulation technique makes it a very developer and QA-friendly tool.
Integrating TestMu AI with Cypress allows you to perform Cypress testing across 40+ browser versions on cloud.
In this guide, learn how to get started with Cypress testing on the TestMu AI platform. We will use Cypress� kitchen sink sample app to execute our tests.
Prerequisites
Before we get started, make sure to clone the TestMu AI's sample Cypress Cloud repo, used in this document.  View on GitHub
You can run your first Cypress test on the TestMu AI platform in a few simple steps:
- Clone the TestMu AI-Cypress-Cloud GitHub repo and navigate to the cloned directory.
git clone https://github.com/LambdaTest/Cypress-Cloud.git
cd Cypress-Cloud
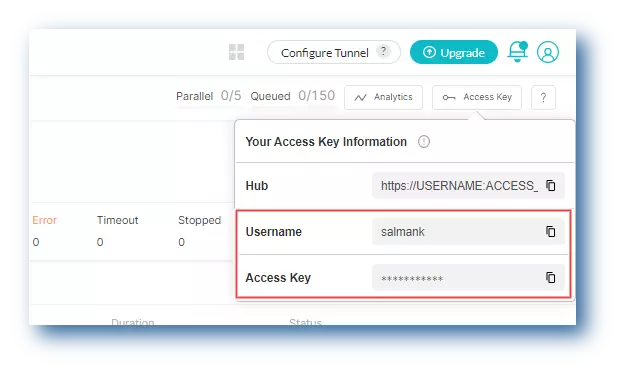
- To run Cypress tests, you will need to set your TestMu AI username and access key in the environment variables. You can get them from the TestMu AI Automation Dashboard.
Windows
set LT_USERNAME="YOUR_LAMBDATEST_USERNAME"
set LT_ACCESS_KEY="YOUR_LAMBDATEST_ACCESS_KEY"
macOS/Linux
export LT_USERNAME="YOUR_LAMBDATEST_USERNAME"
export LT_ACCESS_KEY="YOUR_LAMBDATEST_ACCESS_KEY"
- Install Node.js version 12 or higher. You can download it from the official Node.js website.
Running Your First Test
Following are the steps to run your first Cypress test on the TestMu AI platform.
- Install the TestMu AI-Cypress CLI using the below command.
npm install -g lambdatest-cypress-cli
- Clone the Cypress kitchen sink repo using the following command.
- Cypress v10
- Cypress v9
# Clone the kitchen sink repo
git clone https://github.com/cypress-io/cypress-example-kitchensink.git

# Go to the cloned directory
cd cypress-example-kitchensink
# Clone the kitchen sink repo
git clone https://github.com/cypress-io/cypress-example-kitchensink.git

# Go to the cloned directory
cd cypress-example-kitchensink

# Checkout to this commit
git checkout ab10094ef7b199ae7febafec413a0626414bcd3c
Once you clone the kitchen sink repo, below will be the structure of your Cypress project.
- Cypress v10
- Cypress v9
...
cypress
|-- fixtures
|-- e2e
|-- support
cypress.config.js
...
...
cypress
|-- fixtures
|-- integration
|-- plugins
|-- support
cypress.json
...
- Install the npm dependencies by passing the below command.
npm install
- Create
lambdatest-config.jsonfile that contains configurations like auth, capabilities, test settings, etc. which need to be successfully executed at LambaTest.
Use init command to generate the sample configuration files.
- Cypress v10
- Cypress v9
lambdatest-cypress init --cv=10
lambdatest-cypress init
Once you run the above command, below is the project structure for the lambdatest-config.json file.
- Cypress v10
- Cypress v9
{
  "lambdatest_auth": {
     "username": "<Your LambdaTest username>",
     "access_key": "<Your LambdaTest access key>"
  },
  "browsers": [
     {
        "browser": "Chrome",
        "platform": "Windows 10",
        "versions": [
           "latest-1"
        ]
     },
     {
        "browser": "Firefox",
        "platform": "Windows 10",
        "versions": [
           "latest-1"
        ]
     }
  ],
  "run_settings": {
     "cypress_config_file": "cypress.config.js",
     "reporter_config_file": "base_reporter_config.json",
     "build_name": "build-name",
     "parallels": 1,
     "specs": "./*.cy.js",
     "ignore_files": "",
     "network": false,
     "headless": false,
     "npm_dependencies": {
        "cypress": "10.0.0"
     }
  },
  "tunnel_settings": {
     "tunnel": false,
     "tunnel_name": null
  }
}
app
{
  "lambdatest_auth": {
     "username": "<Your LambdaTest username>",
     "access_key": "<Your LambdaTest access key>"
  },
  "browsers": [
     {
        "browser": "Chrome",
        "platform": "Windows 10",
        "versions": [
           "latest-1"
        ]
     },
     {
        "browser": "Firefox",
        "platform": "Windows 10",
        "versions": [
           "latest-1"
        ]
     }
  ],
  "run_settings": {
     "cypress_config_file": "cypress.json",
     "reporter_config_file": "base_reporter_config.json",
     "build_name": "build-name",
     "parallels": 1,
     "specs": "./*.spec.js",
     "ignore_files": "",
     "network": false,
     "headless": false,
     "npm_dependencies": {
        "cypress": "9.0.0"
     }
  },
  "tunnel_settings": {
     "tunnel": false,
     "tunnel_name": null
  }
}
- Pass the below command to run the test.
lambdatest-cypress run
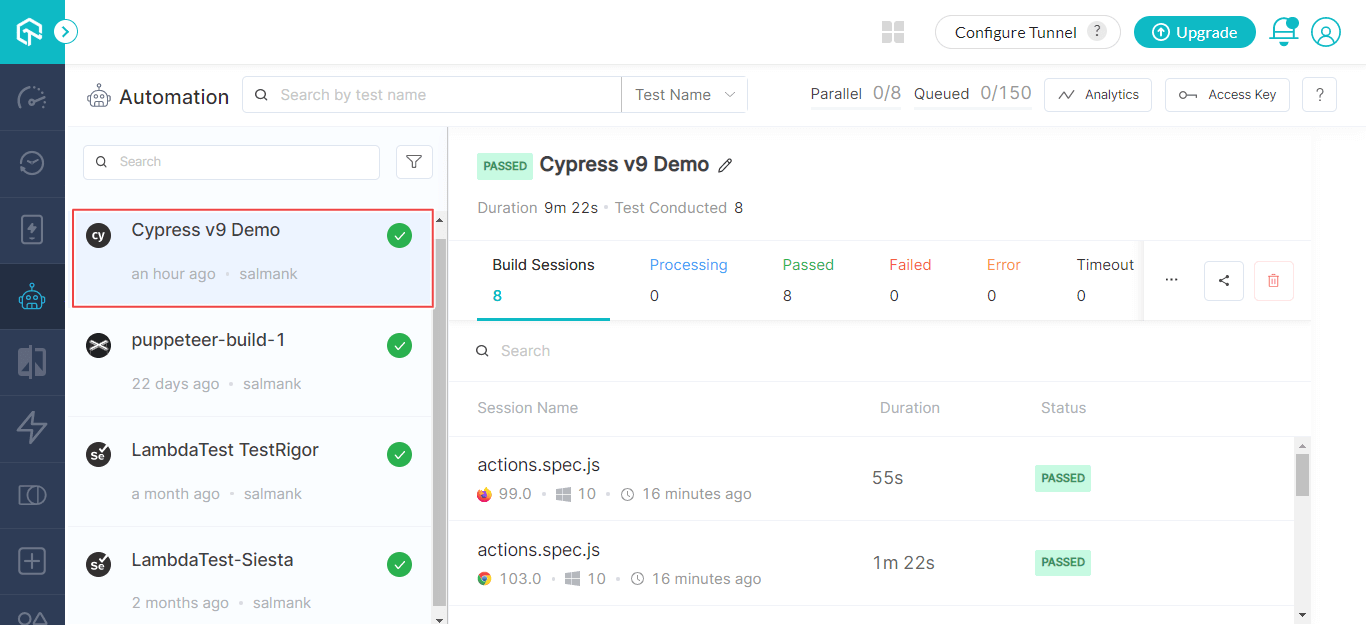
- Visit TestMu AI Automation dashboard to view your test results. The CLI also has a link to view the Cypress test build.
Testing Locally Hosted or Privately Hosted Projects
To tests locally hosted websites on the TestMu AI platform, you need to setup TestMu AI tunnel, and execute commands using the CLI, or Download UnderPass, our GUI based desktop app. Once you have the TestMu AI tunnel or Underpass set up and started, you can use Cypress to test locally hosted websites.
Now you need to activate the tunnel capability in the lambdatest-config.json file under the section "tunnel_settings" as shown below:
  "tunnel_settings": {
		"tunnel": true,
		"tunnel_name": "LT_Tunnel"
	}
You can provide the name of the TestMu AI tunnel as per your requirements.
