KaneAI - Jira Integration
The "Jira integration" feature allows you to generate test cases from your Jira tickets automatically. This feature leverages AI to analyze the content of Jira tickets and transform written test case descriptions into executable test cases on the TestMu AI platform. This documentation provides a detailed guide to help you understand and utilize this feature effectively.
Key Benefits of the KaneAI Jira Integration:
- Automated Test Creation : Quickly transform test case descriptions in Jira into executable test cases without manual setup.
- Efficient QA Workflow : Simplify testing processes by managing test creation directly from Jira, saving time and reducing errors.
- Reduced Bug Risk : AI Native test creation helps reduce the likelihood of bugs by ensuring all outlined test cases are covered and refined.
Step-by-Step Guide
Step 1: Install TestMu AI Application for Jira
Visit the Atlassian Marketplace, locate the TestMu AI Cloud application for Jira and install app on your Jira instance.
Currently in the Beta. Please reach out to our support team to enable the KaneAI for your organization.

Step 2: Define Test Cases in a Jira Ticket
- Create or Open a Jira Ticket : Start by creating a Jira ticket or accessing an existing ticket where you want to outline test cases.
- Write Test Case Details : In the comments section, add detailed information about the test cases you want to execute. Clearly describe each test case's steps, conditions, expected outcomes, and any other relevant information to help KaneAI generate accurate tests.
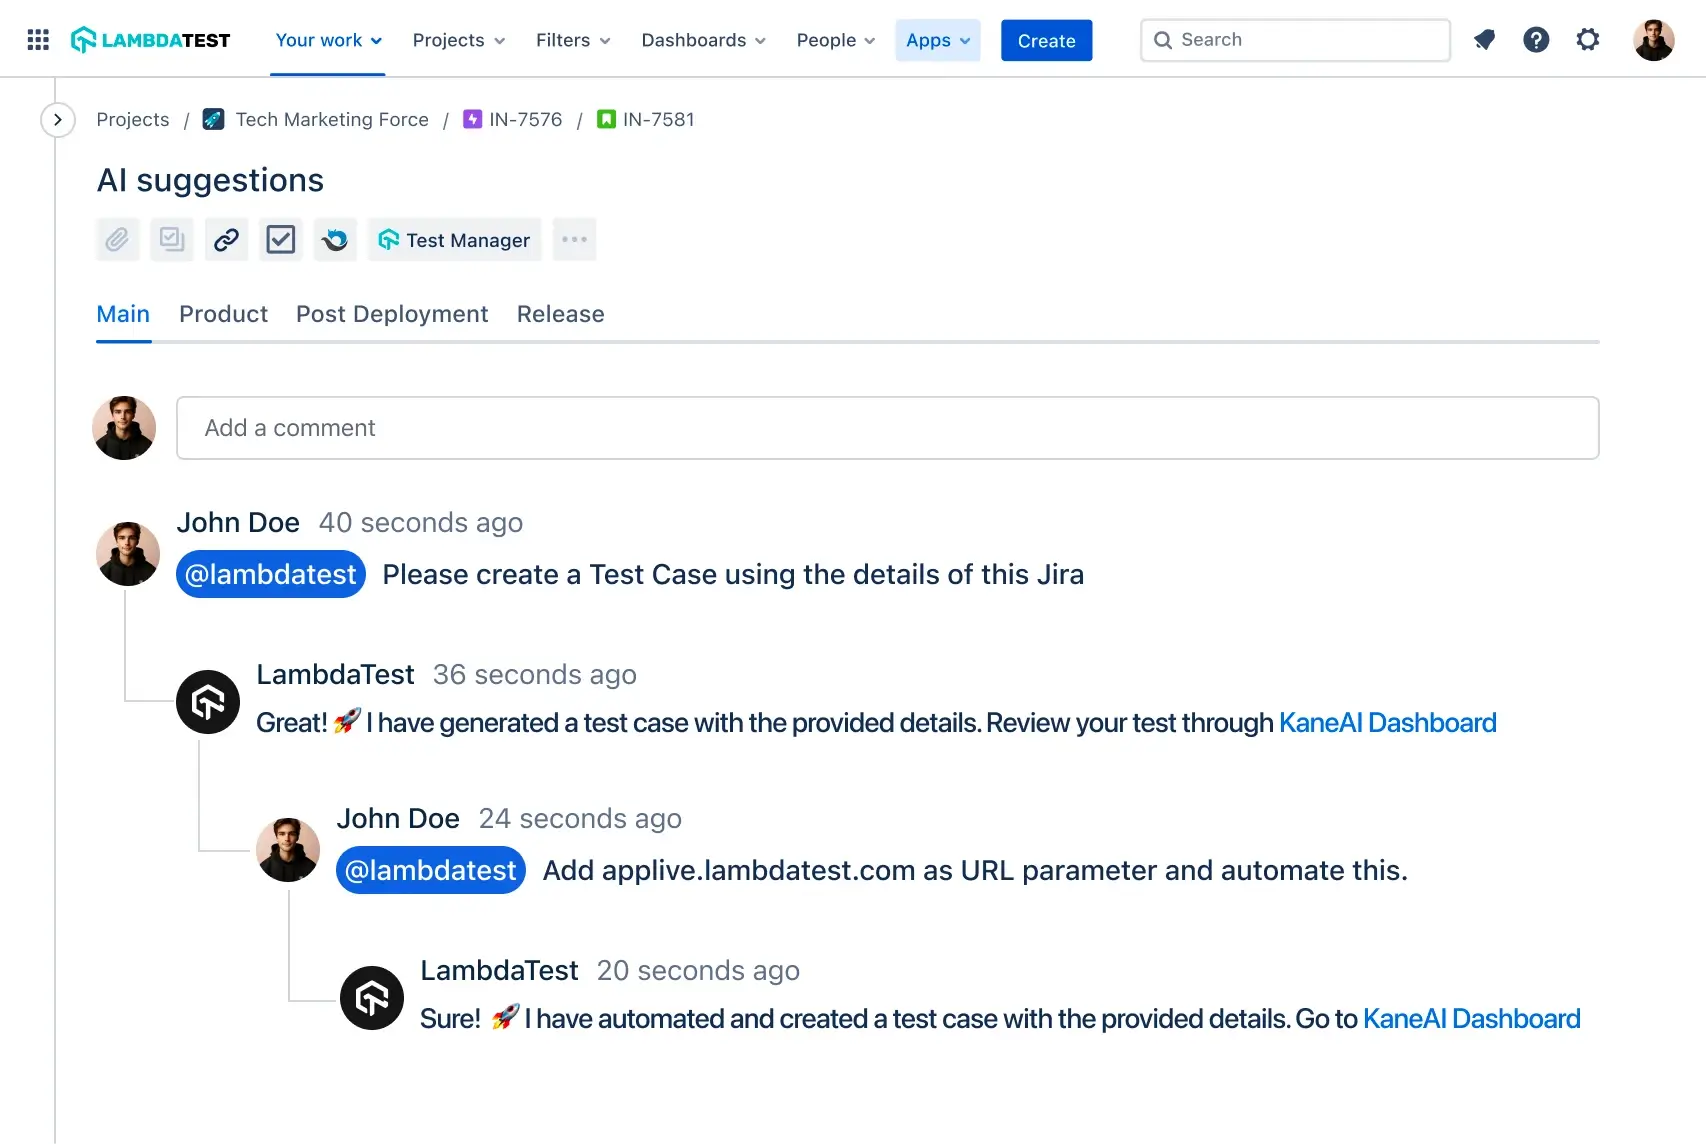
Step 3: Generate Test Cases Using KaneAI
To trigger KaneAI, add the comment to your Jira ticket calling TestMu AI application, for example:
@TestMu AI Cloud create test case based on the details of this Jira
Note : This comment signals KaneAI to analyze the Jira ticket content and automatically create test cases.
What Context is Used for Test Case Generation?
KaneAI uses the following fields from the Jira ticket as context to generate test cases:
- Summary and Description of the ticket
- Comments on the ticket
- Textual custom fields — You can configure which custom fields are included from the TestMu AI Cloud app settings in Jira. Only text-based custom fields are supported; non-textual fields (e.g., dropdowns, number fields, user pickers, linked tickets) are not used for generation.
To configure which custom fields are used as context, go to the TestMu AI Cloud app settings in your Jira instance and select the desired textual custom fields.
After you post the comment, KaneAI will process the request and respond with a confirmation message. The response includes a link to TestMu AI where you can review, modify, and schedule the generated test case.
Step 4: Review and Refine the Generated Test Cases
Click on the link provided by KaneAI in the Jira comment to open the AI Test Case Generator. The AI will begin analyzing your Jira ticket content and generating test cases in real time — you can watch scenarios and test cases stream in as they are created.
Once the generation is complete, review the test cases grouped across scenarios. Each scenario represents a theme or functional area and is labeled with priority tags such as Must have, Should have, and Could have. Individual test cases are categorized as Positive, Negative, or Edge to indicate their test type.
You can further refine the generated test cases using the Conversation Layer — describe changes in natural language and the AI applies them in real time. Once satisfied, save the test cases to your Test Manager repository or automate them with KaneAI.
