Automation Tests with Accessibility Tool using Cypress v9
This document walks you through the step by step guide for executing the automation tests of your website with TestMu AI's Accessibility Tool using Cypress v9 and below.
NOTE: This documentation is applicable for Cypress v9 and previous versions.
Prerequisites
- Your TestMu AI Username and Access key
- Setup your local machine as per your testing framework.
Step-by-Step Guide to Trigger Your Test
Step 1: Setup Your Test Suite
You can use your own project to configure and test it. For demo purposes, we are using the sample repository.
Download or Clone the code sample from the TestMu AI GitHub repository to run your tests.
 View on GitHub
Configure the desired capabilities based on your test requirements. For example:
Verifiedloading...
Step 2: Establish User Authentication
Now, you need to export your environment variables LT_USERNAME and LT_ACCESS_KEY that are available in the TestMu AI Profile page.
Run the below mentioned commands in your terminal to setup the CLI and the environment variables.
- Linux / MacOS
- Windows
export LT_USERNAME="undefined"
export LT_ACCESS_KEY="undefined"
set LT_USERNAME="undefined"
set LT_ACCESS_KEY="undefined"
Step 3: Update the Necessary Capabilities and Configurations in your project
1. Install the Cypress CLI
- If you are passing npm dependencies through package.json, then add the below mentioned line there:
// ...
"devDependencies": {
  "@cypress/eslint-plugin-dev": "5.0.0",
  "lambdatest-cypress-cli": "^3.0.30"
},
- If you are using TestMu AI-config.json to pass the dependency, then pass the given line there:
"run_settings": {
  //...
  "npm_dependencies": {
     "cypress": "10.0.0",
     "lambdatest-cypress-cli": "^3.0.30"
  },
  //...
}
- if you are not passing npm dependency in TestMu AI-config.json you can run
npm i lambdatest-cypress-cli
2. In the support/index.js file
Add this import statement in your index.js file to import the acceessibility scanner dependency
import 'lambdatest-cypress-cli/accessibility/scanner'
3. In the cypress/plugins/index.js file
Add this template in your index.js file.
const lambdatestAccessibility = require('lambdatest-cypress-cli/accessibility/plugin');

module.exports = (on, config) => {
  // `on` is used to hook into various events Cypress emits
  // `config` is the resolved Cypress config

  lambdatestAccessibility(on, config);
  return config;
}
4. Add the capabilities in the lambdatest-config.json file
To enable the accessibility testing within your automated test suite, set the accessibility: true in your configuration file. You can also define other settings capabilities as described below.
"accessibility" : true,                 // Enable accessibility testing
"accessibility.wcagVersion": "wcag21a", // Specify WCAG version (e.g., WCAG 2.1 Level A)
"accessibility.bestPractice": false,    // Exclude best practice issues from results
"accessibility.needsReview": true       // Include issues that need review
Step 4: Execute and Monitor your Test
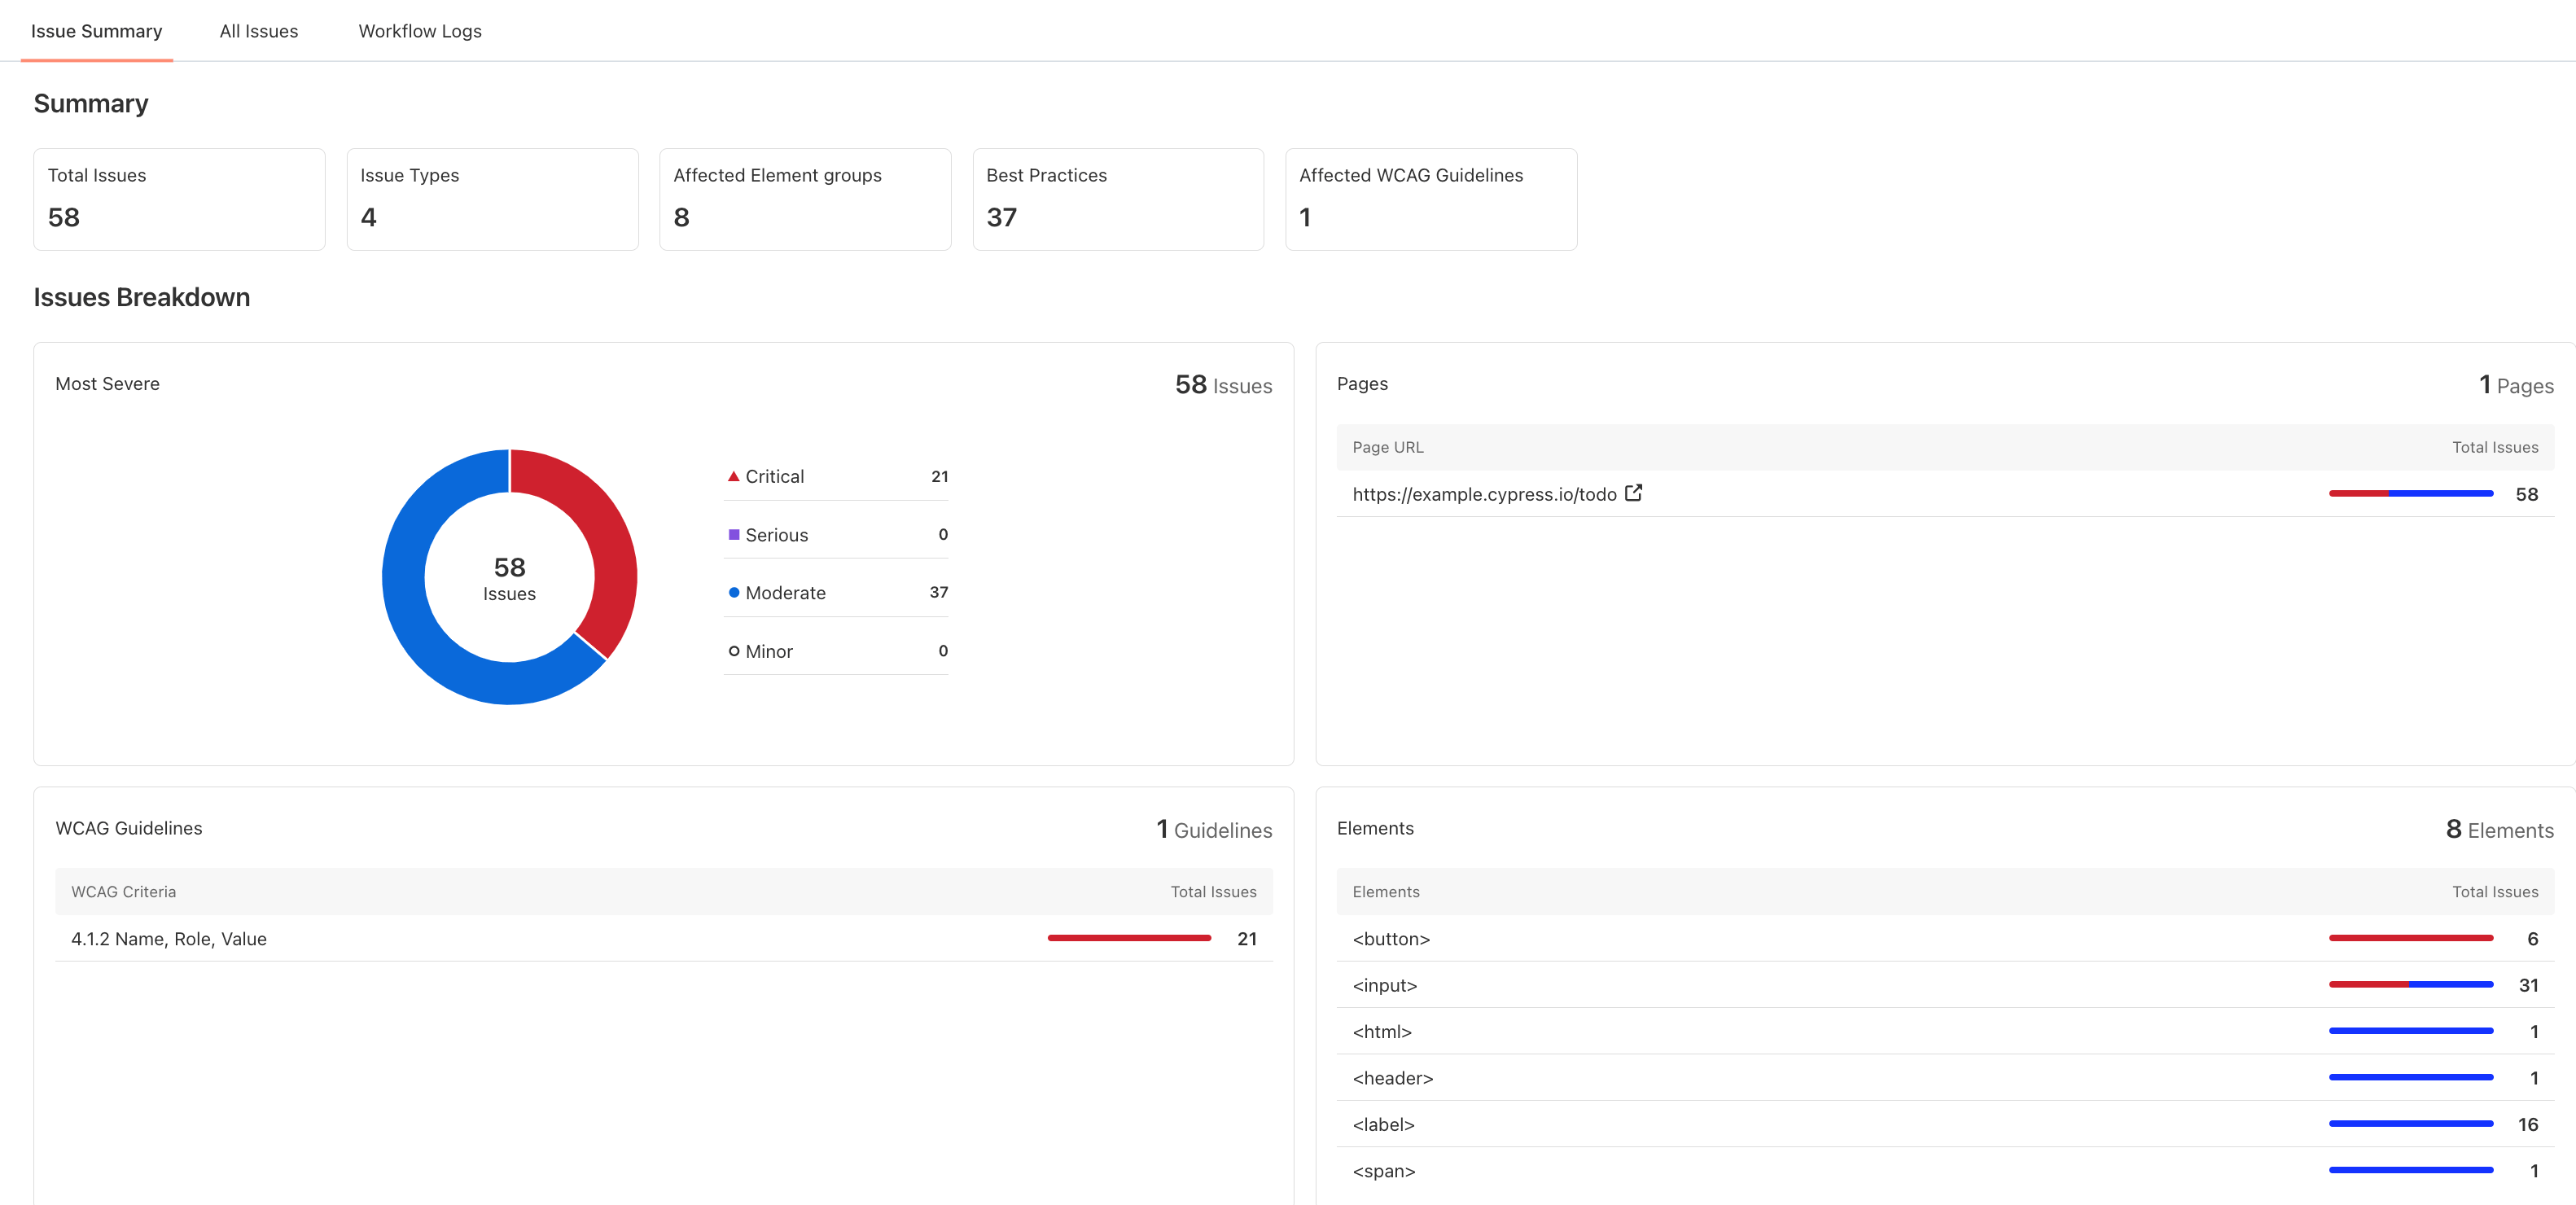
Now execute your tests and visit the Automation Dashboard. Click on the Accessibility tab and check the report generated.


 Chat with Us