Selenium With MSTest
Run MSTest tests on the TestMu AI cloud grid. This guide covers setup, running a sample test, configuring capabilities, and testing locally hosted pages.
All the code used in this guide is available in the sample repository.
 View on GitHub
Prerequisites
Complete the following steps before running MSTest Selenium tests.
- Download and install Selenium WebDriver from the official website.
- Install the latest version of C#.
- Install the .Net framework for developing applications using C#.
- Download Selenium WebDriver Language Binding for C# and extract them to the appropriate folder.
- Install a .NET Core SDK of 3.0.0.
- Get your TestMu AI Username and Access Key from the TestMu AI Dashboard.
Step 1: Clone the Sample Project
Clone the repository and navigate to the project directory.
git clone https://github.com/LambdaTest/MSTest-Selenium-Sample
cd MSTest-Selenium-Sample
Step 2: Set Your Credentials
Configure your credentials to connect to the TestMu AI Selenium Grid.
Set TestMu AI Username and Access Key in environment variables.
- macOS / Linux
- Windows
export LT_USERNAME="undefined"
export LT_ACCESS_KEY="undefined"
set LT_USERNAME="undefined"
set LT_ACCESS_KEY="undefined"
Step 3: Configure Your Test Capabilities
Define browser, version, and OS settings for your test run.
In the test script, update your test capabilities. This code passes browser, browser version, and operating system information, along with TestMu AI Selenium grid capabilities via the capabilities object.
var browserOptions = new ChromeOptions();
browserOptions.PlatformName = "Windows 10";
browserOptions.BrowserVersion = "latest";

var ltOptions = new Dictionary<string, object>
{
    { "build", "MSTest Build" },
    { "name", "MSTest Test" },
    { "w3c", true }
};
browserOptions.AddAdditionalOption("LT:Options", ltOptions);
Use the TestMu AI Capabilities Generator to auto-generate the capabilities class for your test requirements.
Step 4: Run the Test
Execute the MSTest test from Visual Studio or the command line.
In Visual Studio (Windows):
- Build the solution by clicking Build > Build Solution.
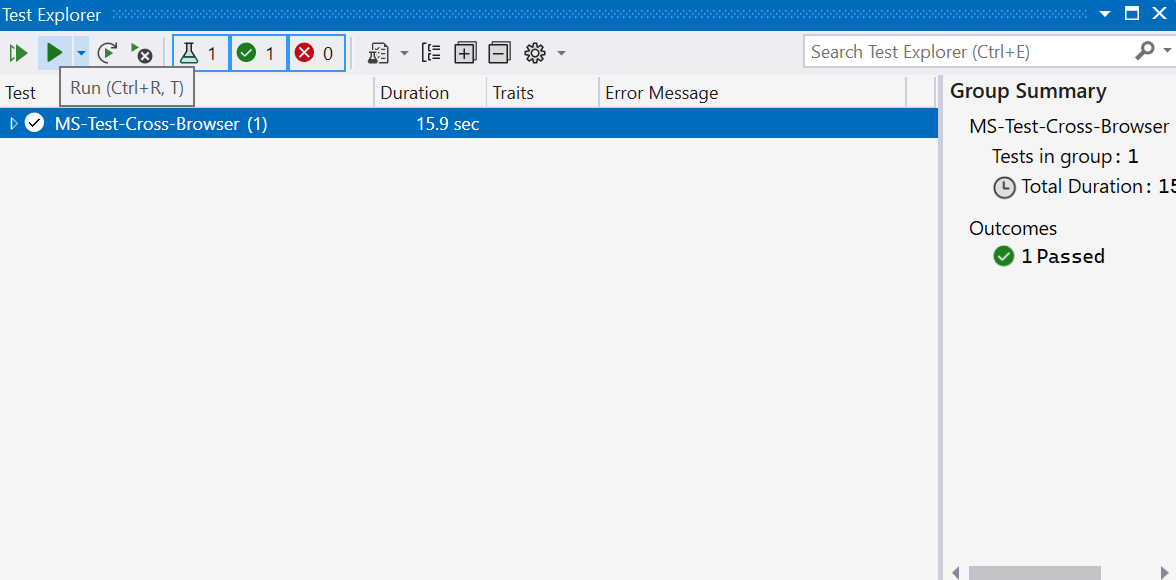
- Open Test Explorer in Visual Studio.

- Click Run from the Test Explorer to run the sample test.
In Linux/macOS:
dotnet test MS-Test-Cross-Browser.csproj
Step 5: View Your Results
Check the test output on the console and the TestMu AI dashboard.
Visit the TestMu AI Automation Dashboard to view your test results. The dashboard provides:
- Text logs for each test step
- Screenshots captured during execution
- Video recordings of the full test session
Run MSTest Tests Using Agent Skills
Use AI coding assistants to generate and run MSTest tests with the TestMu AI Agent Skill.
The mstest-skill is part of TestMu AI Agent Skills - structured packages that teach AI coding assistants how to write production-grade test automation.
Install the skill:
git clone https://github.com/LambdaTest/agent-skills.git
cp -r agent-skills/mstest-skill .claude/skills/

# For Cursor / Copilot
cp -r agent-skills/mstest-skill .cursor/skills/
Install all available framework skills at once by cloning the repository directly into your tool's skills directory (e.g., .claude/skills/, .cursor/skills/).
