JumpCloud User Provisioning
JumpCloud is a cloud-based directory-as-a-service (DaaS) platform that provides comprehensive identity and access management (IAM) capabilities for organizations. It offers a centralized platform to manage and secure user identities, devices, and applications across a variety of environments, including cloud, on-premises, and hybrid infrastructures.
In the documentation, we will discuss how to integrate JumpCloud with TestMu AI:
Prerequisites
- You will need an Enterprise plan with TestMu AI.
- The SSO connection must be already established with TestMu AI. Learn how to create a SSO Connection with TestMu AI.
Steps to Integrate SCIM with JumpCloud
-
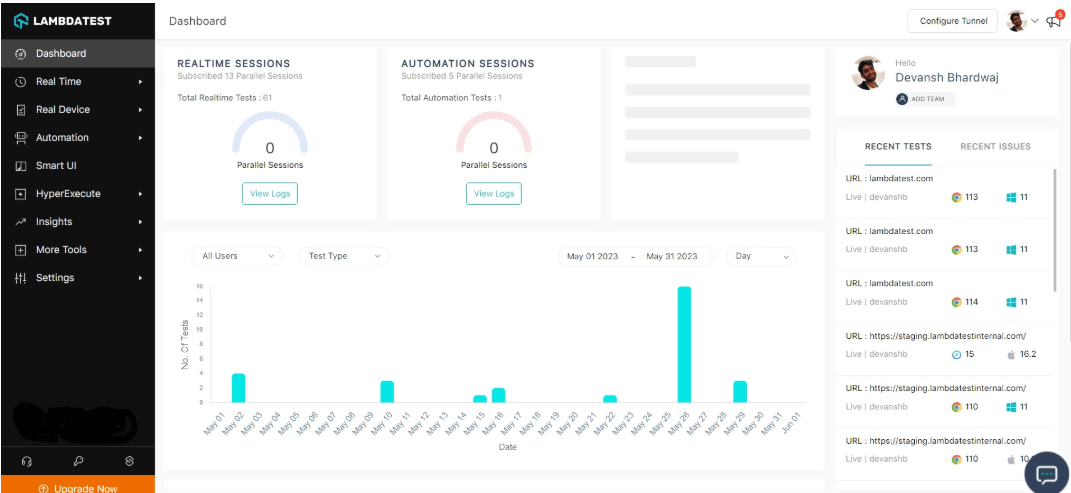
Step 1: Sign in to your TestMu AI account. Don't have an account, register for free.
-
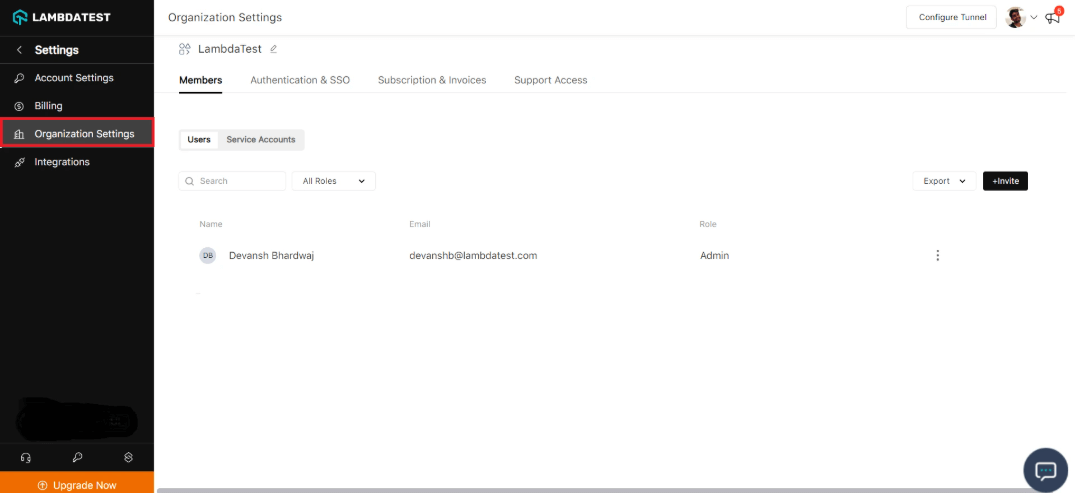
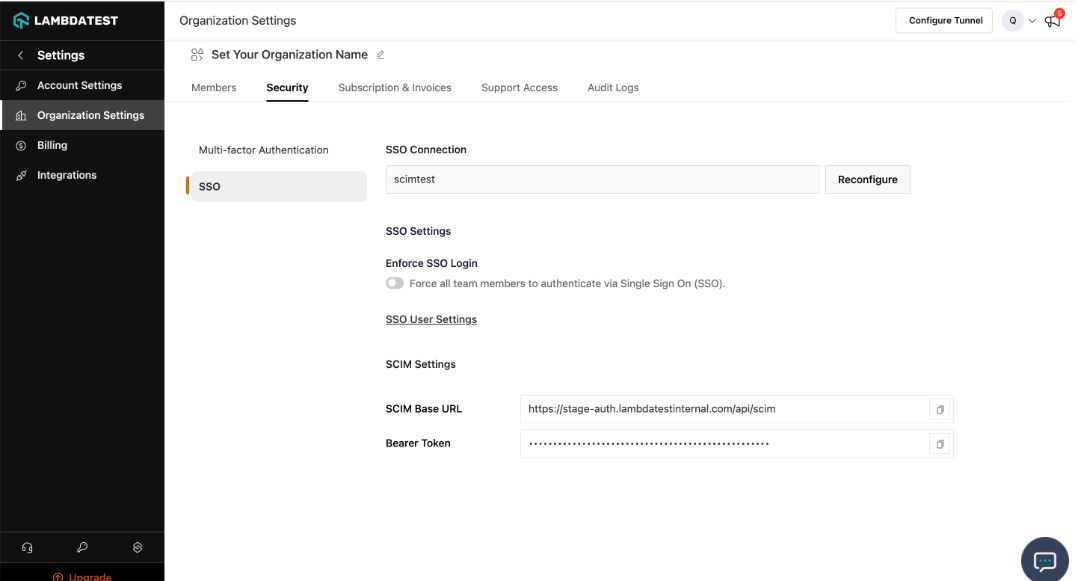
Step 2: Head to Settings > Organization Settings from the dropdown.
-
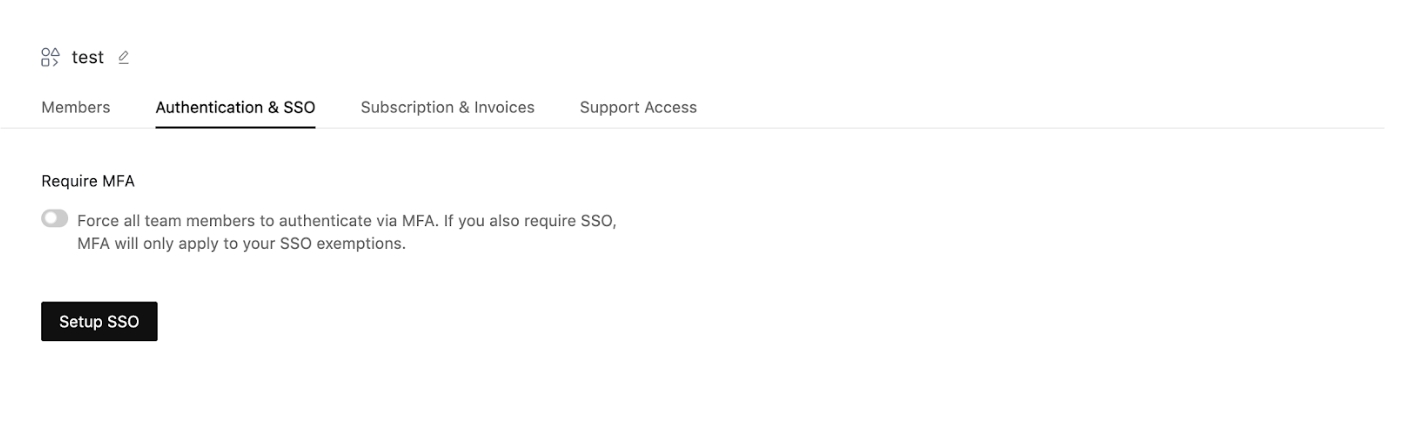
Step 3: Go to TestMu AI Authentication & SSO settings and click on Setup SSO. Head to the Authentication and SSO tab and click and copy the SCIM Base URL and Bearer Token option.
-
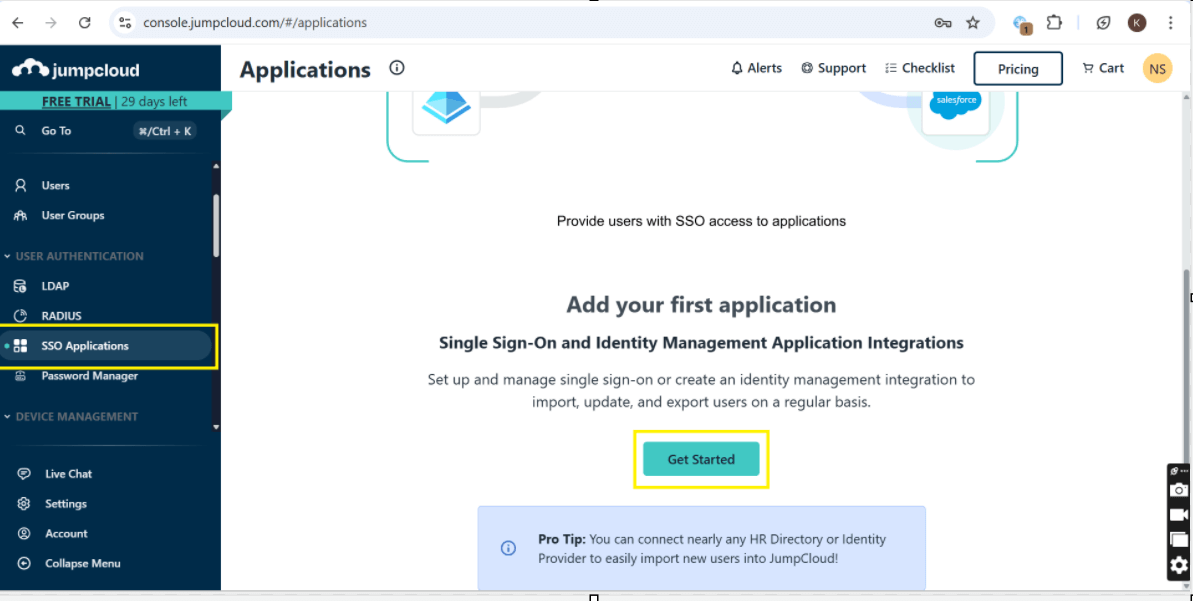
Step 4: Log in to JumpCloud. Go to JumpCloud Admin Console. Log in with your admin credentials. Sign in to the Jump-cloud. Select SSO Applications, then select Get Started.
-
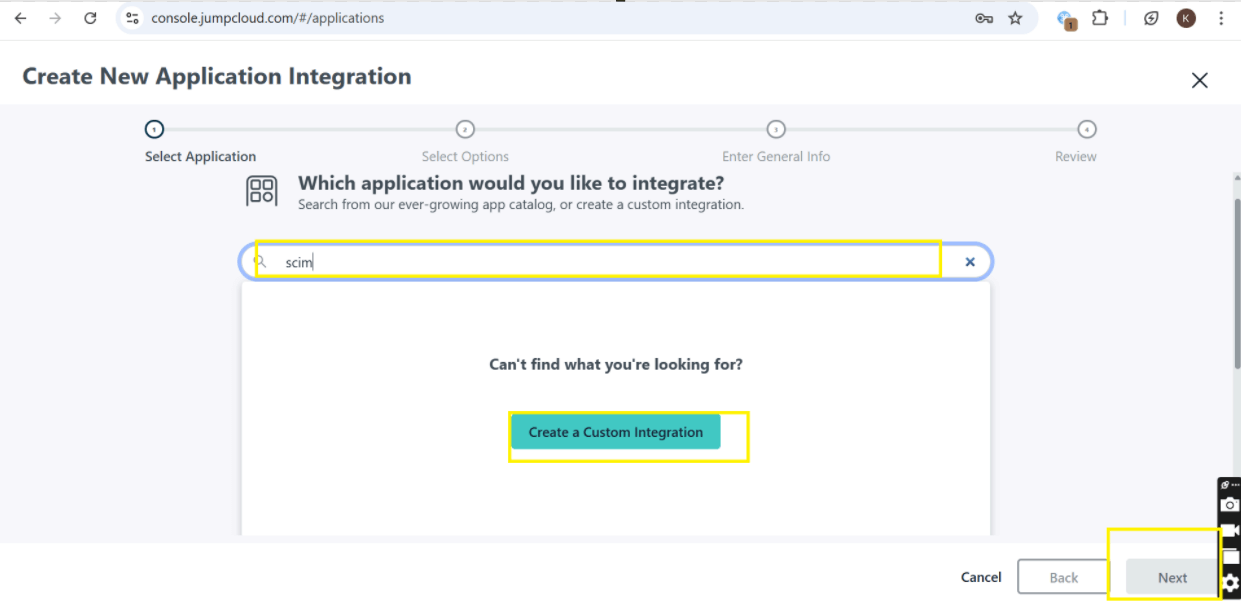
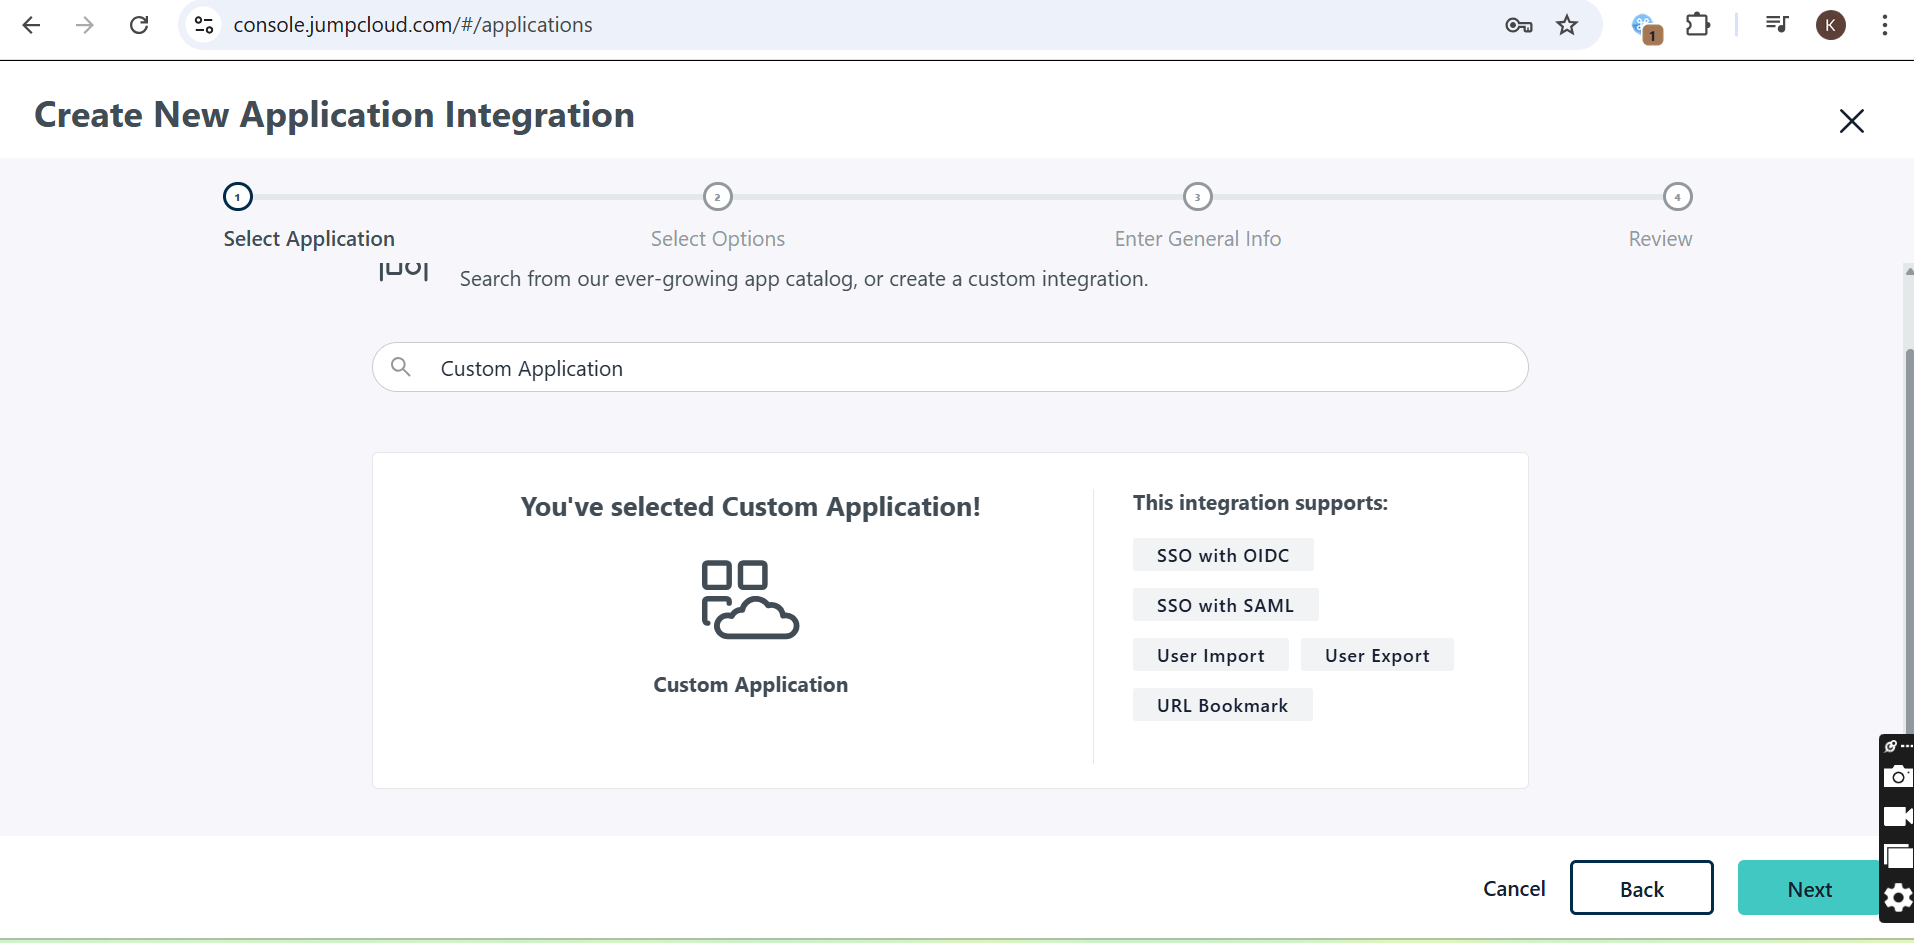
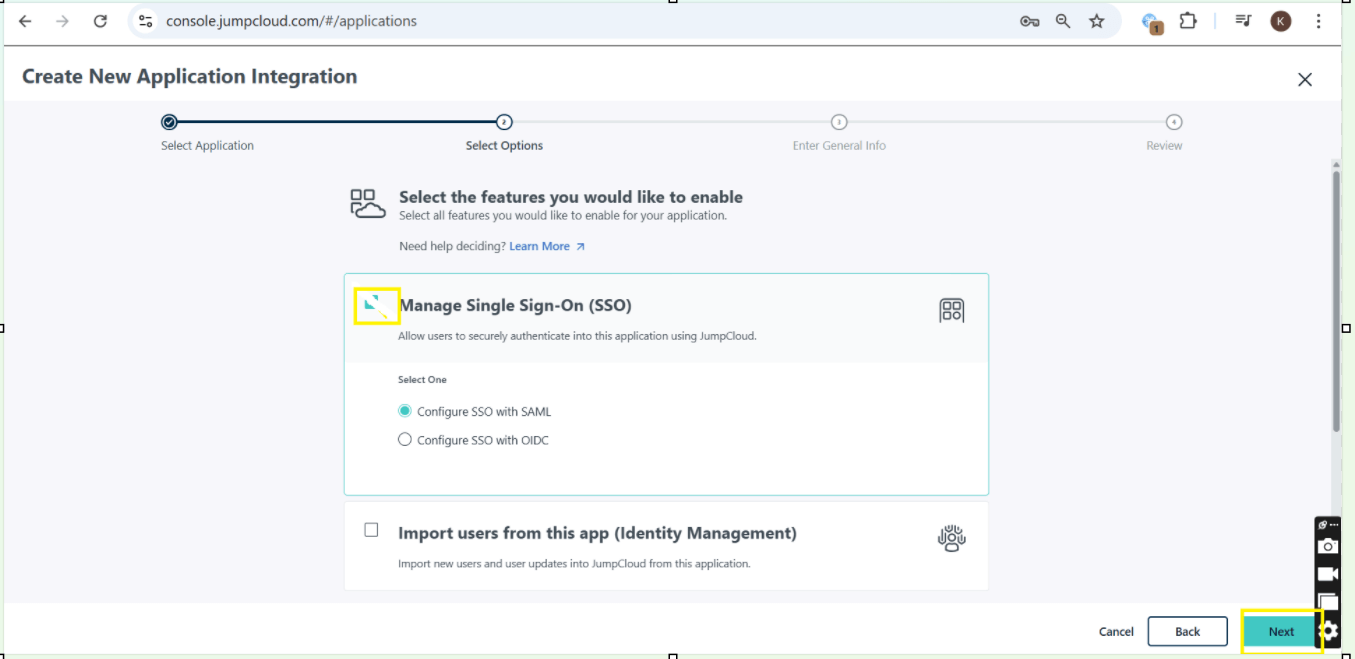
Step 5: Search for SCIM and then click on "Create Custom Integration" and then click next.
-
Step 6: Check the box for "Manage Single Sign-On (SSO)" and then click "Start."
-
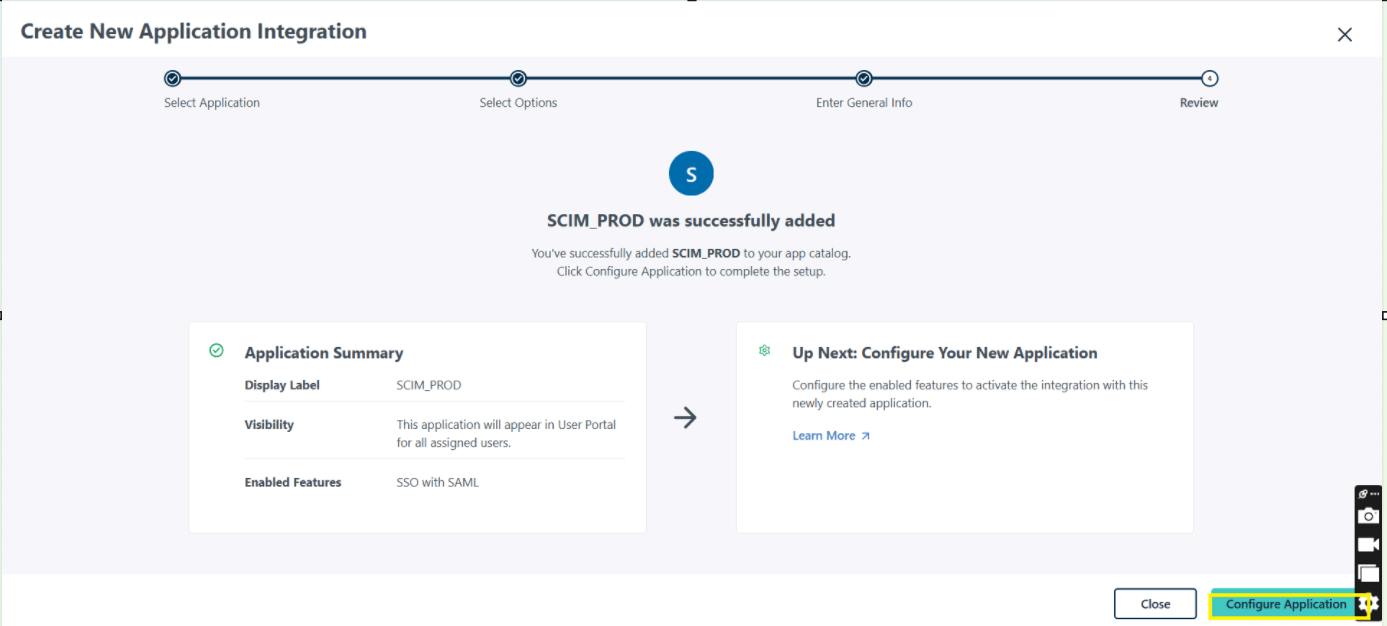
Step 7: Enter the name for Display Label, then click the Save Application and click configure Application.

-
Step 8: Go to TestMu AI Authentication & SSO settings and click on Setup SSO.
-
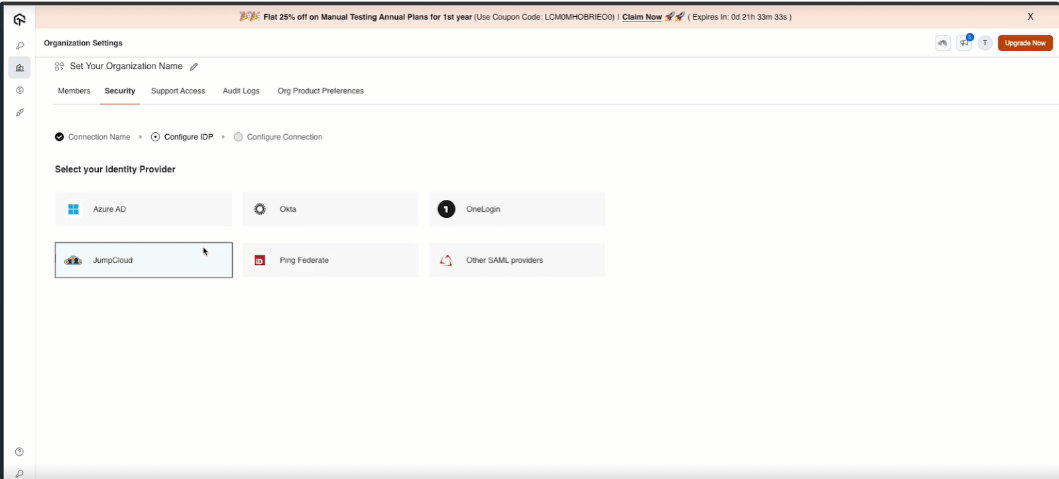
Enter the Connection Name and Click on Add New Connection. and Select your Identity Provider.

-
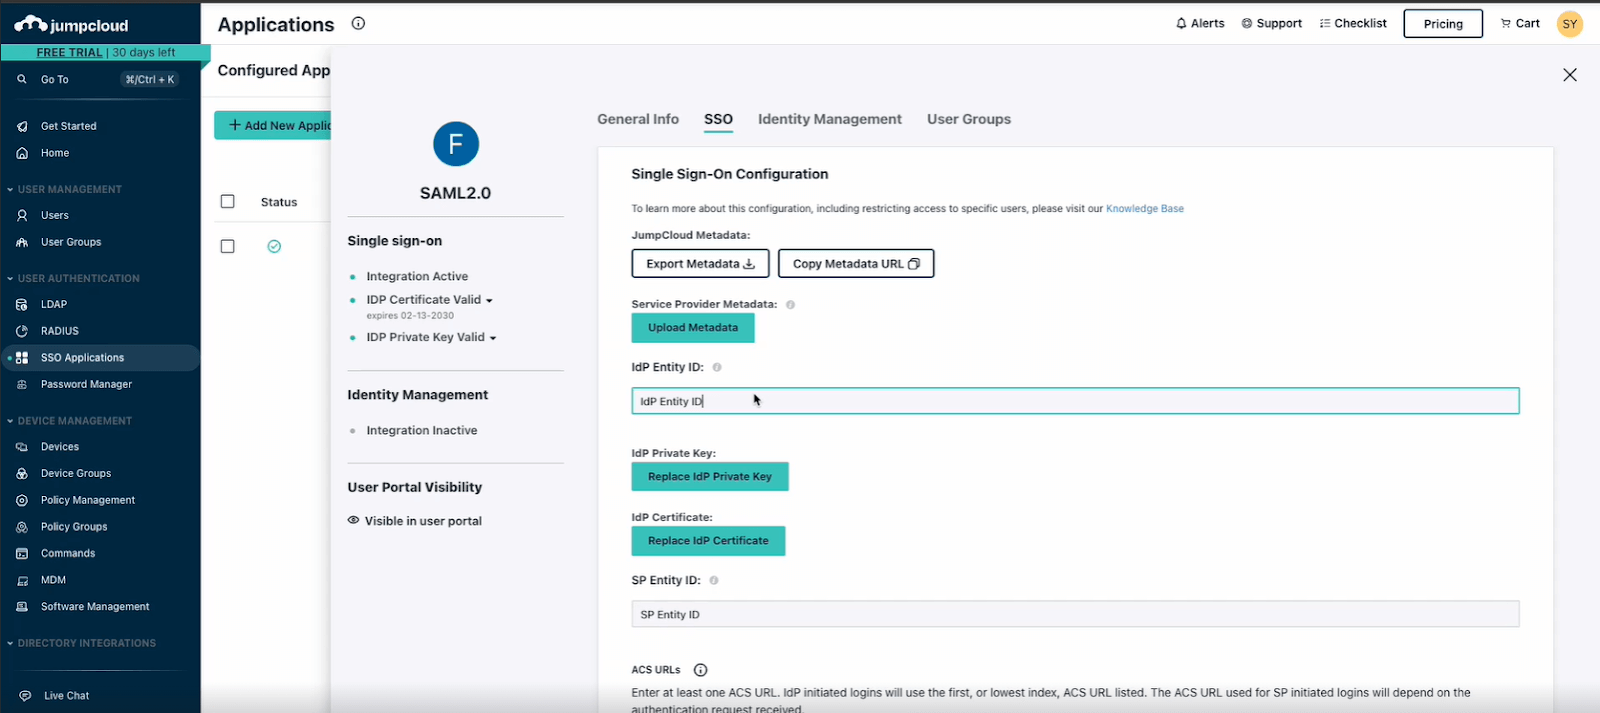
Step 9: Copy the required SSO details from TestMu AI, including:
- IdP Entity ID
- SP Entity ID
- ACS URL
- Subject Name
- Login URL

-
Step 10: Configure TestMu AI SSO Integration Using SAML.
-
Go to TestMu AI Dashboard > Authentication & SSO Settings.
-
Click Setup SSO. Enter a Connection Name and click Add New Connection.
-
Select JumpCloud as your Identity Provider (IdP)
-
Copy the required SSO details from TestMu AI, including:
- IdP Entity ID
- SP Entity ID
- ACS URL
- Subject Name
- Login URL
-
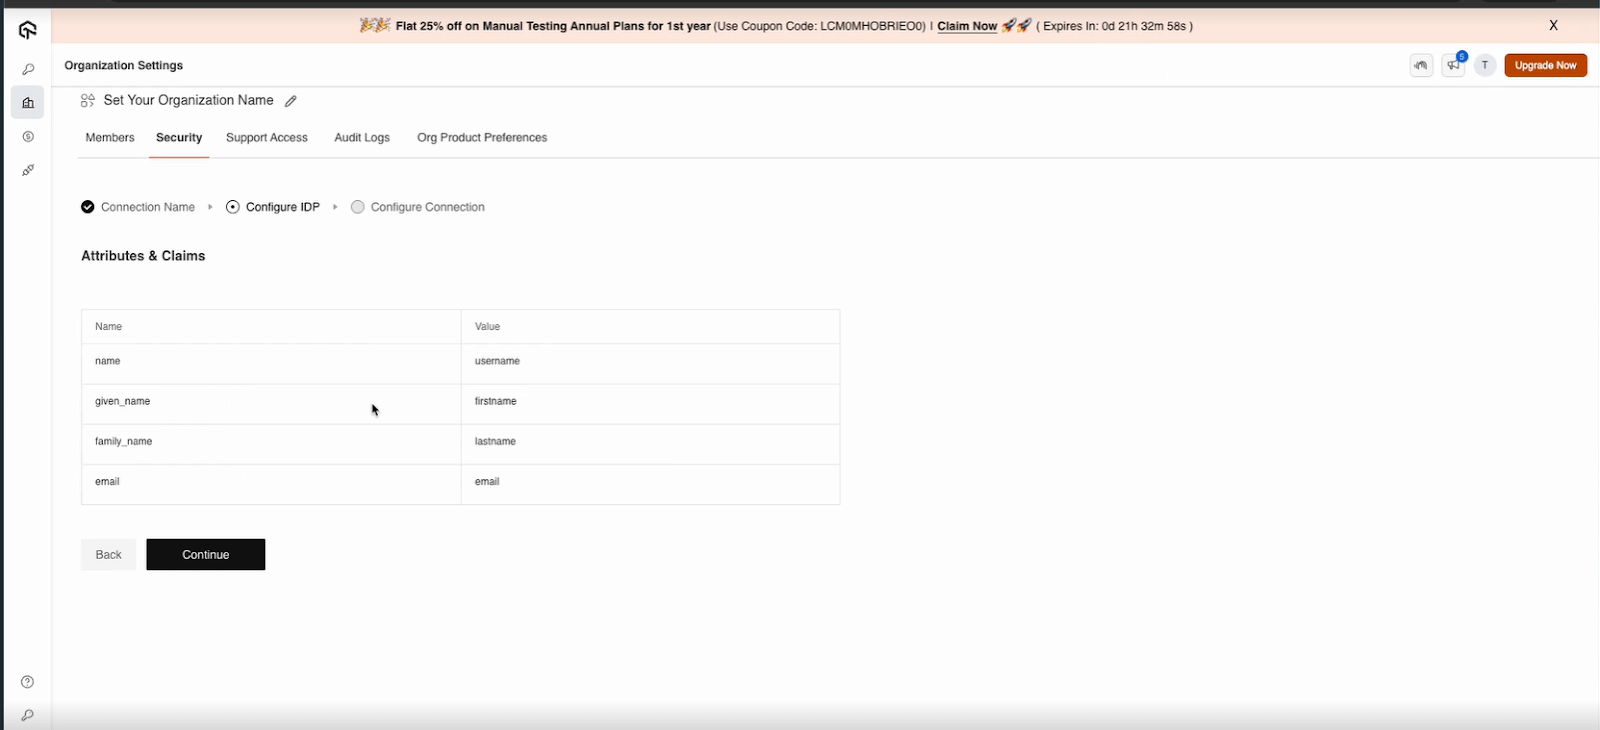
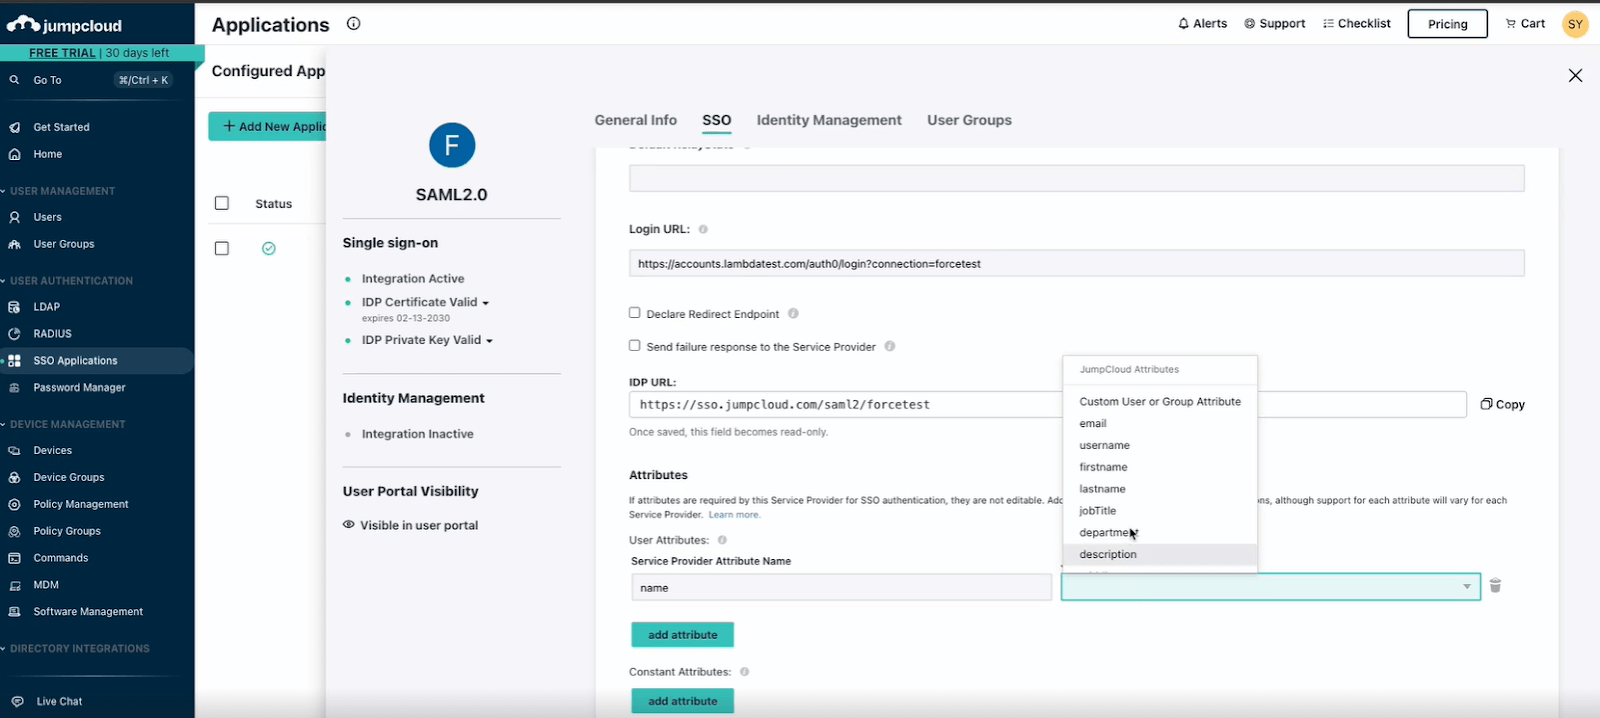
Click Add Attribute in jumpcloud, enter the necessary details, and save the configuration. (IdP)
-
Copy the Metadata URL from JumpCloud.
-
Step 11: Finalize the Integration
-
Copy the Metadata URL from JumpCloud.
-
Go to TestMu AI Dashboard and paste the Metadata URL.
-
Add the SSO domain in TestMu AI and click Create Connection.
-
Assign users to the SSO connection in JumpCloud and Save the configuration.
-
Step 12: Go to TestMu AI Dashboard and go SSO connection. Copy Bearer Token and SCIM Base URL.
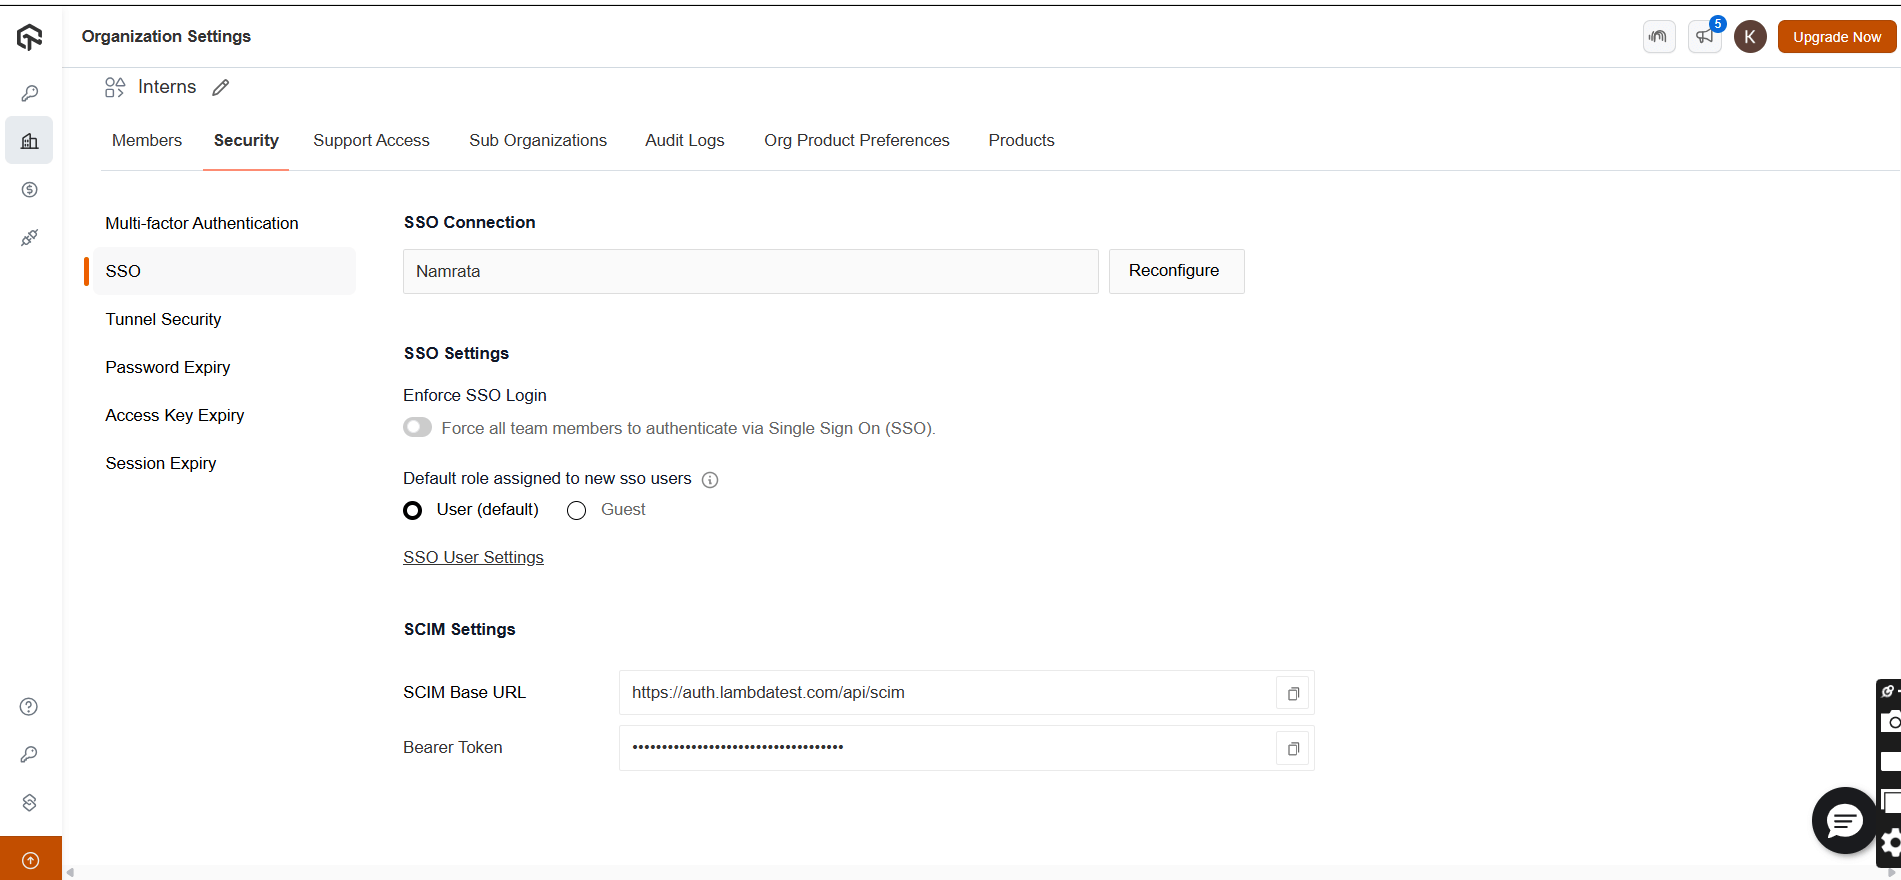
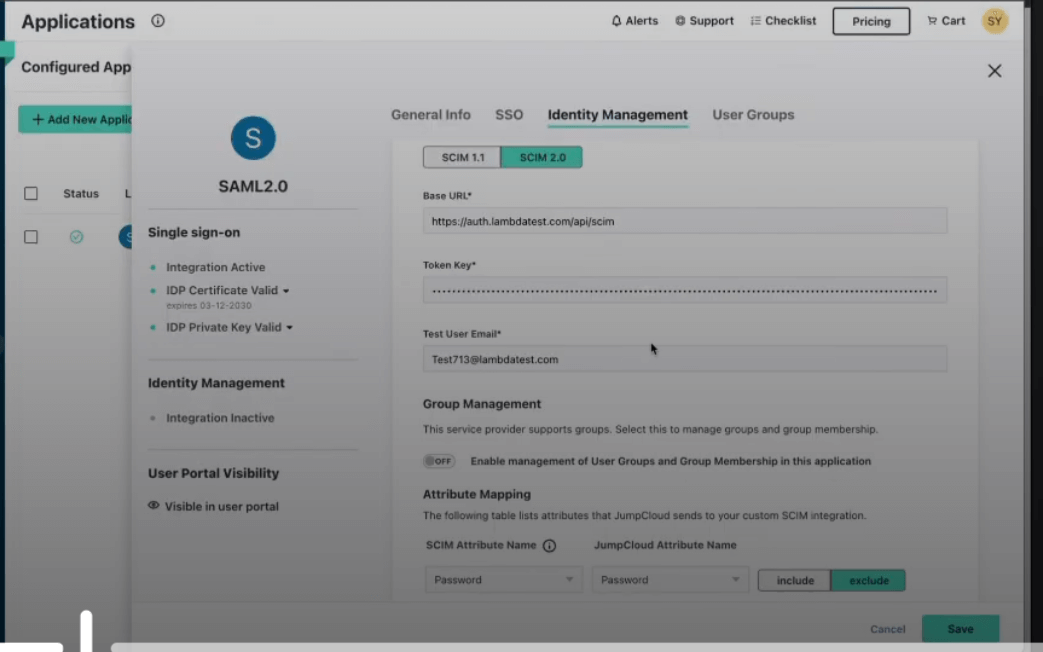
-
Step 13: Go Identity Management and paste SCIM Base URL and Bearer Token. and then click Save button.
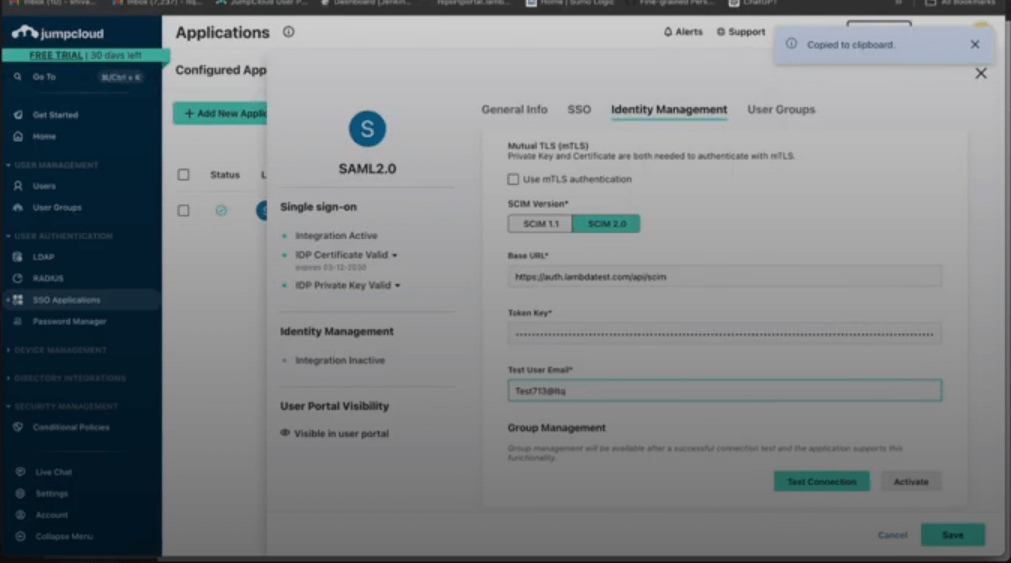
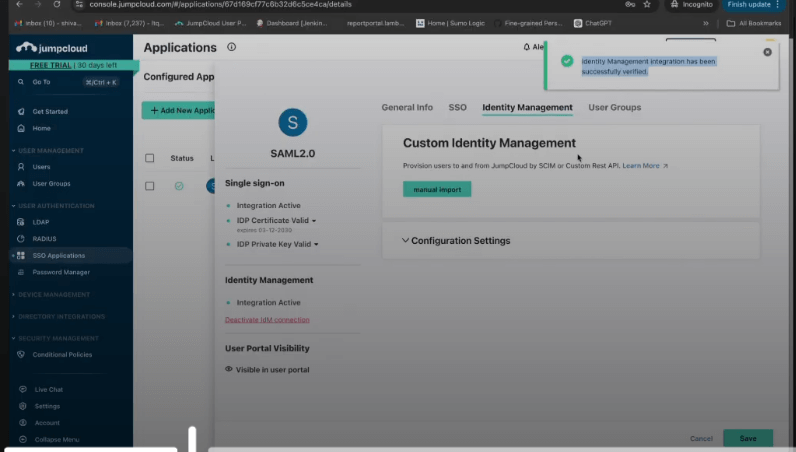
-
Step 14: Enter email that does not exist on TestMu AI platform and provide test email details, and click Test Connection and activate button.