JUnit with Playwright: Running Your First Test
Learn how to use Playwright with JUnit to automate web application testing across 50+ real browsers and operating systems on TestMu AI cloud platform.
Prerequisites
- You can use your own project to configure and test it. For demo purposes, we are using the sample repository.
Download or clone the code sample for the Playwright JUnit from the TestMu AI GitHub repository to run the tests.
 View on GitHub
git clone https://github.com/LambdaTest/playwright-sample.git
cd playwright-sample
cd playwright-java-junit
- Install the npm dependencies.
npm install
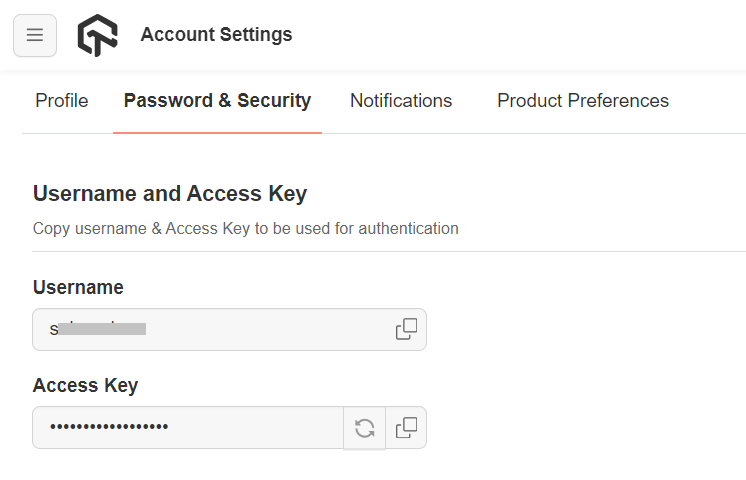
- A TestMu AI Username and Access key. You can get it from your TestMu AI Profile section. Don't have an account, sign up for free.
Run your Playwright tests with JUnit
Navigate to the LTCapability.JUnit file and provide your TestMu AI Username and Access key.
import com.google.gson.JsonObject;
import com.tngtech.JUnit.junit.dataprovider.DataProvider;

public class LTCapability {
  @DataProvider
  public static Object[] getDefaultTestCapability() {
    JsonObject capabilities1 = new JsonObject();
    JsonObject ltOptions1 = new JsonObject();

    String user = System.getenv("LT_USERNAME");
    String accessKey = System.getenv("LT_ACCESS_KEY");

    capabilities1.addProperty("browserName", "Chrome"); // Browsers allowed: `Chrome`, `MicrosoftEdge`, `pw-chromium`, `pw-firefox` and `pw-webkit`
    capabilities1.addProperty("browserVersion", "latest");
    ltOptions1.addProperty("platform", "Windows 10");
    ltOptions1.addProperty("name", "Playwright Test");
    ltOptions1.addProperty("build", "Playwright Testing using Junit");
    ltOptions1.addProperty("user", user);
    ltOptions1.addProperty("accessKey", accessKey);
    capabilities1.add("LT:Options", ltOptions1);


    JsonObject capabilities2 = new JsonObject();
    JsonObject ltOptions2 = new JsonObject();
    capabilities2.addProperty("browserName", "MicrosoftEdge"); // Browsers allowed: `Chrome`, `MicrosoftEdge`, `pw-chromium`, `pw-firefox` and `pw-webkit`
    capabilities2.addProperty("browserVersion", "latest");
    ltOptions2.addProperty("platform", "Windows 10");
    ltOptions2.addProperty("name", "Playwright Test");
    ltOptions2.addProperty("build", "Playwright Testing using Junit");
    ltOptions2.addProperty("user", user);
    ltOptions2.addProperty("accessKey", accessKey);
    capabilities2.add("LT:Options", ltOptions2);
    return new Object[]{
      capabilities1,capabilities2
    };
  }
}
Pass the below command in the terminal to run the test.
mvn clean test
View your test results
Go to the TestMu AI Web Automation Dashboard to see your Playwright JUnit test results.
Using the JUnit 5 Agent Skill with TestMu AI
The junit-5-skill is a part of TestMu AI Skills that guide AI coding assistants in generating production-ready test automation.
The junit-5-skill package includes:
junit-5-skill/
├── SKILL.md
└── reference/
    ├── playbook.md
    └── advanced-patterns.md
It provides structured guidance for:
- Project structure and setup
- Dependency configuration
- Local execution
- TestMu AI cloud execution
- Debugging patterns
- CI/CD integration
Installing JUnit 5 Agent Skill
Install a JUnit 5 Agent Skill using the command below:
# Clone the repo and copy the skill you need
git clone https://github.com/LambdaTest/agent-skills.git
cp -r agent-skills/junit-5-skill .claude/skills/

# Or for Cursor / Copilot
cp -r agent-skills/junit-5-skill .cursor/skills/
Note: If you prefer installing all available framework skills instead of only junit-5-skill, clone the repository directly into your tool's skills directory (for example, .claude/skills/, .cursor/skills/, .gemini/skills/, or .agent/skills/).
